This article will guide you on how to add documents to a client's profile using Transform.
Step 1:
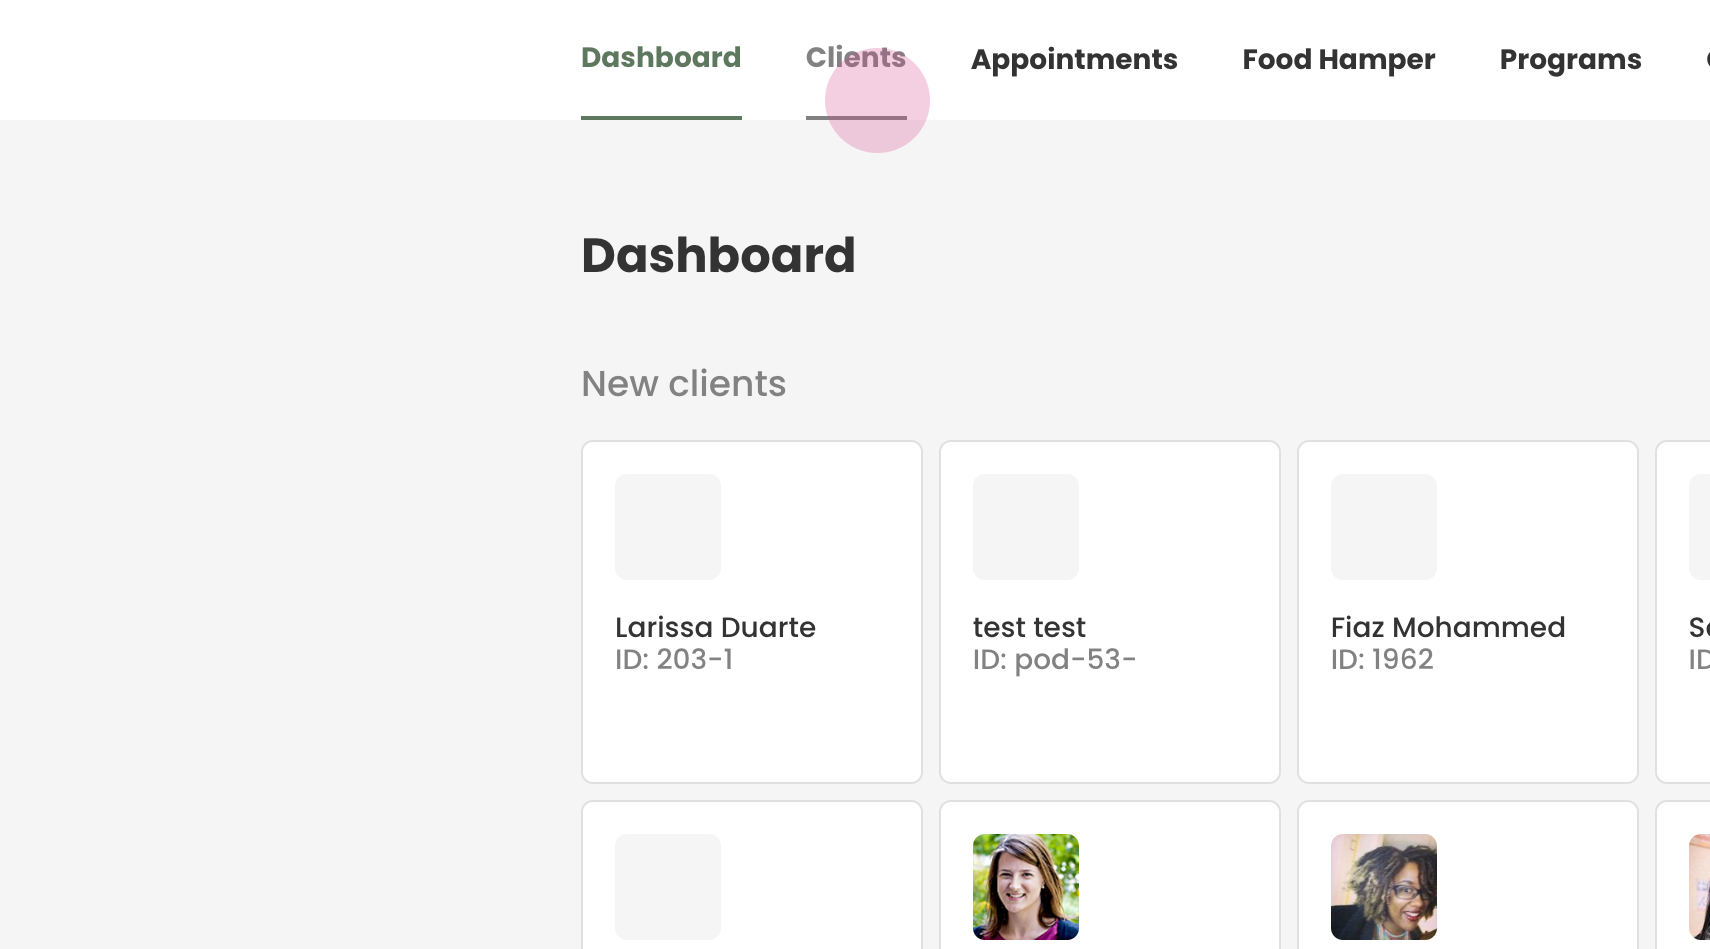
Begin by navigating to the 'Clients' tab to locate the client whose profile you want to update.
Step 2:
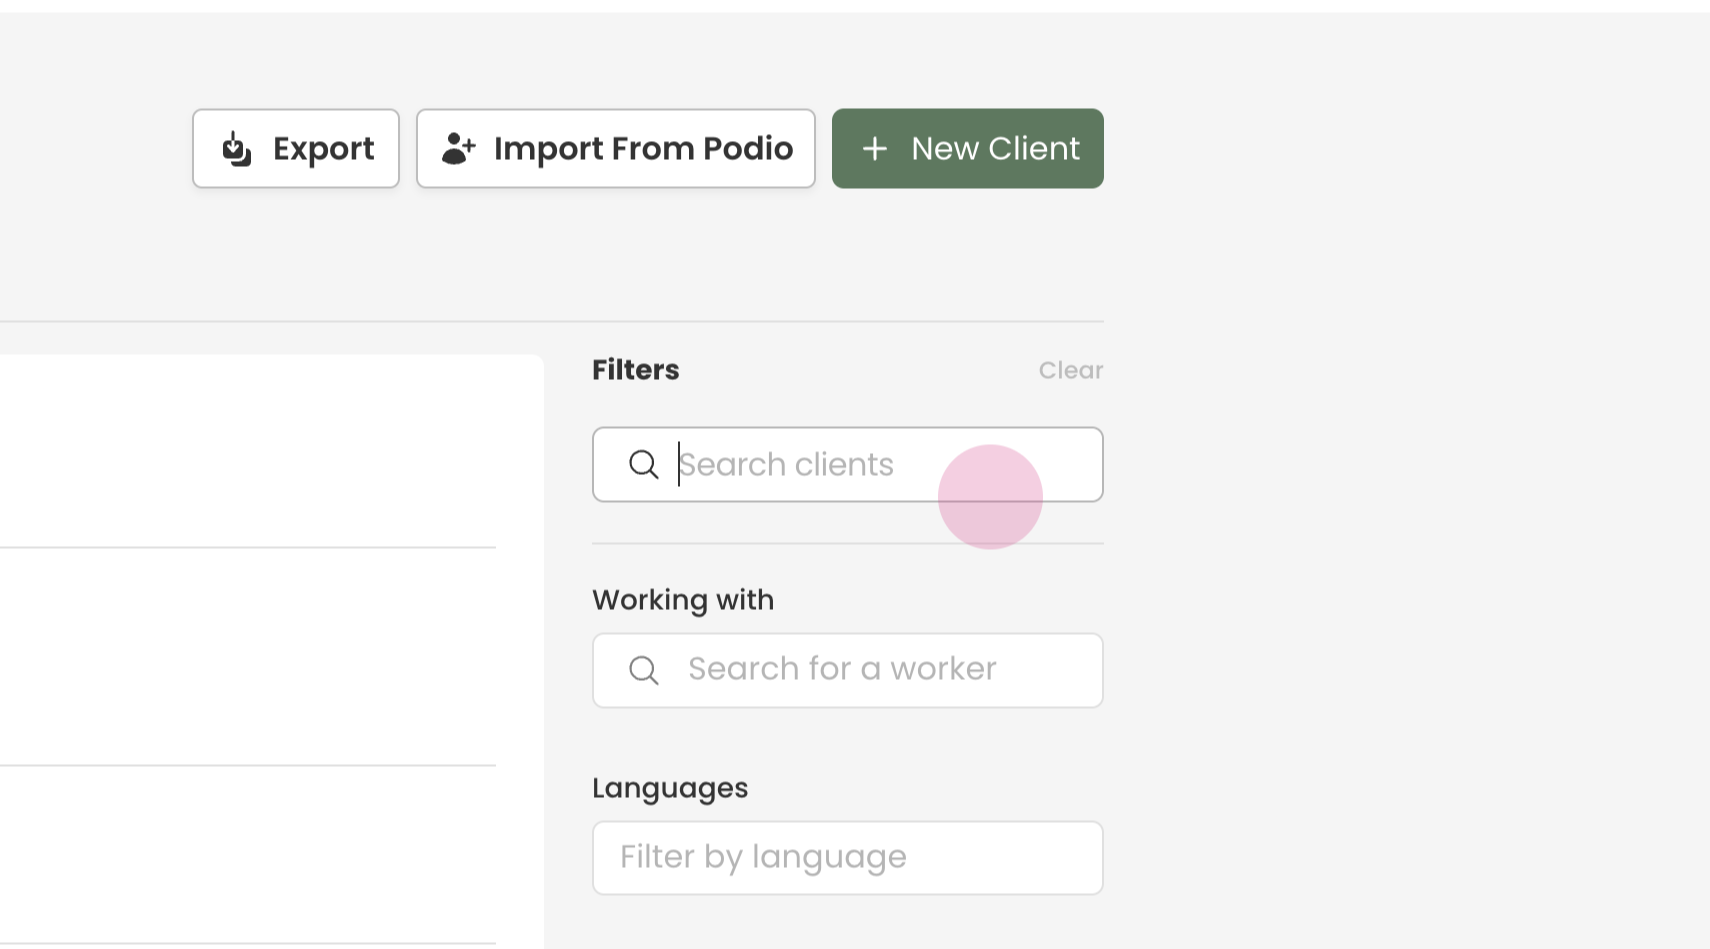
Input the client's First and Last name or their Client ID into the search box and press enter.
Step 3:
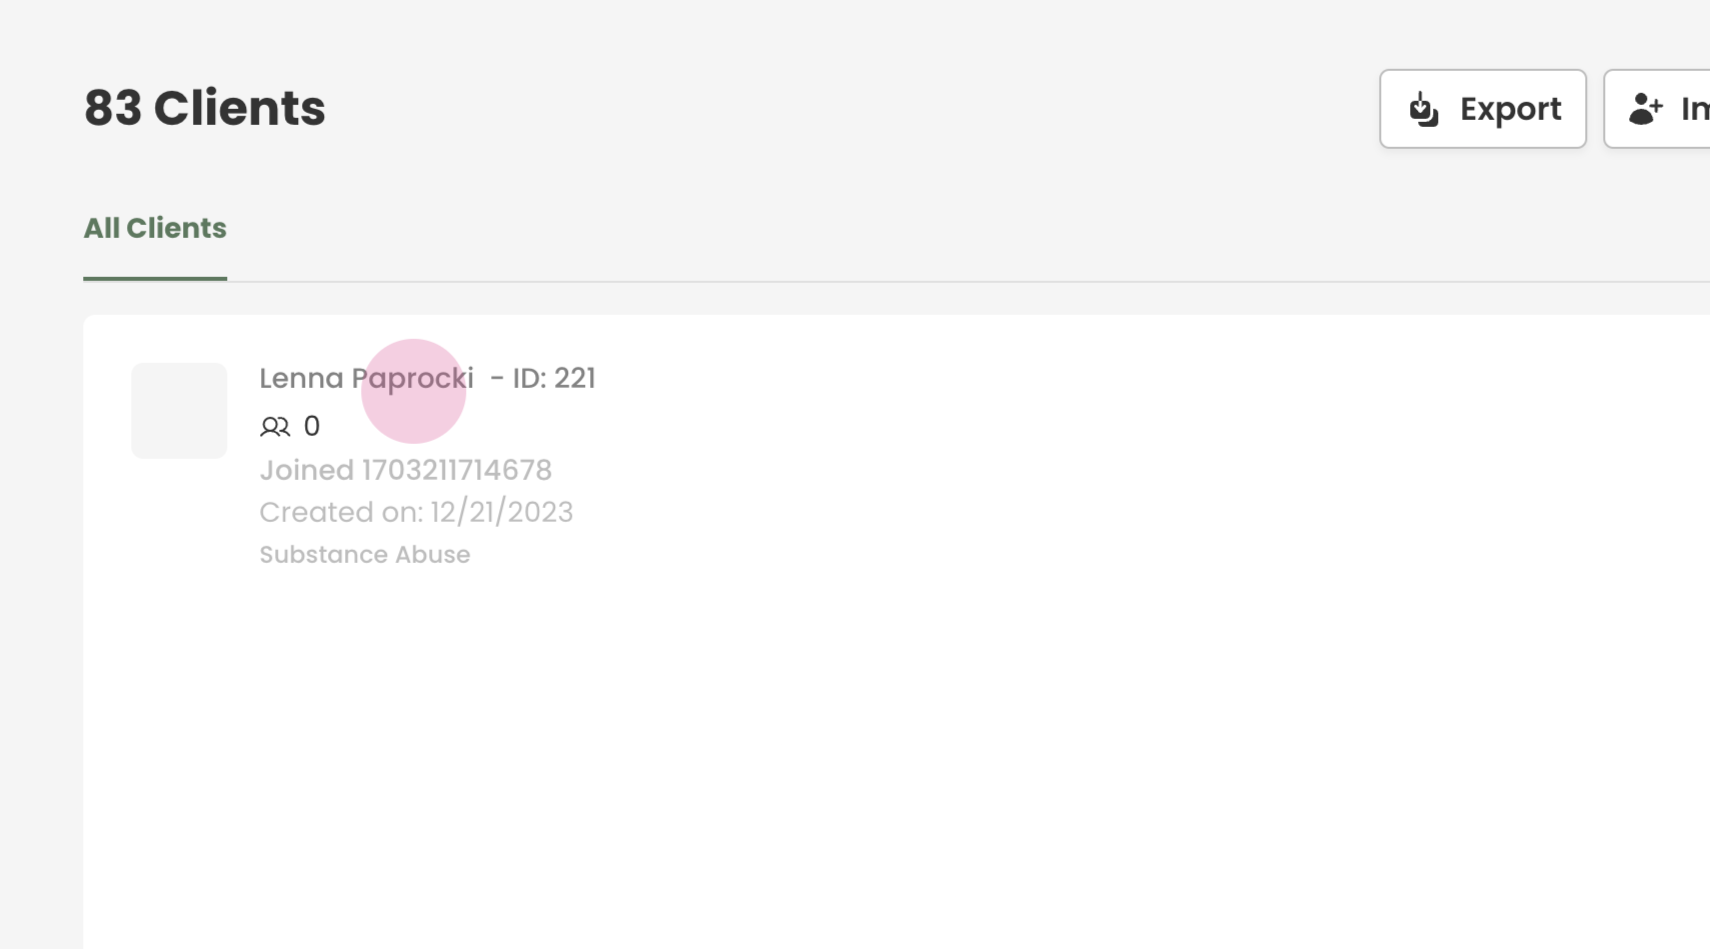
Click on the client's profile to access it.
Step 4:
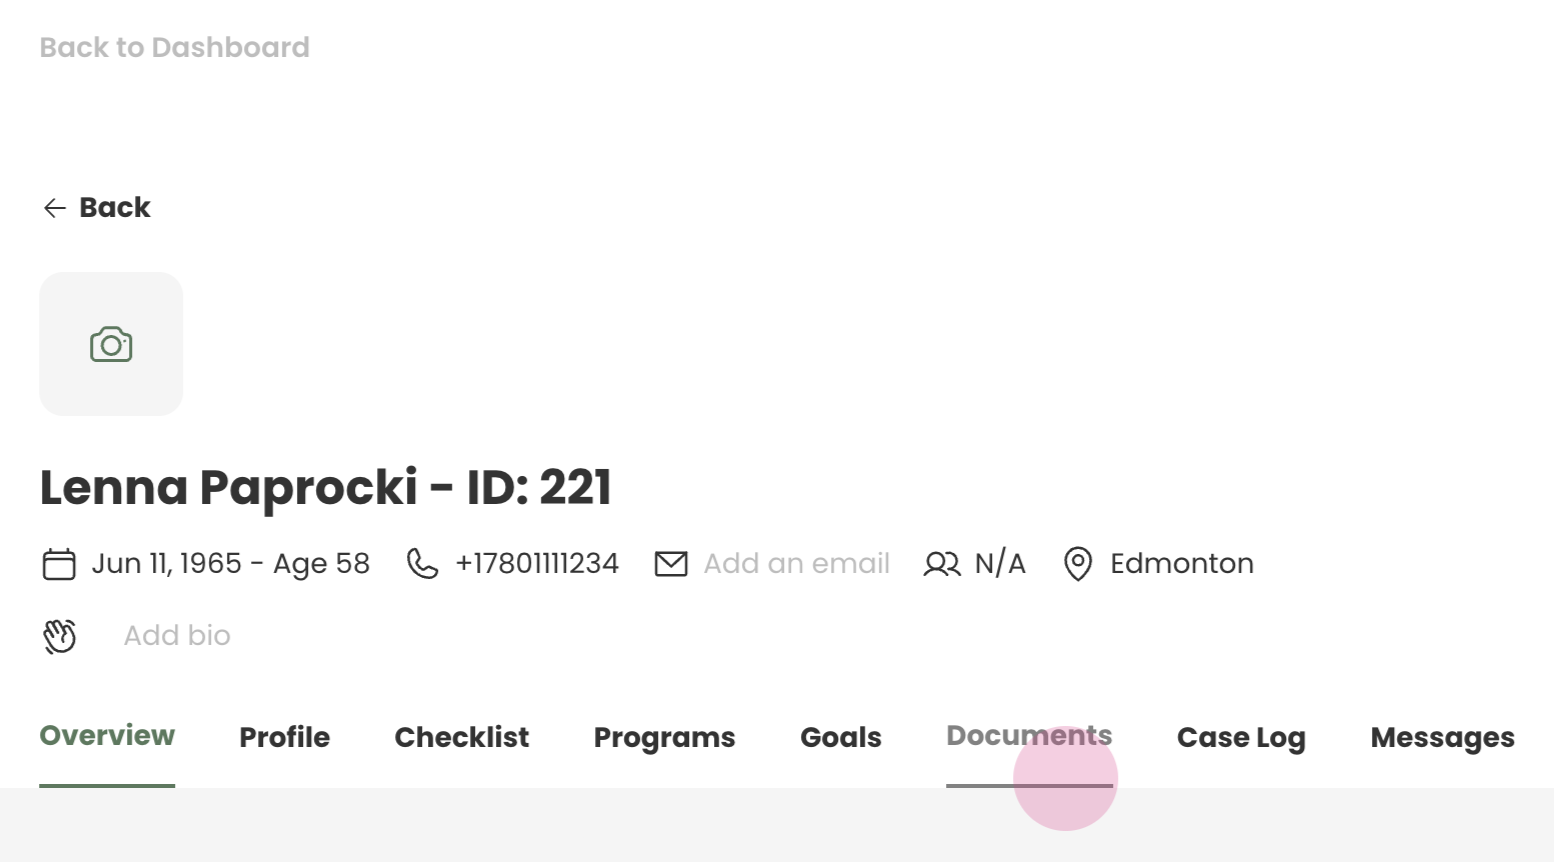
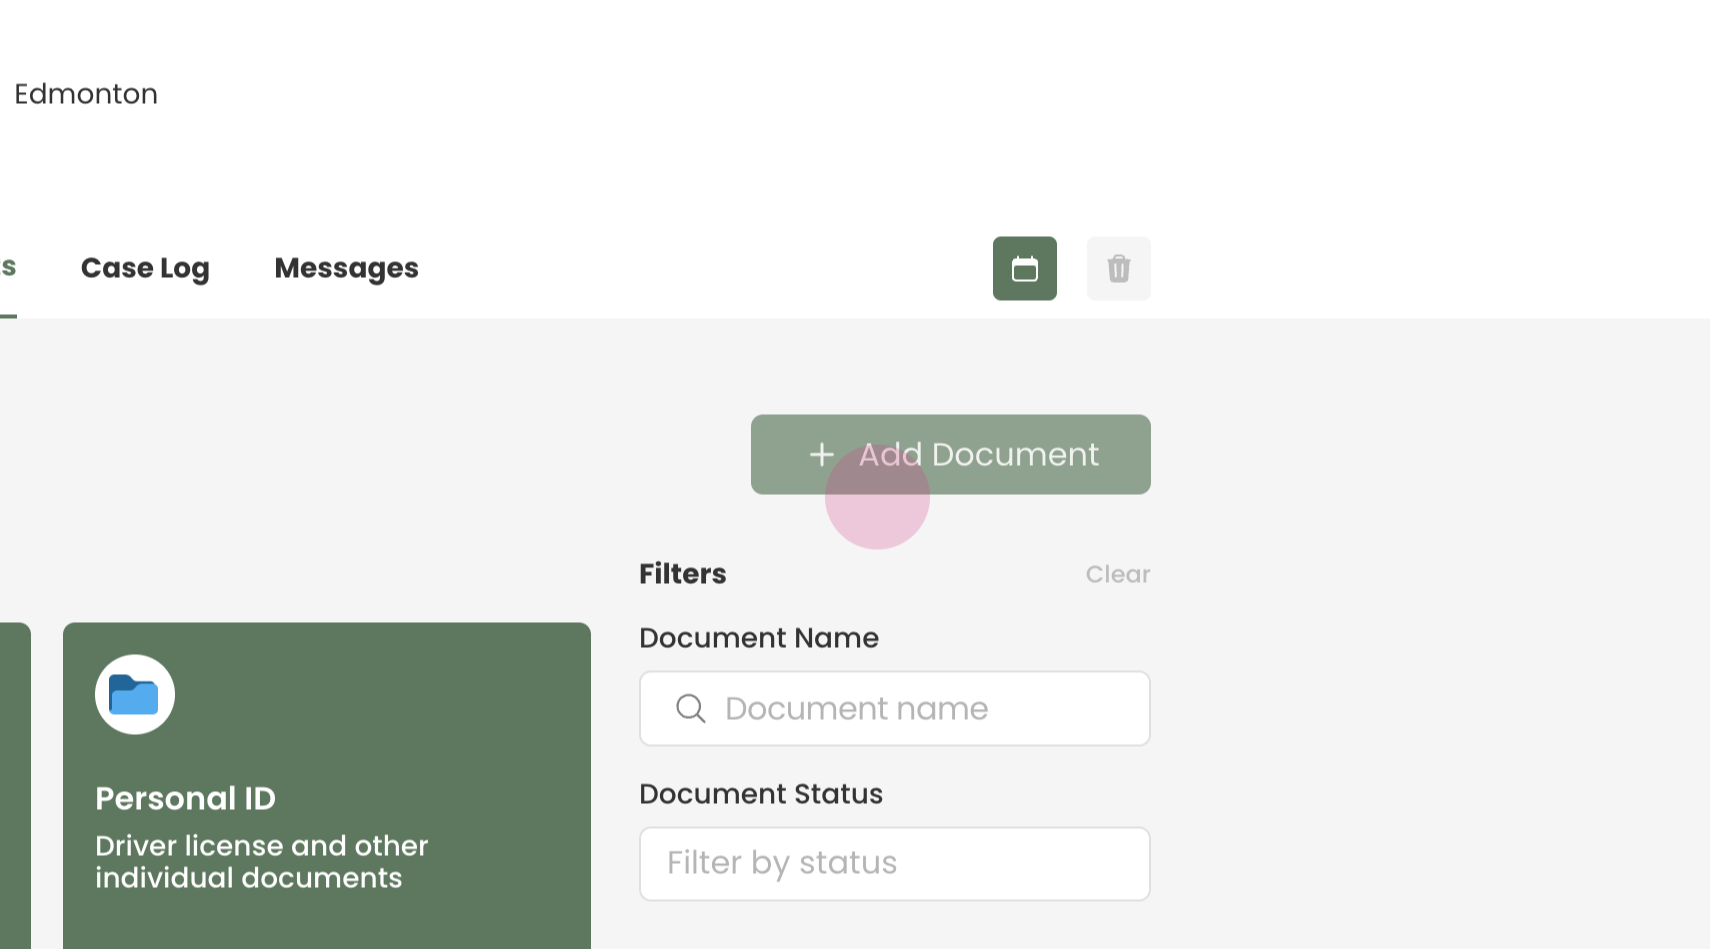
Navigate to the 'Documents' tab within the client's profile.
Step 5:
Click on 'Add Document' to start the process of attaching a document.
Step 6:
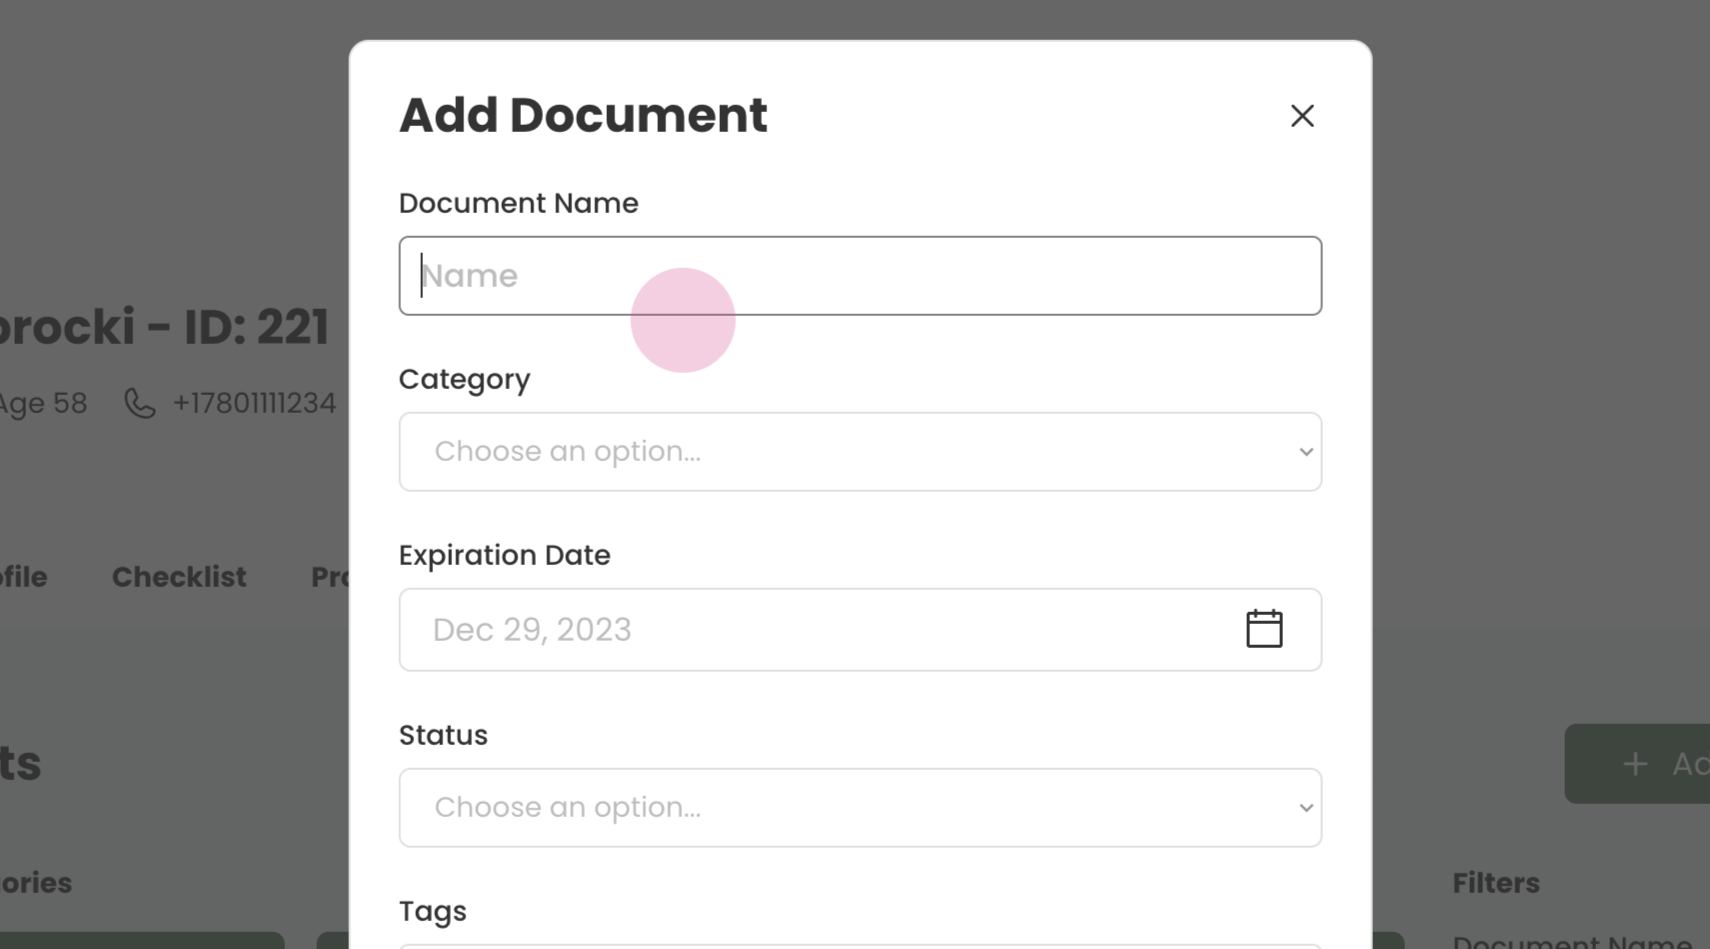
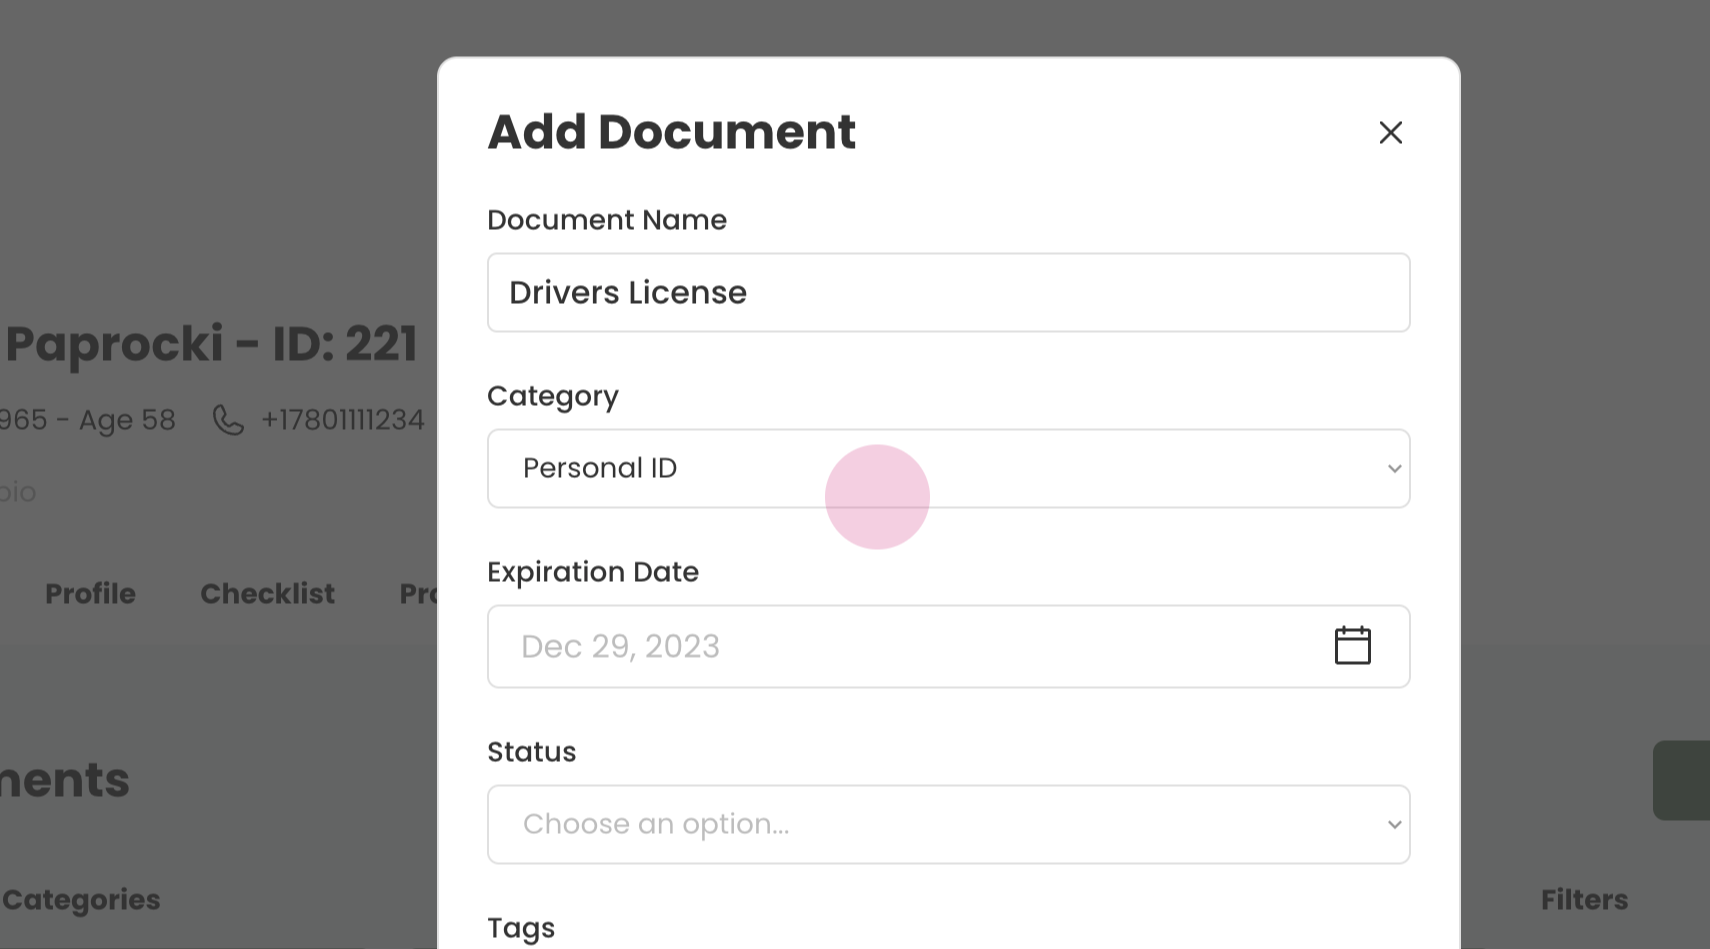
Assign a name to the document for easy identification.
Step 7:
Select the type of document you are adding. In this example, we are adding a 'Personal ID'. However, the platform also supports these categories:
Housing Documents
Immigration Documents
Personal ID Cards
Step 8:
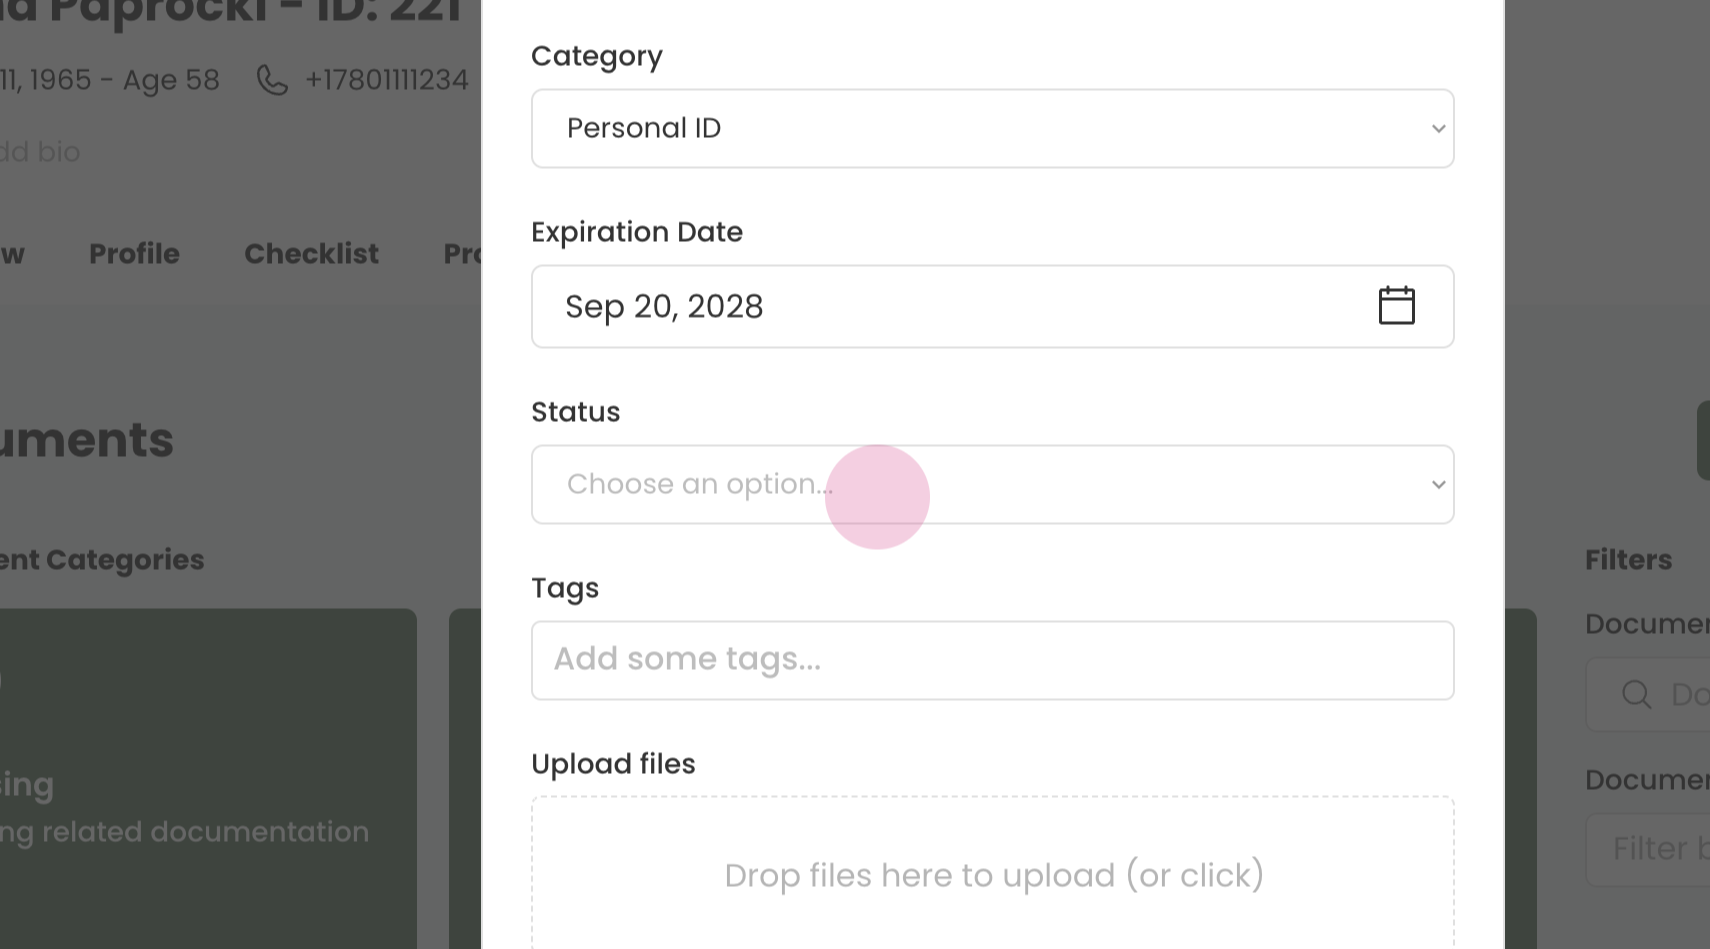
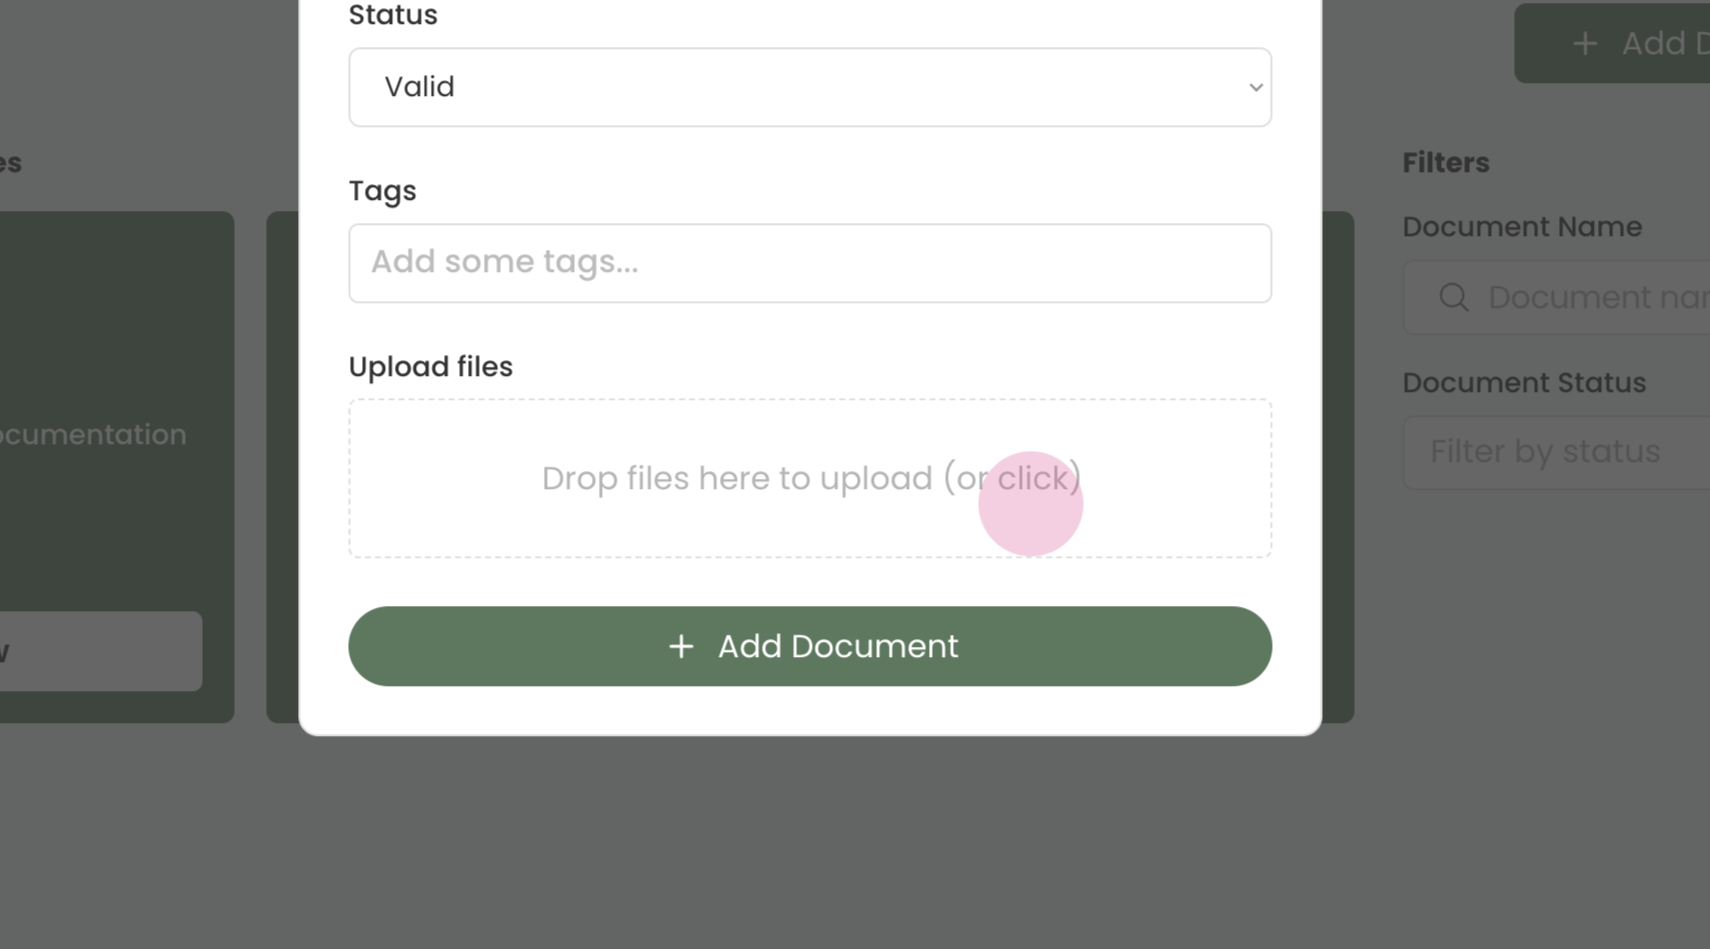
Enter the expiry date of the document and the status.
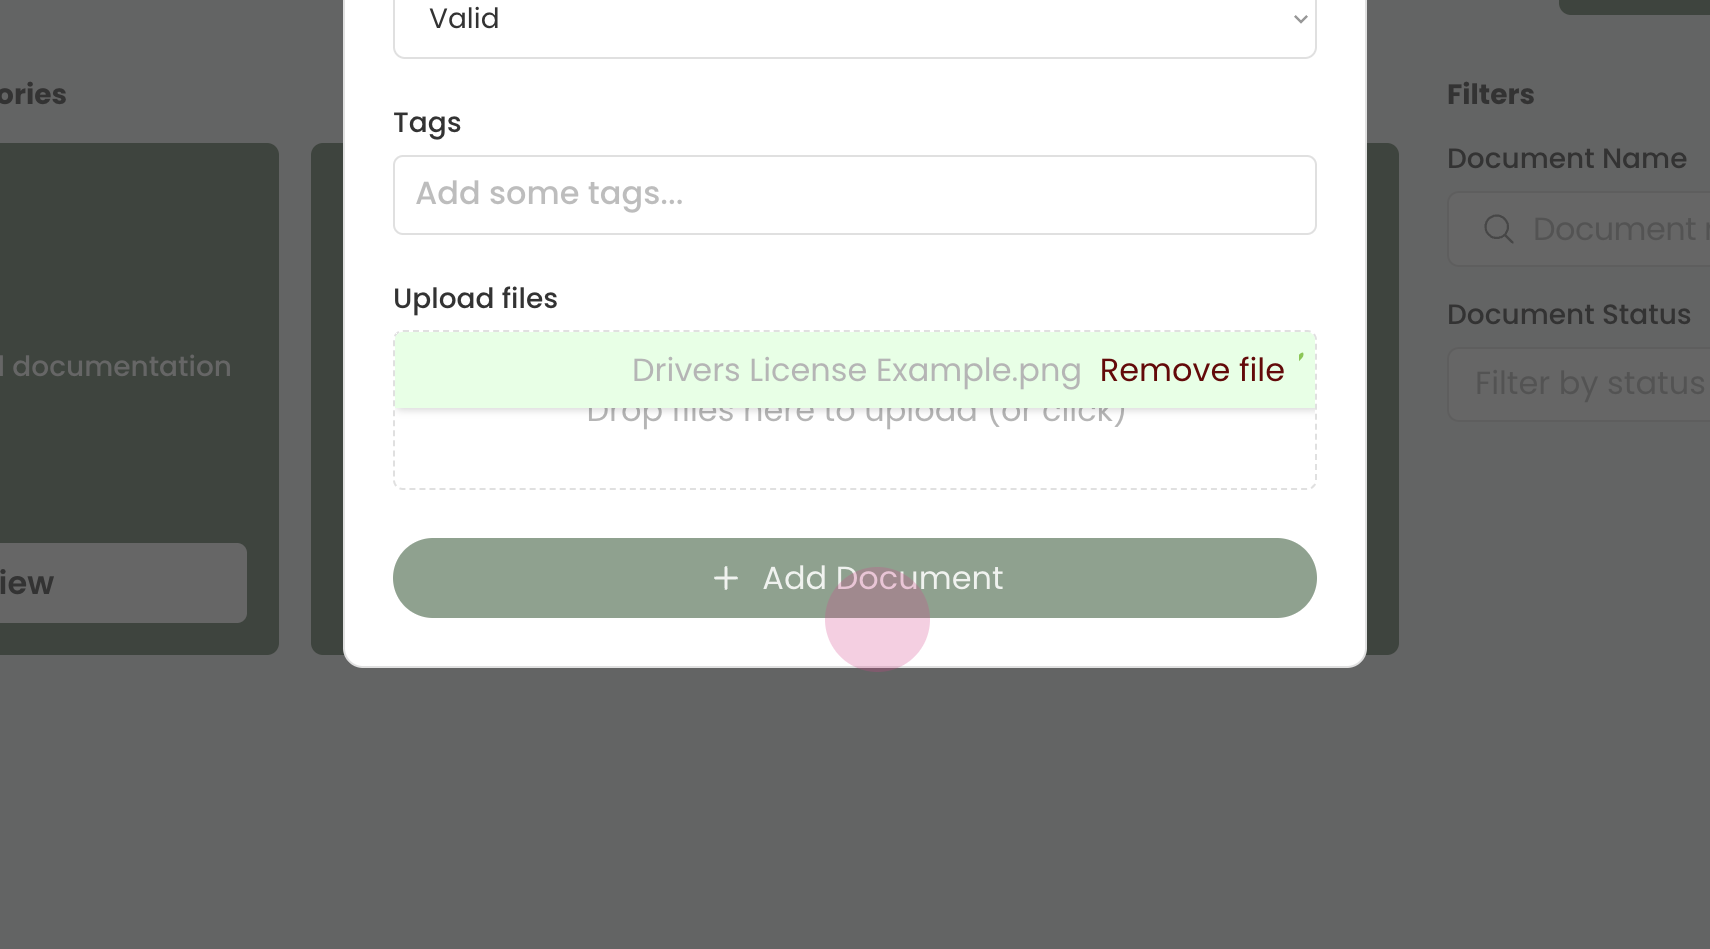
Step 9:
You can now upload the clients documents. You can choose to either click the designated box to open the file explorer or simply drag and drop your files to upload the document.
Step 10:
Once the document is uploaded, click on 'Add Document' to finalize the process.
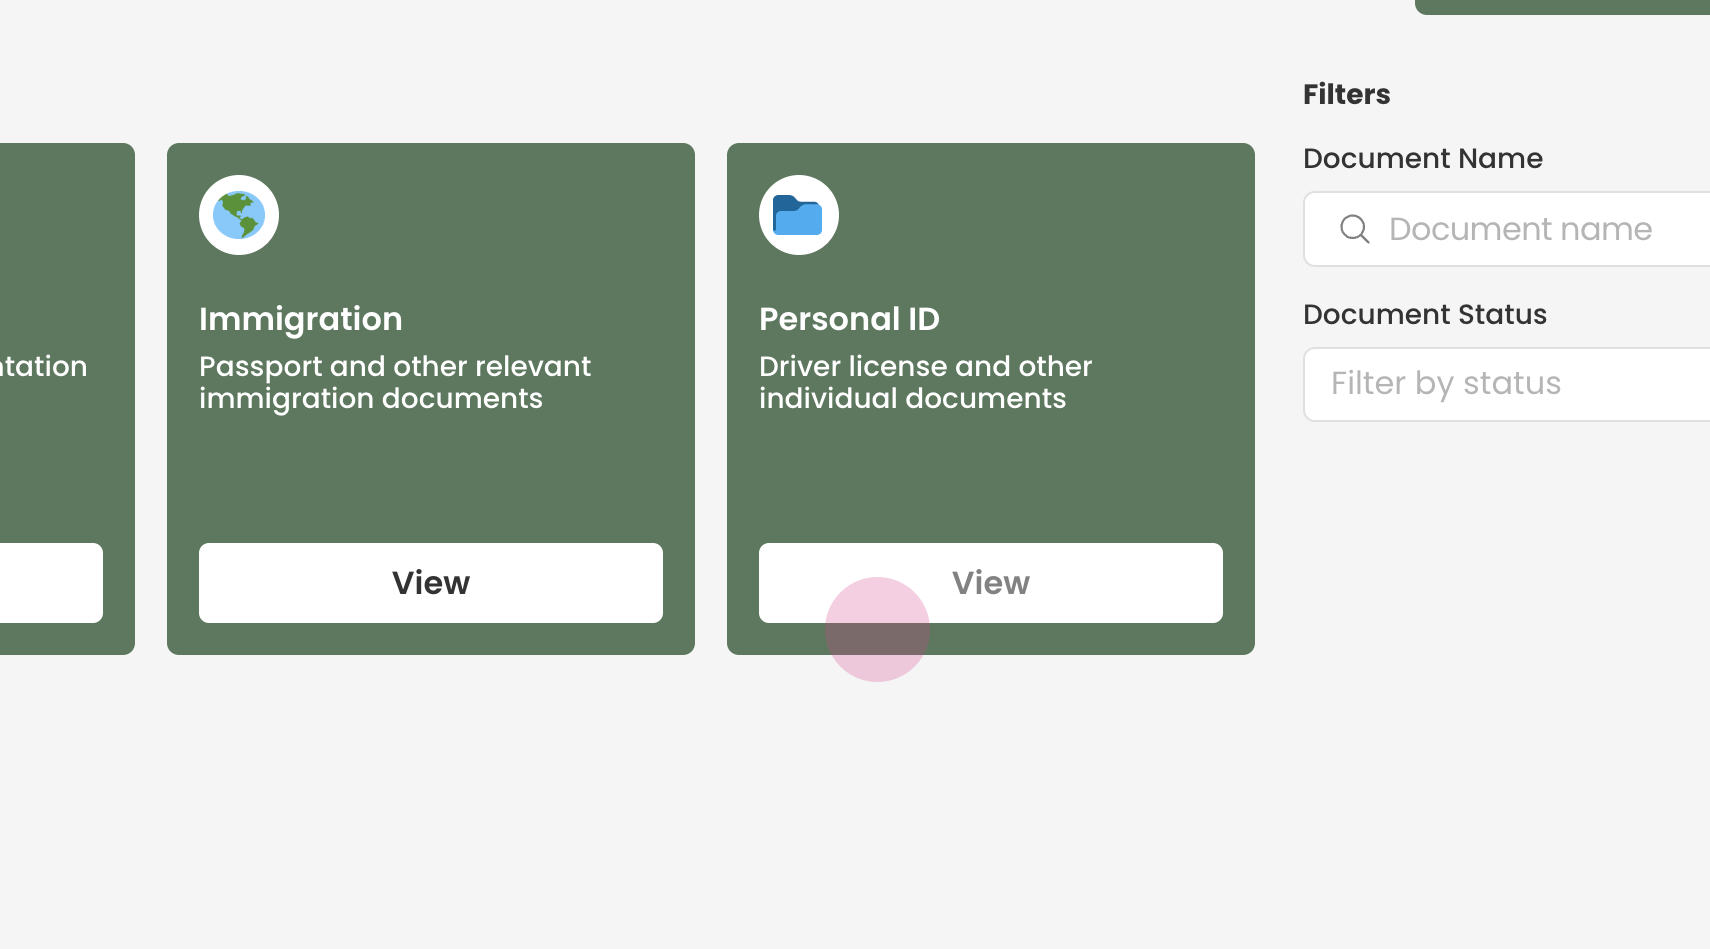
Step 11:
You can now view the document under the corresponding document category. In this demonstration, a driver's license was added under 'Personal ID'.
Click 'View' to access the document.
You have now successfully added a document to a client's profile.