In this article, you'll learn how to add a folder and connect forms to it.
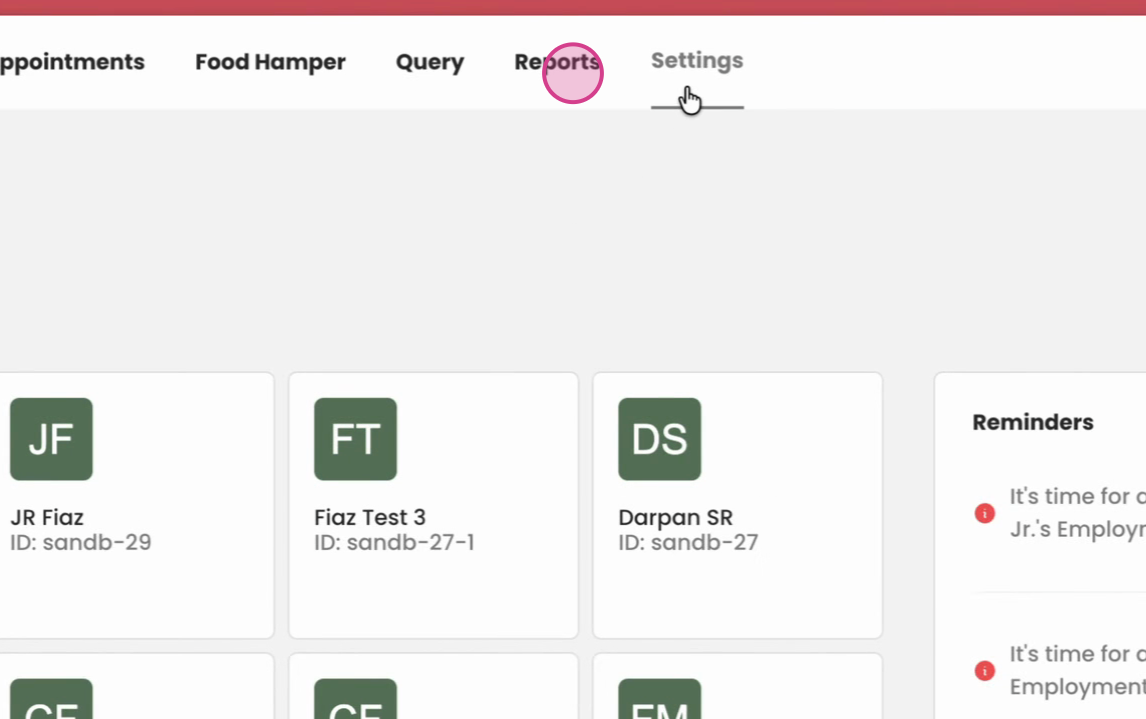
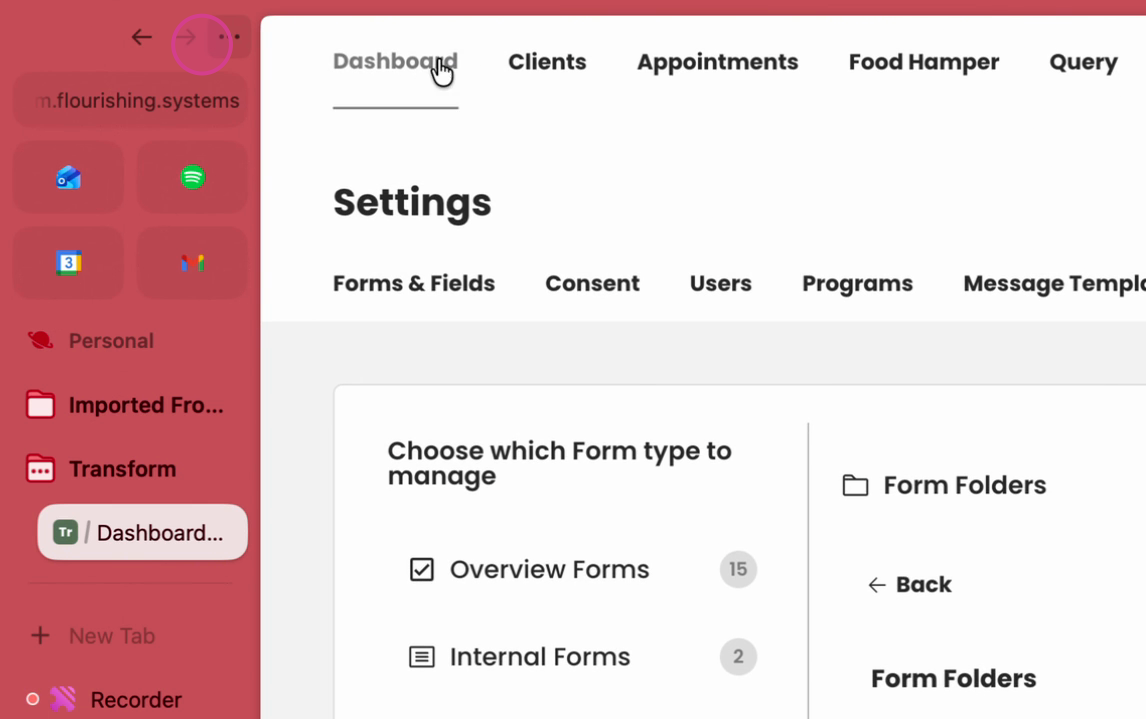
Step 1: Navigate to the settings.
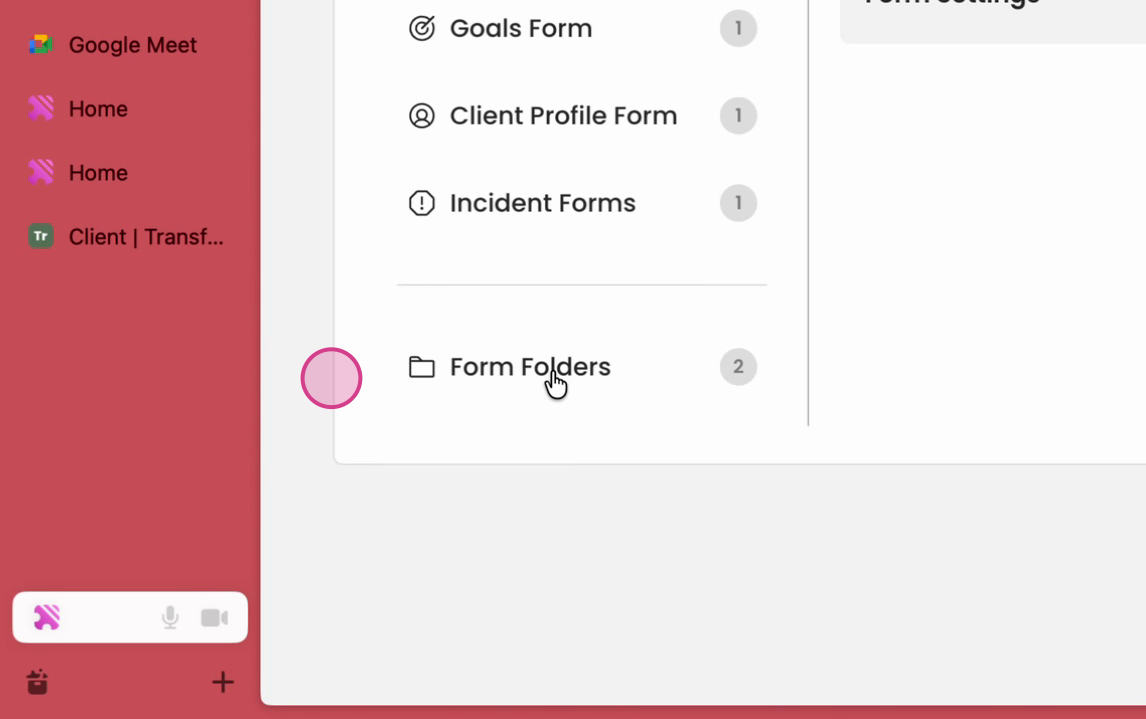
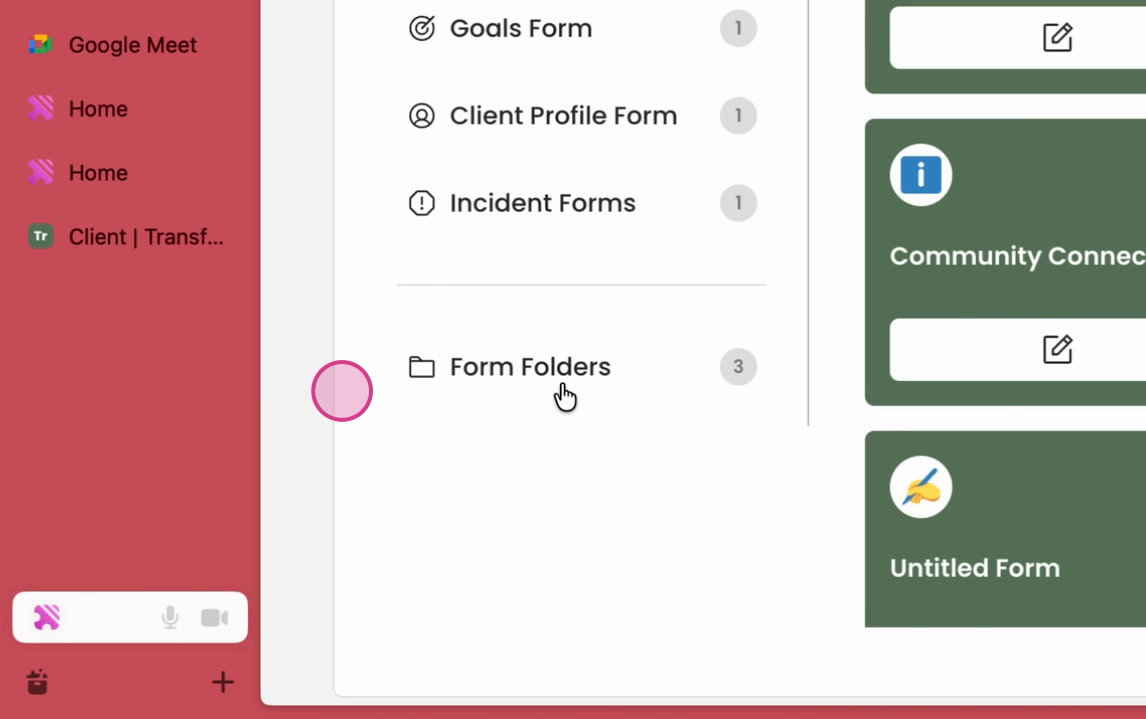
Step 2: Select the Form Folders option.
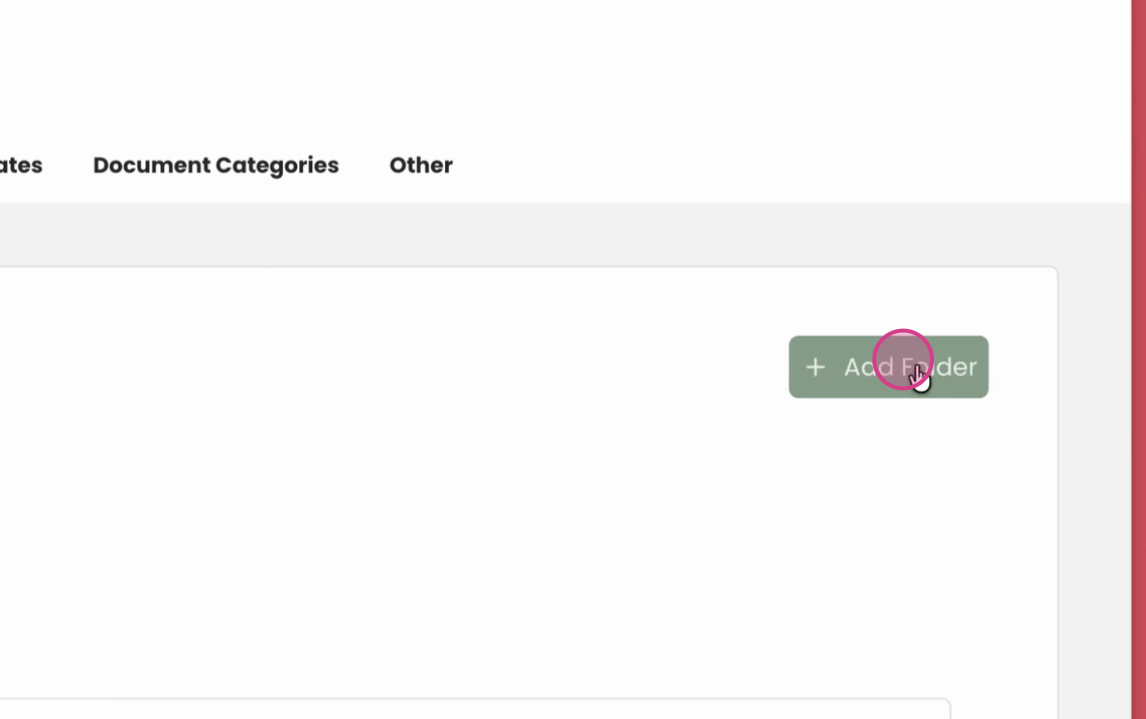
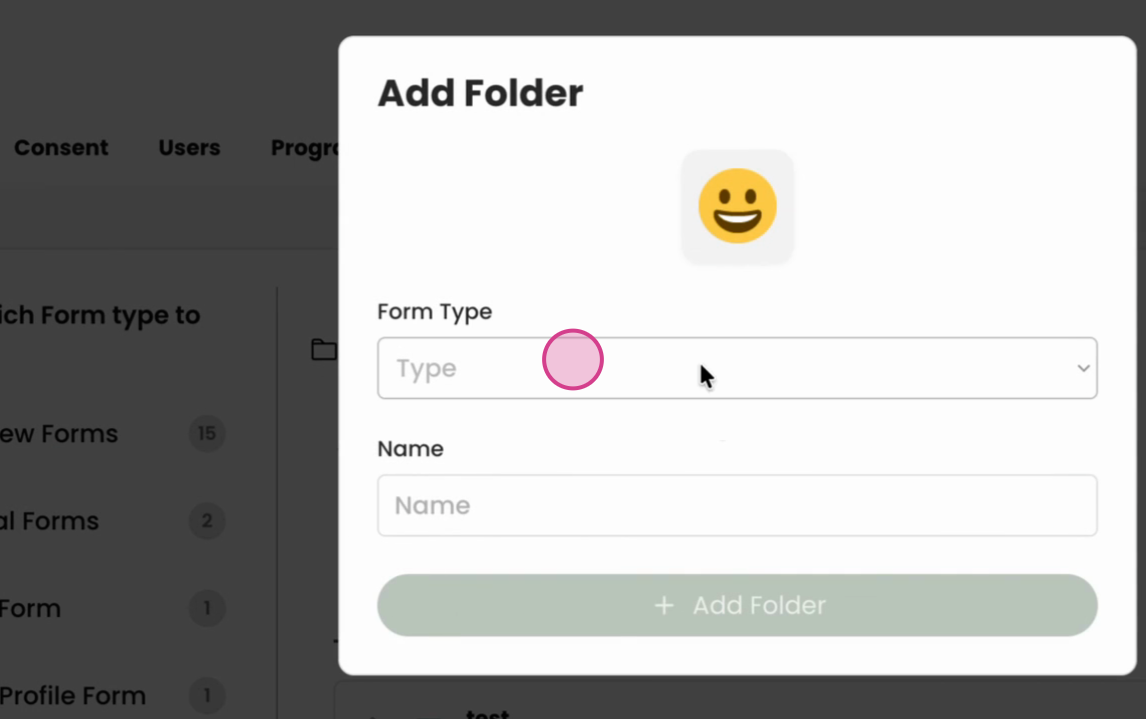
Step 3: Click on Add a Folder.
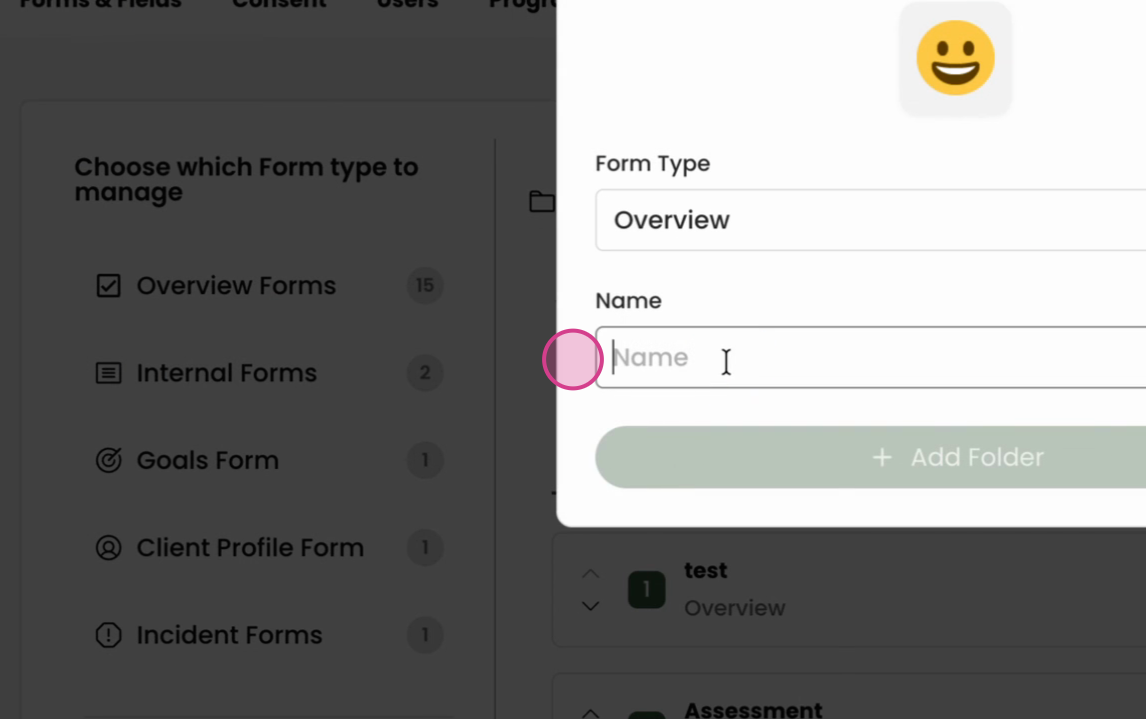
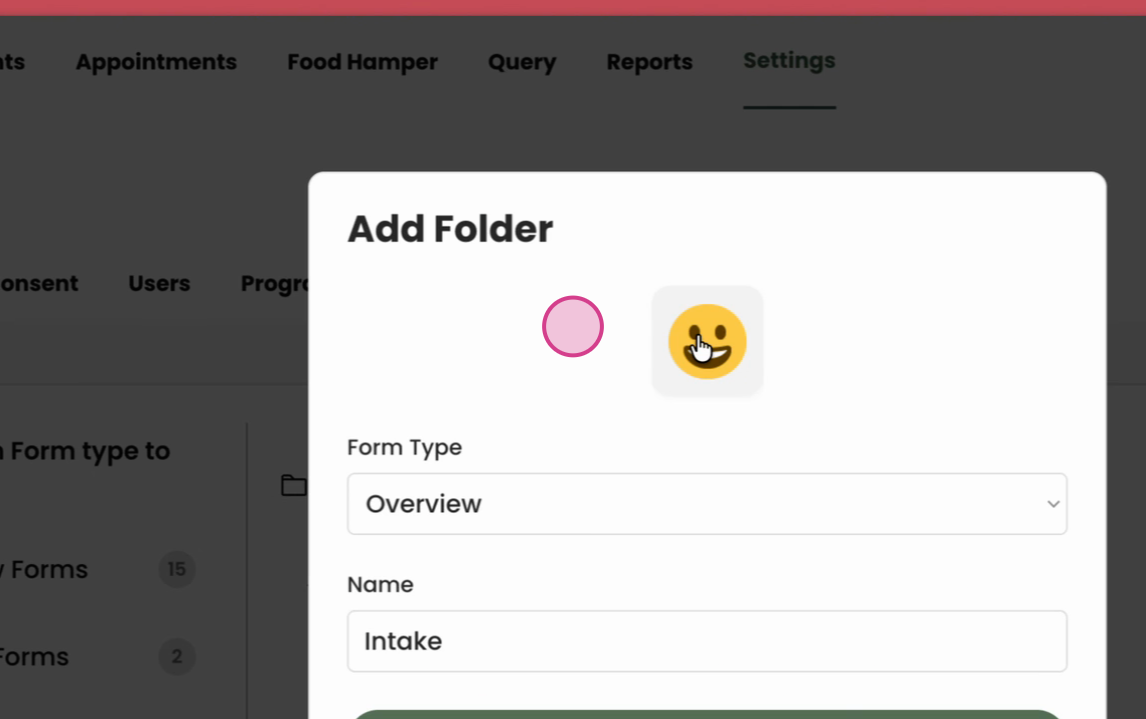
Step 4: Name your new folder. For this example, we're naming it "Intake".
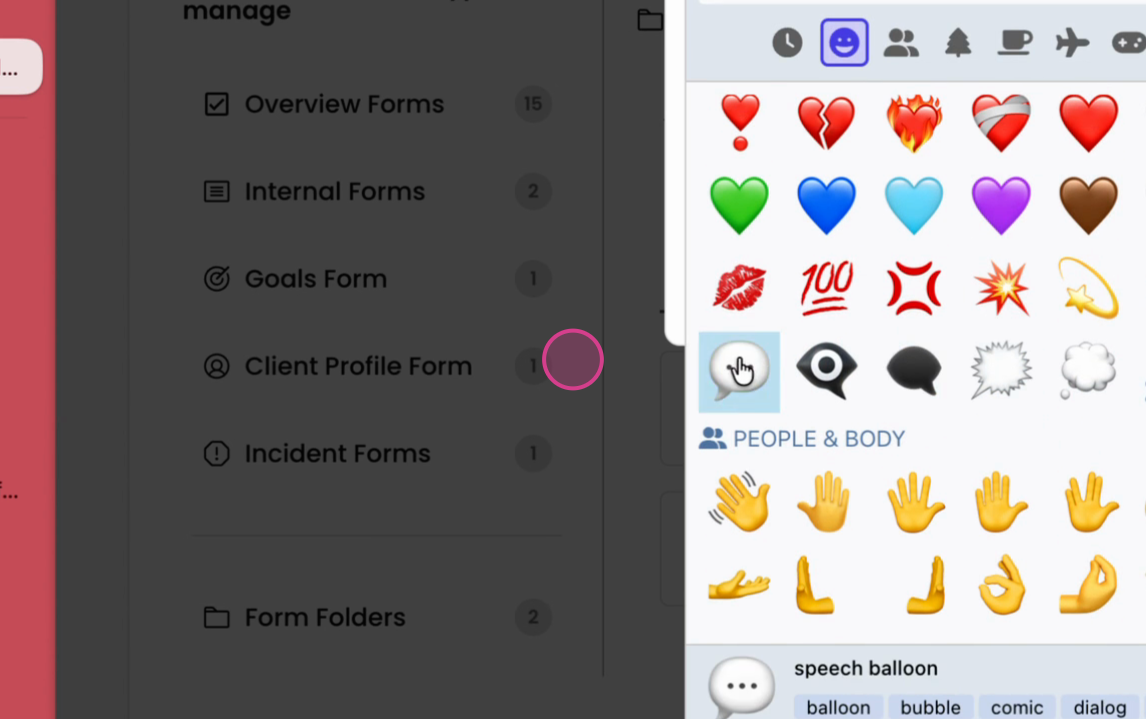
Step 5: Choose an emoji for your folder.
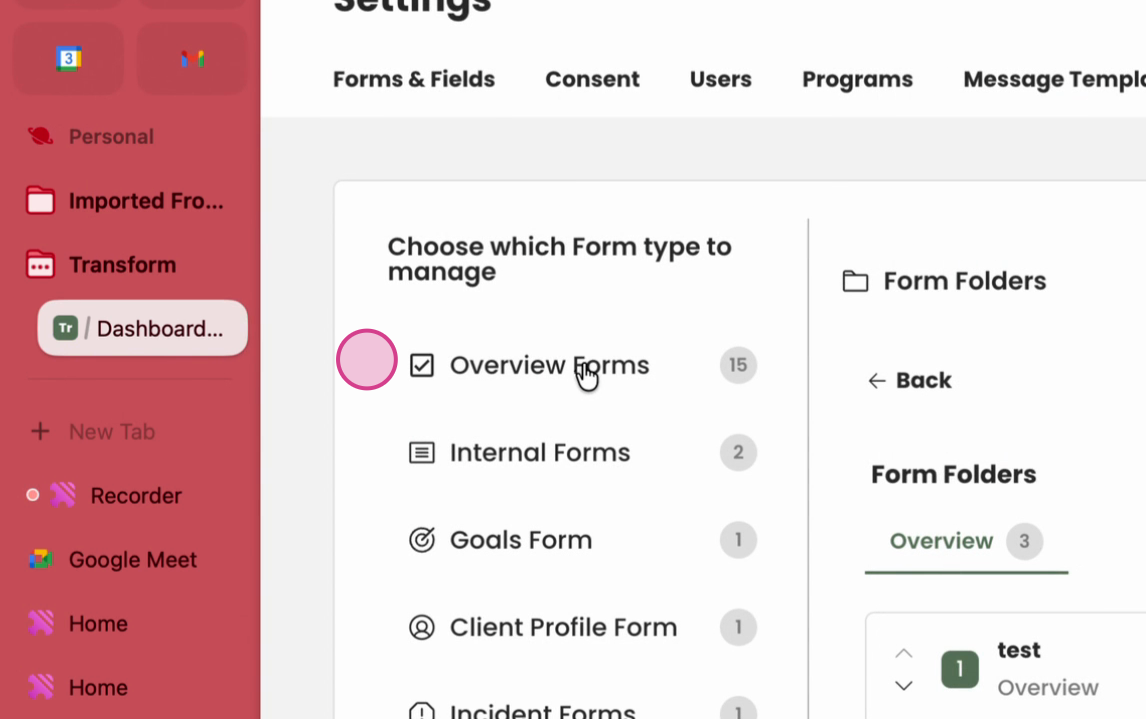
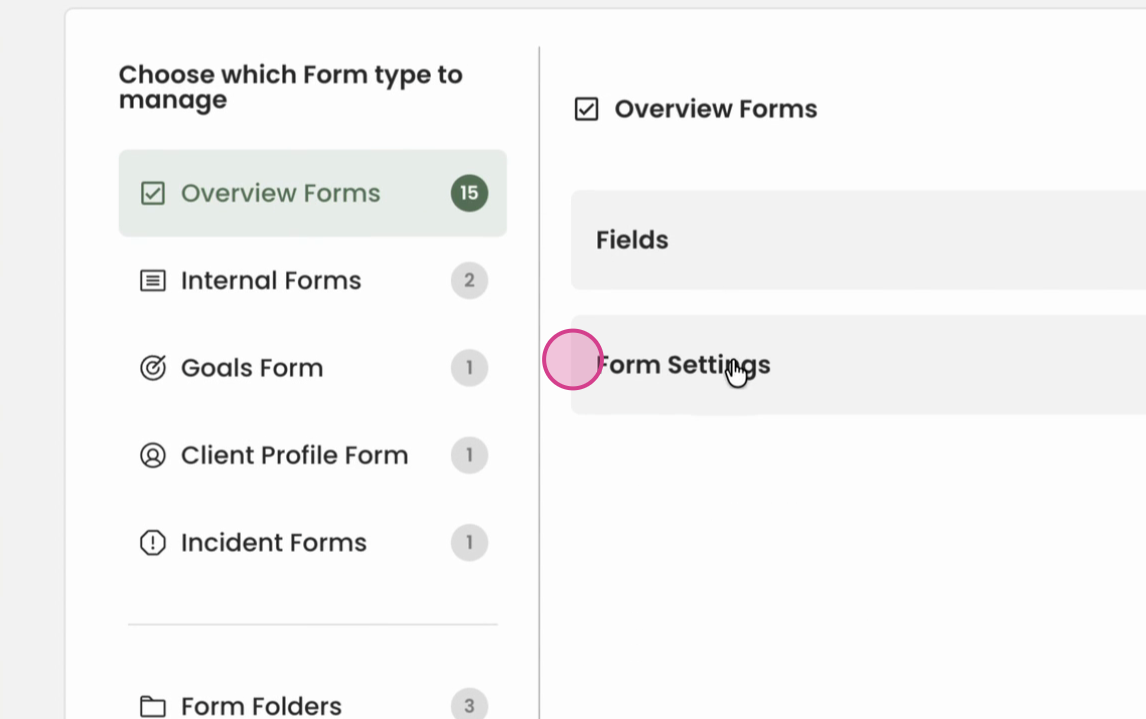
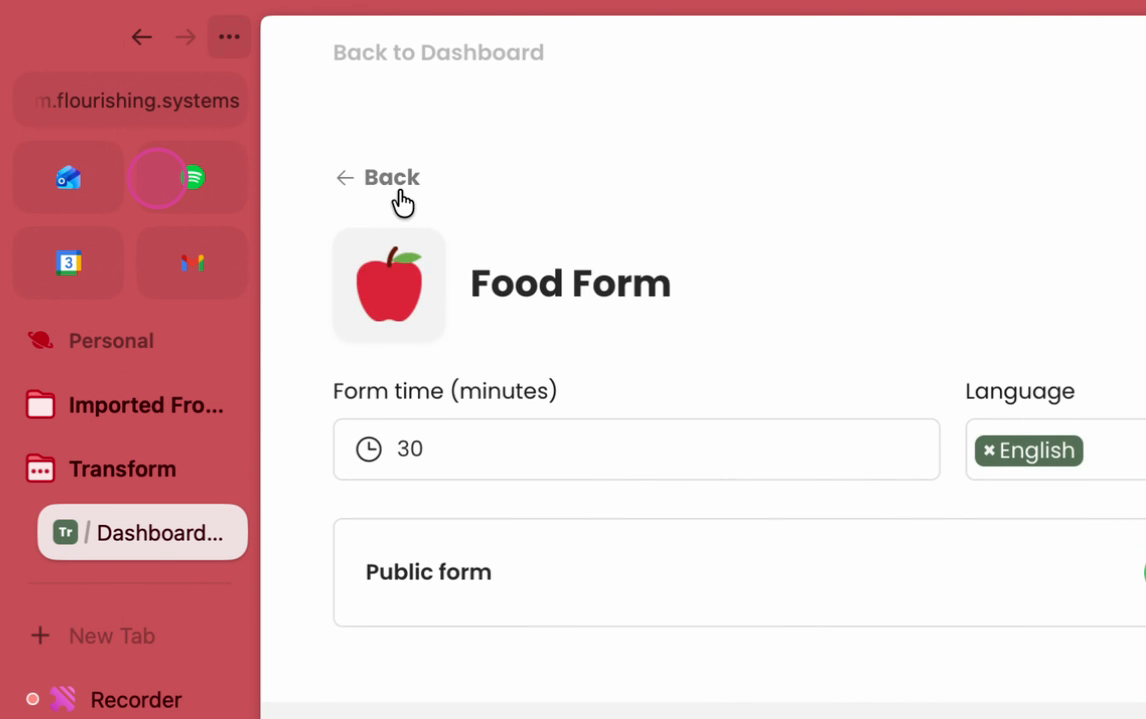
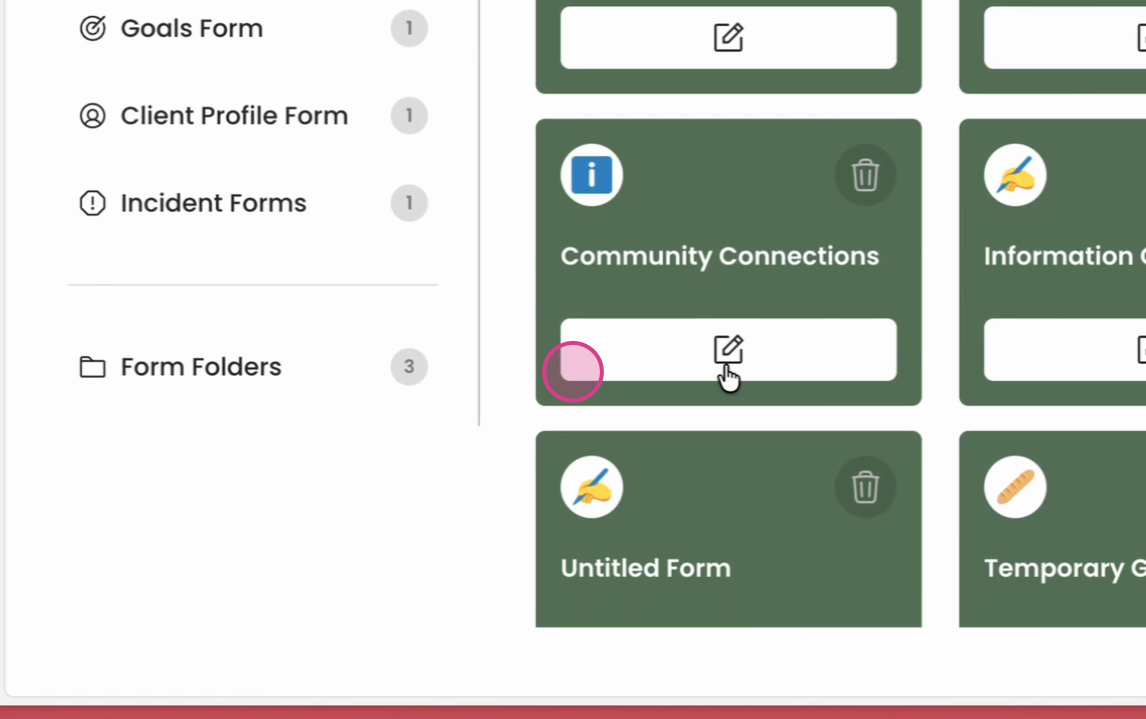
Step 6: To connect forms to your new folder, navigate to the Overview Form from the settings.
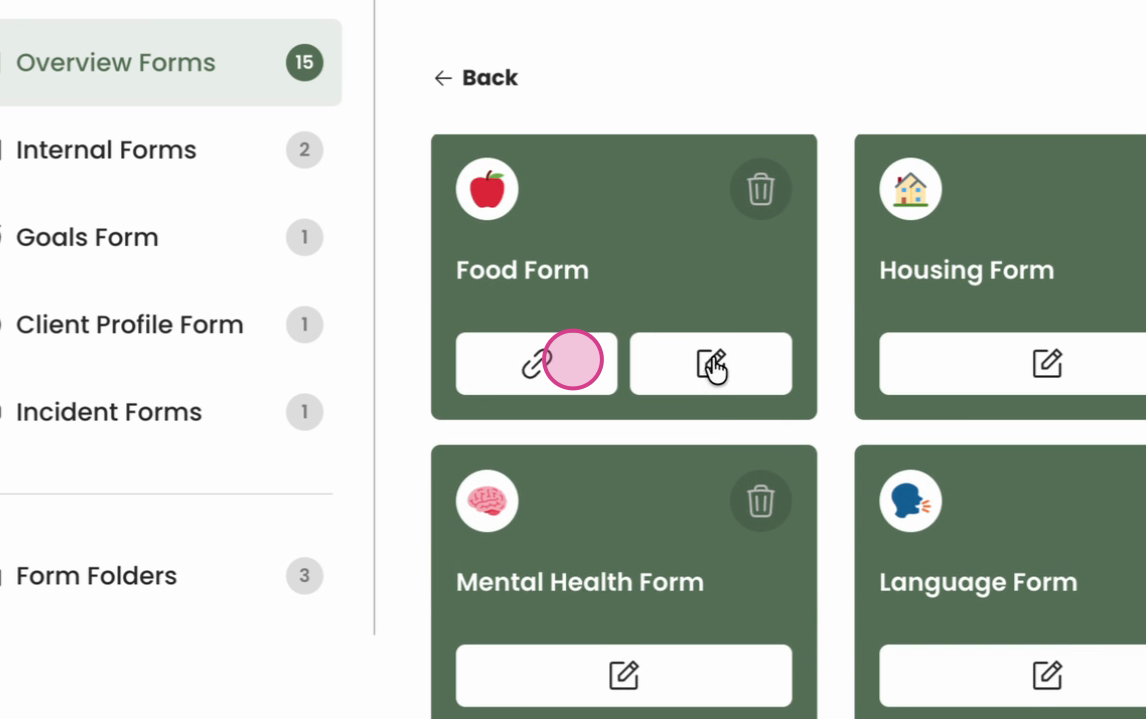
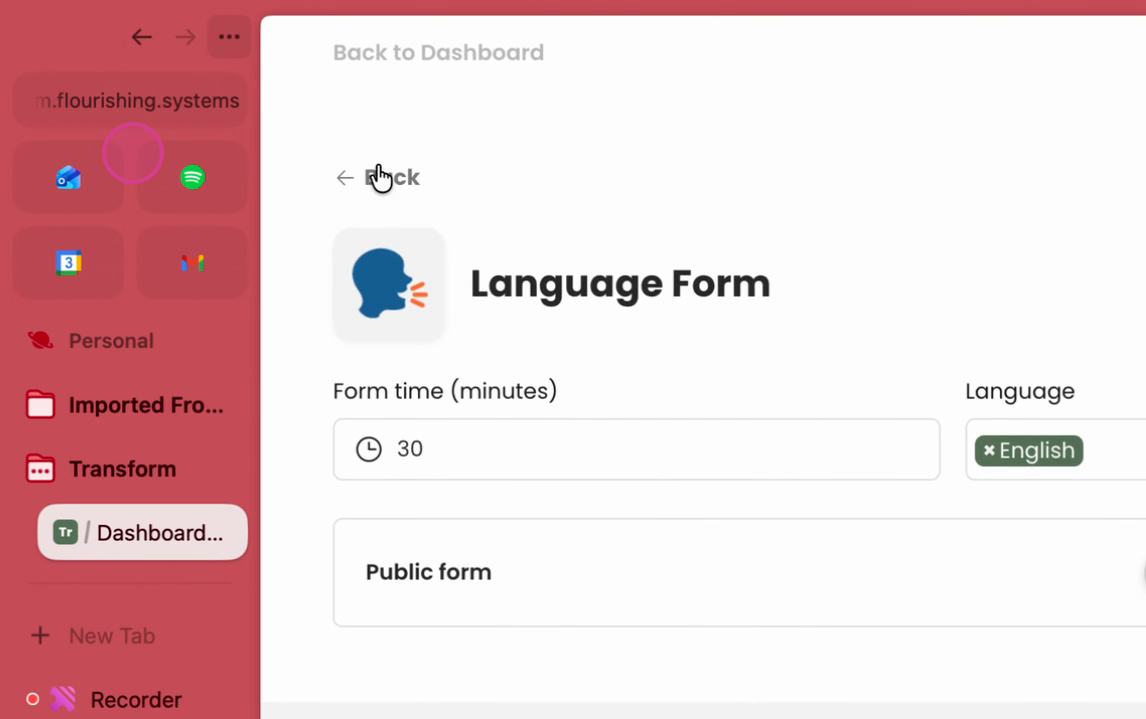
Step 7: Select the form you want to add to the folder. In this example, we're adding the "Food" form.
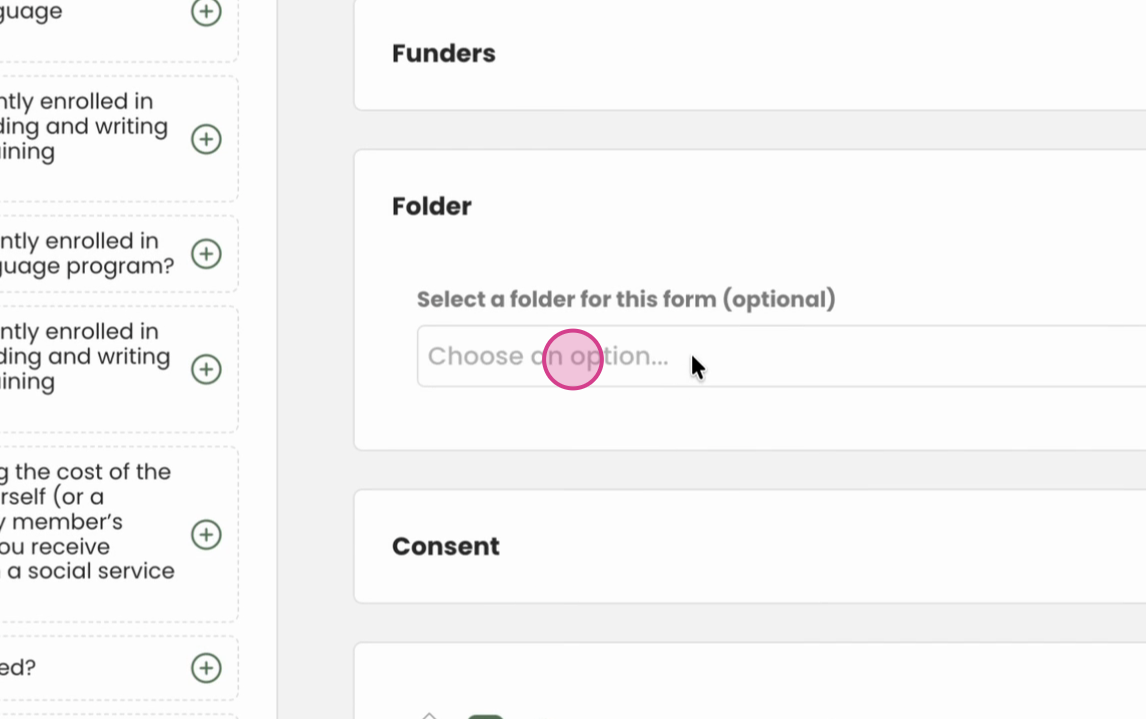
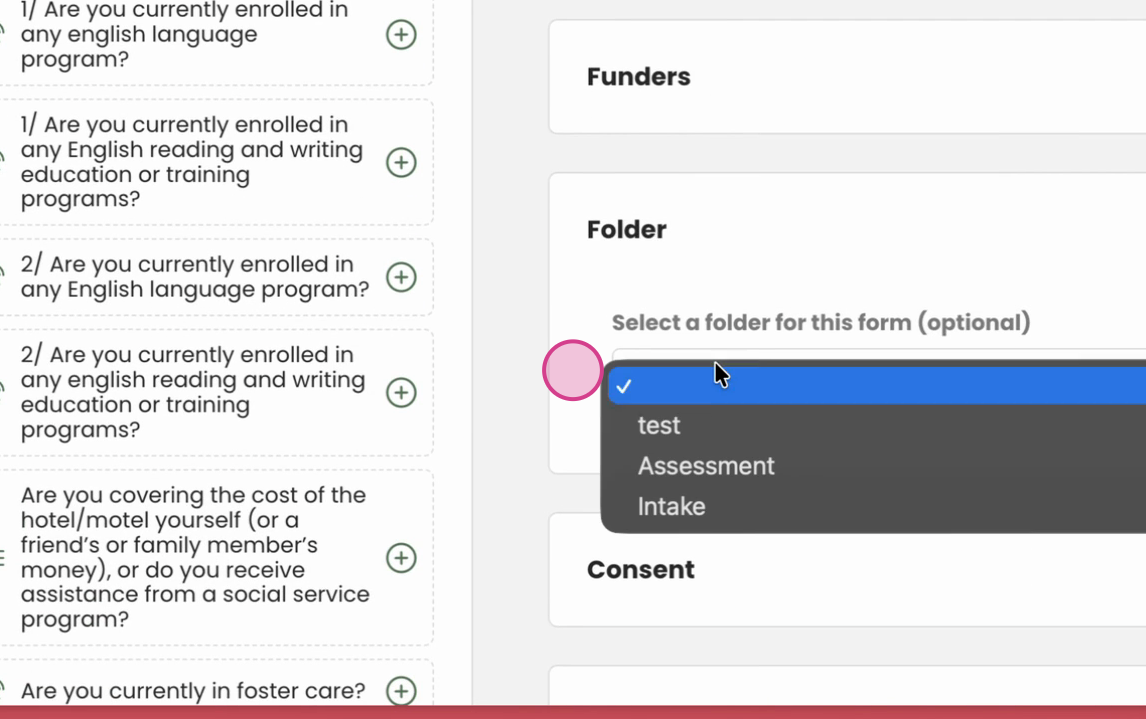
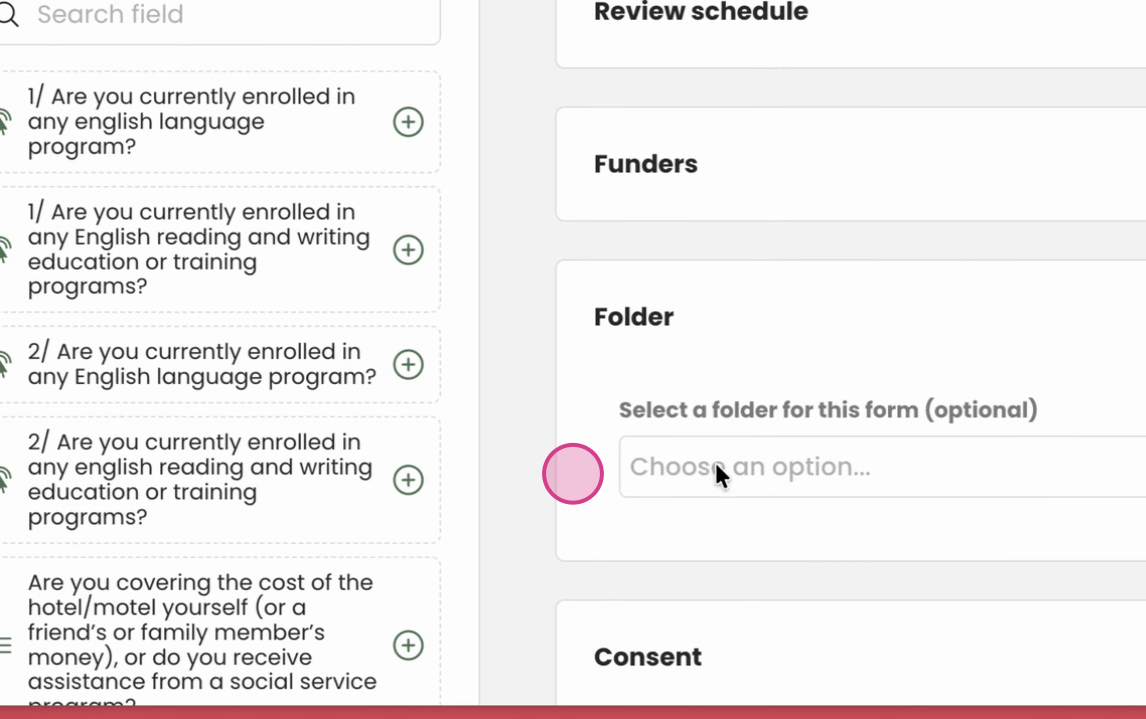
Step 8: Go to the Folders section.
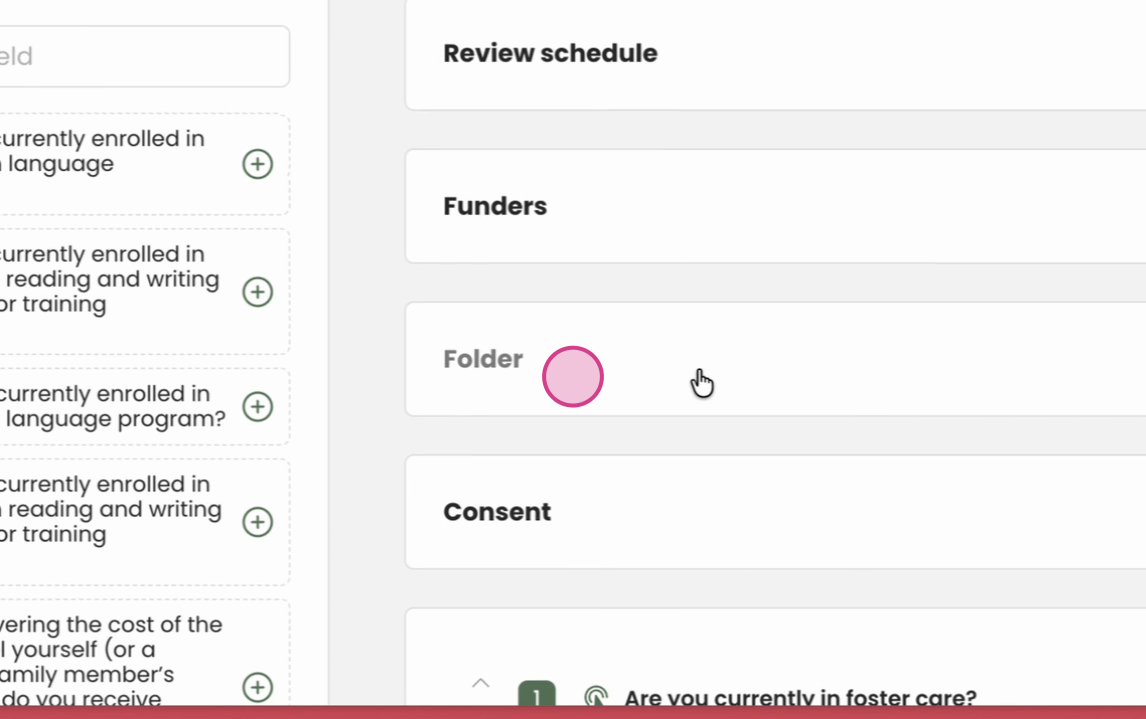
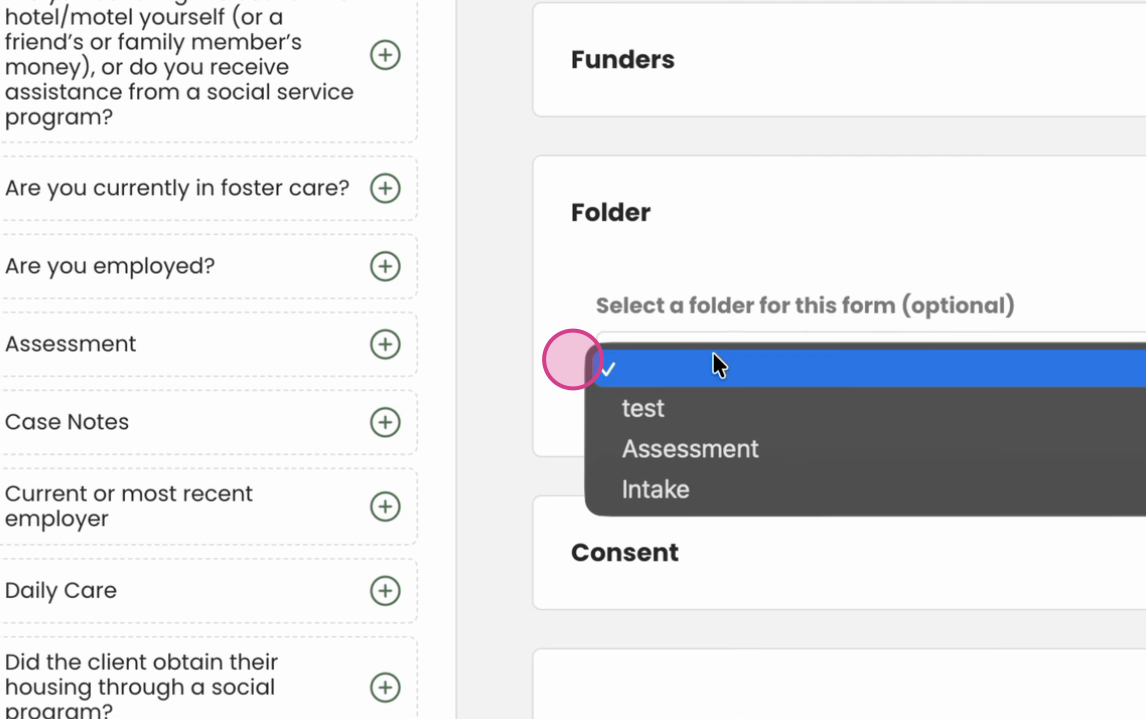
Step 9: From the list of folders, select "Intake".
Step 10: You're free to select as many forms as you want to add to the folder.
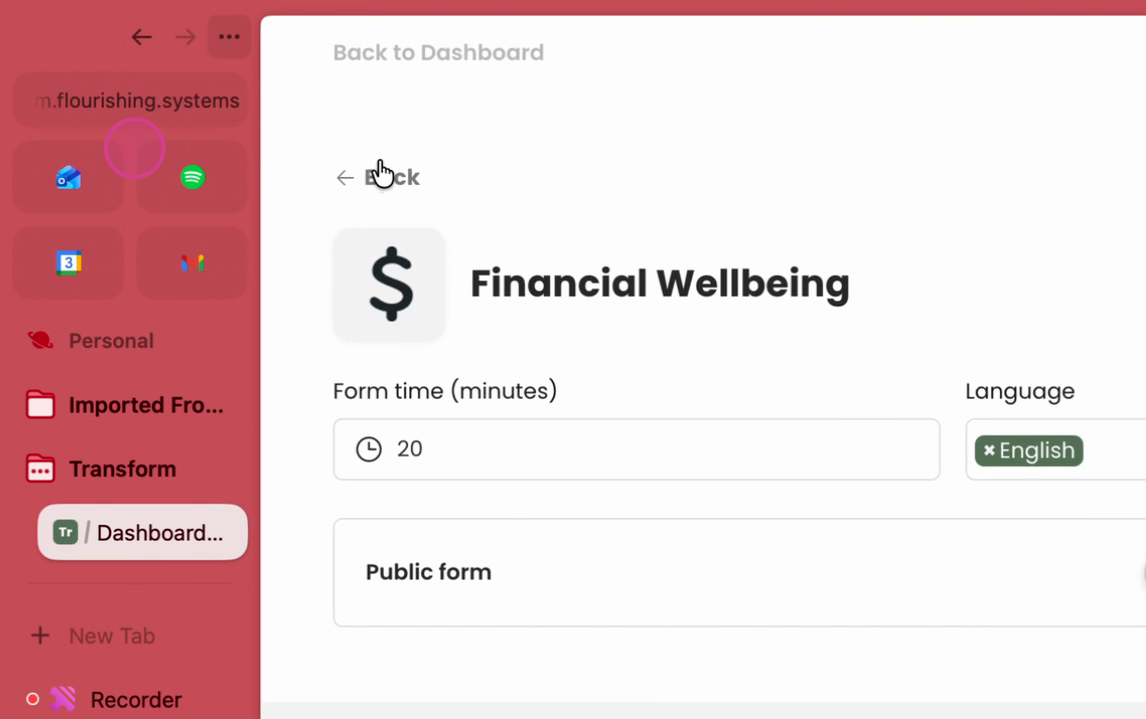
Step 11: Add another form to the folder. In this example, we're adding the "Financial Well Being" form.
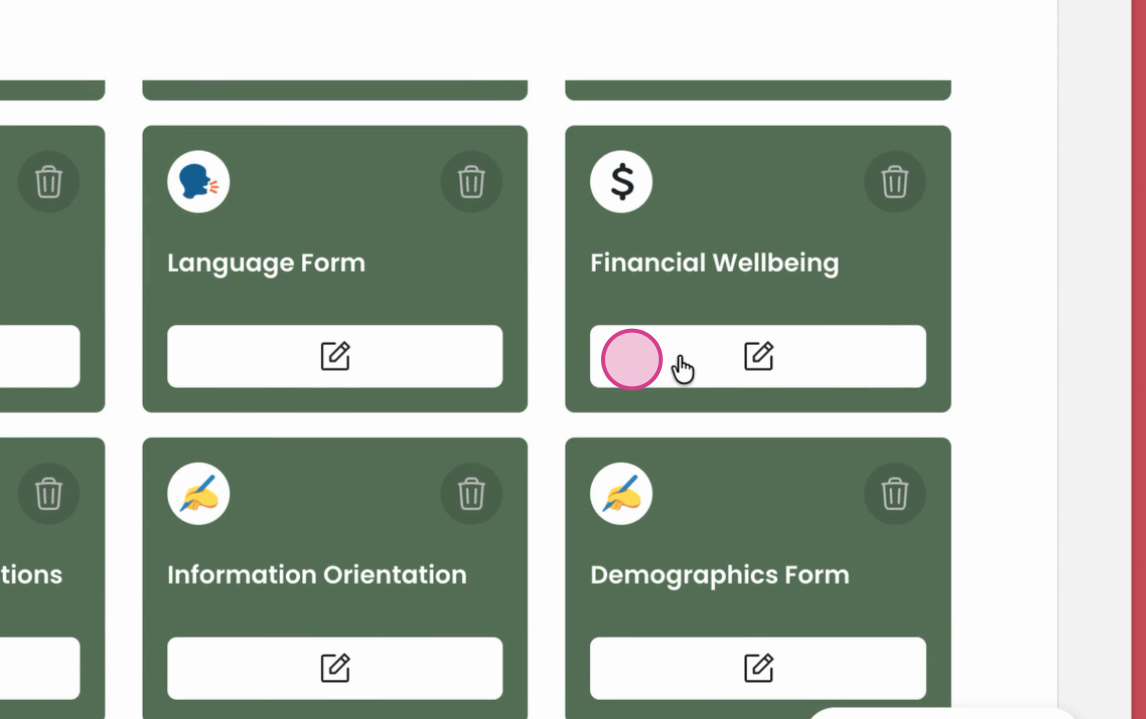
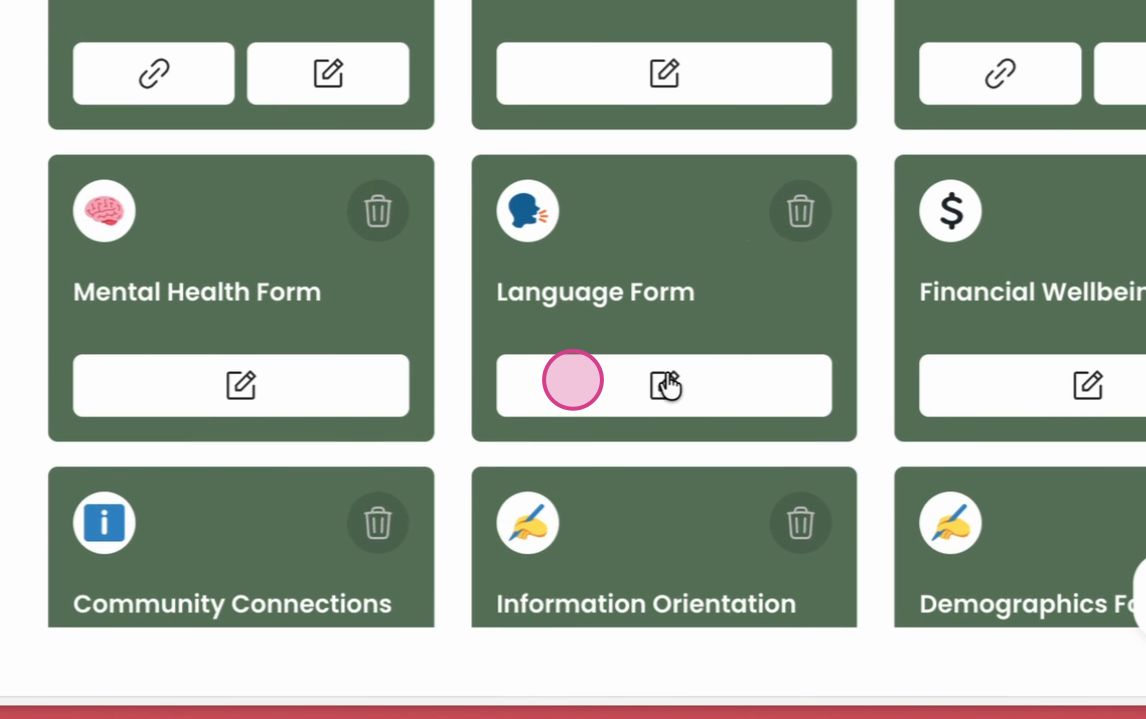
Step 12: Select the form you want to add.
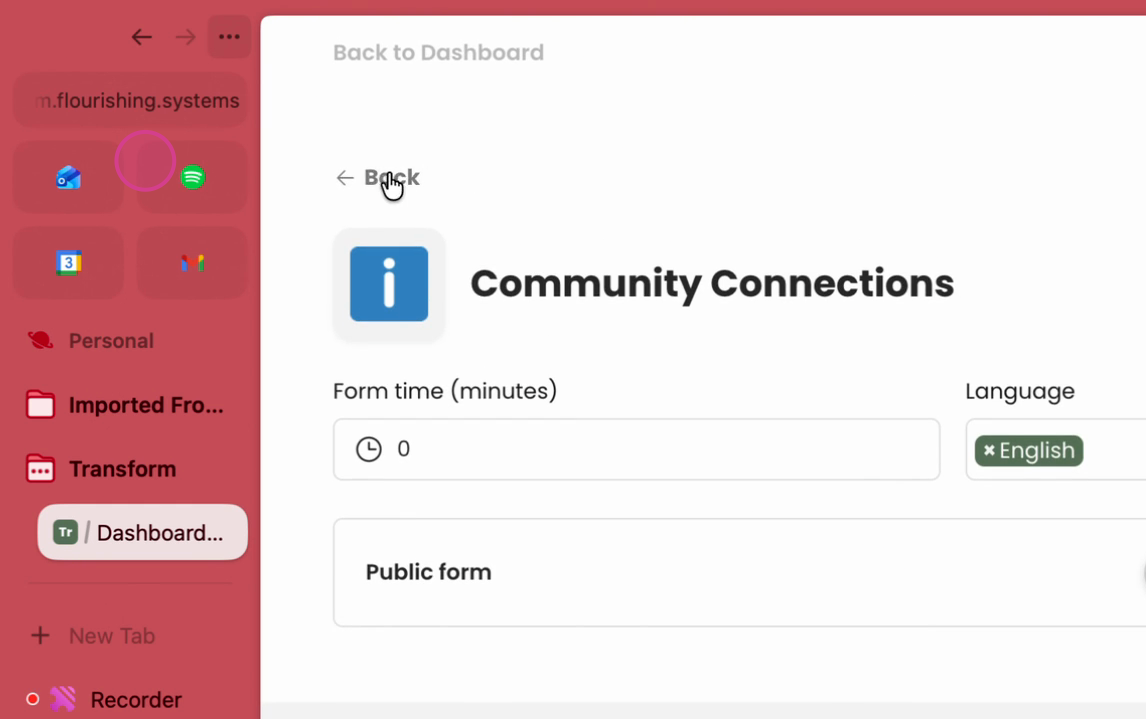
Step 13: Navigate to the form and select it.
Step 14: Review your forms.
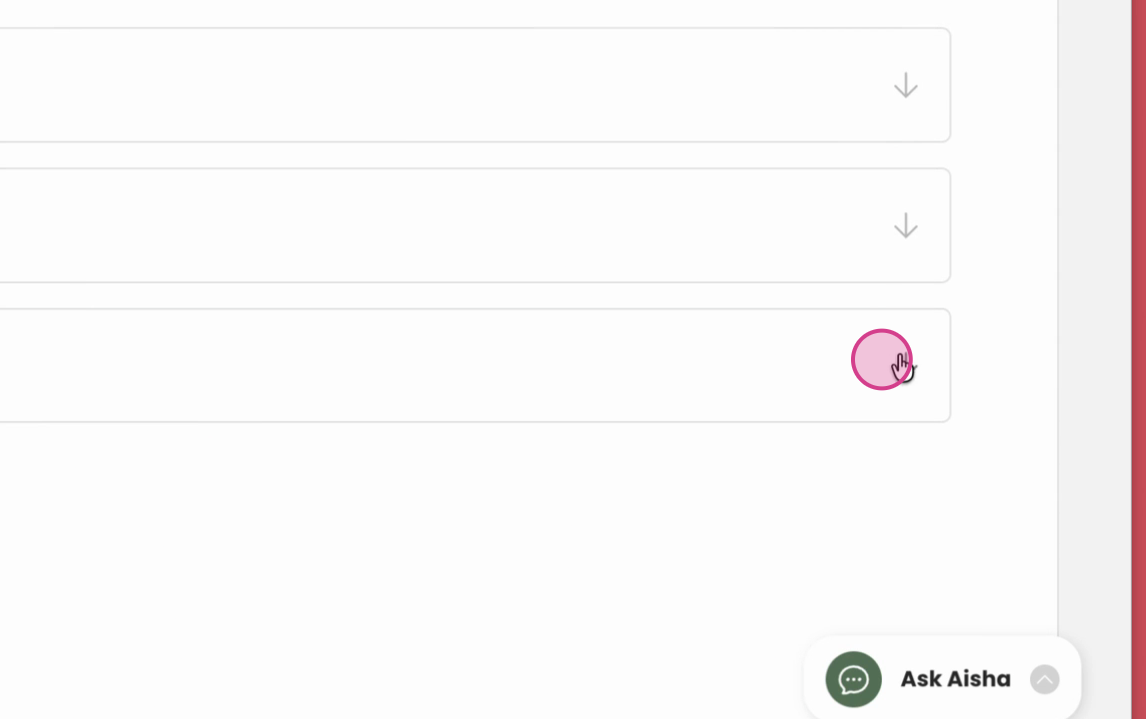
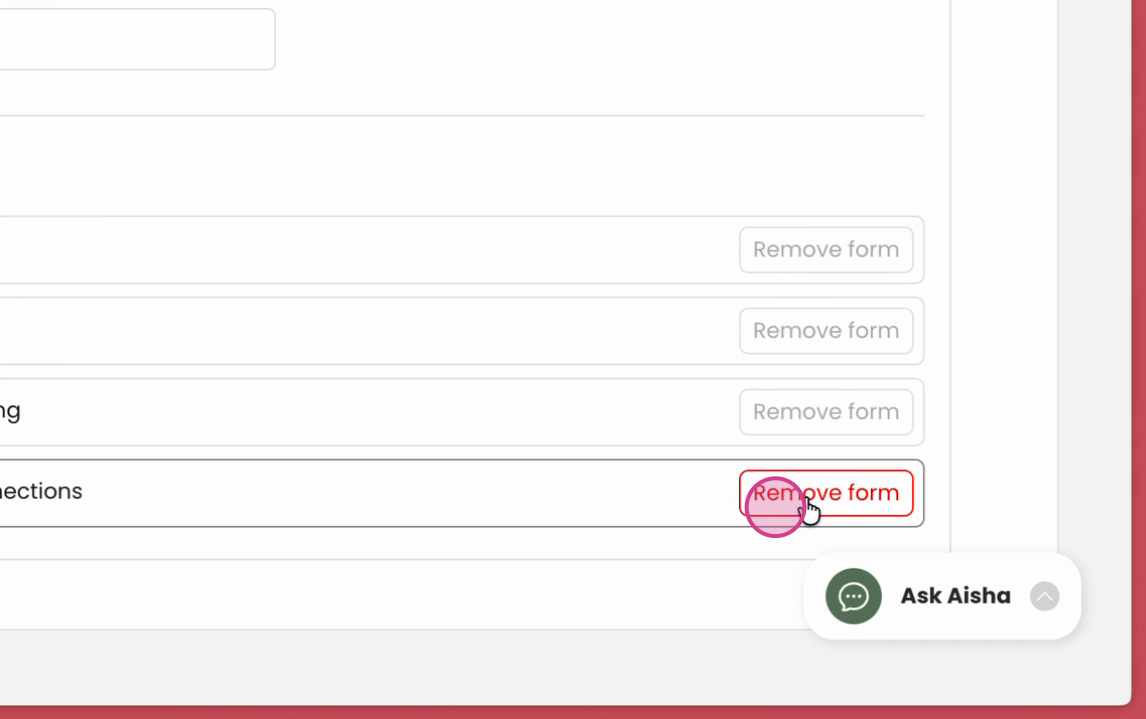
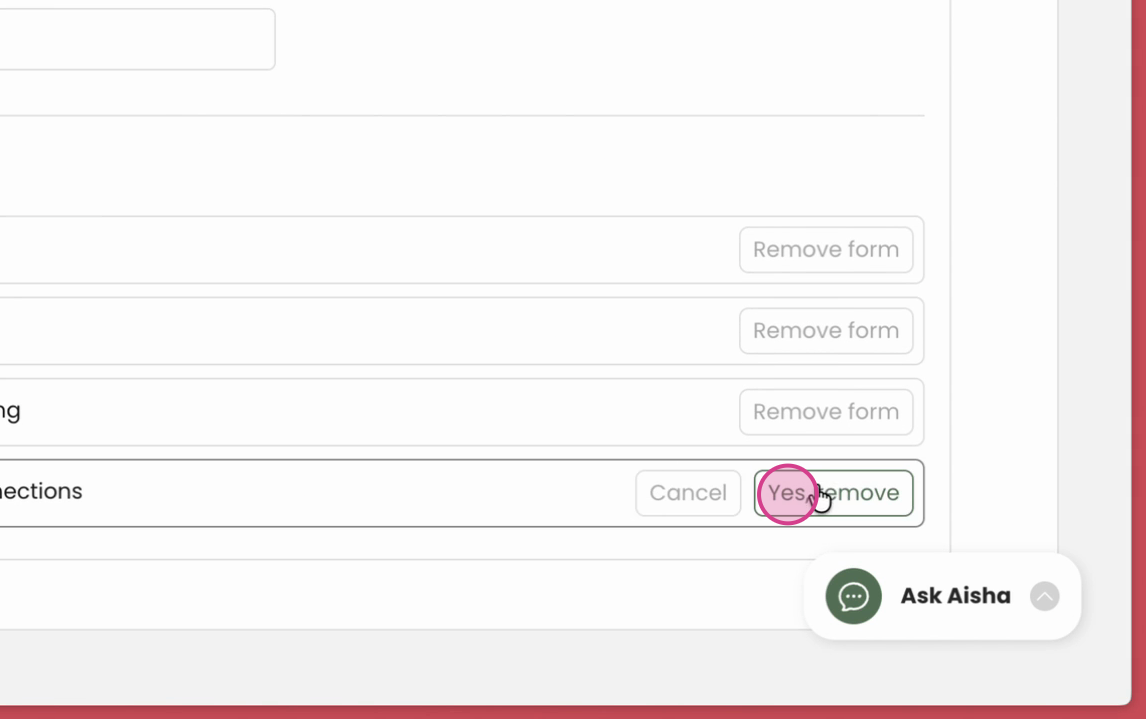
Step 15: If you want to delete a form, remove it from the folder.
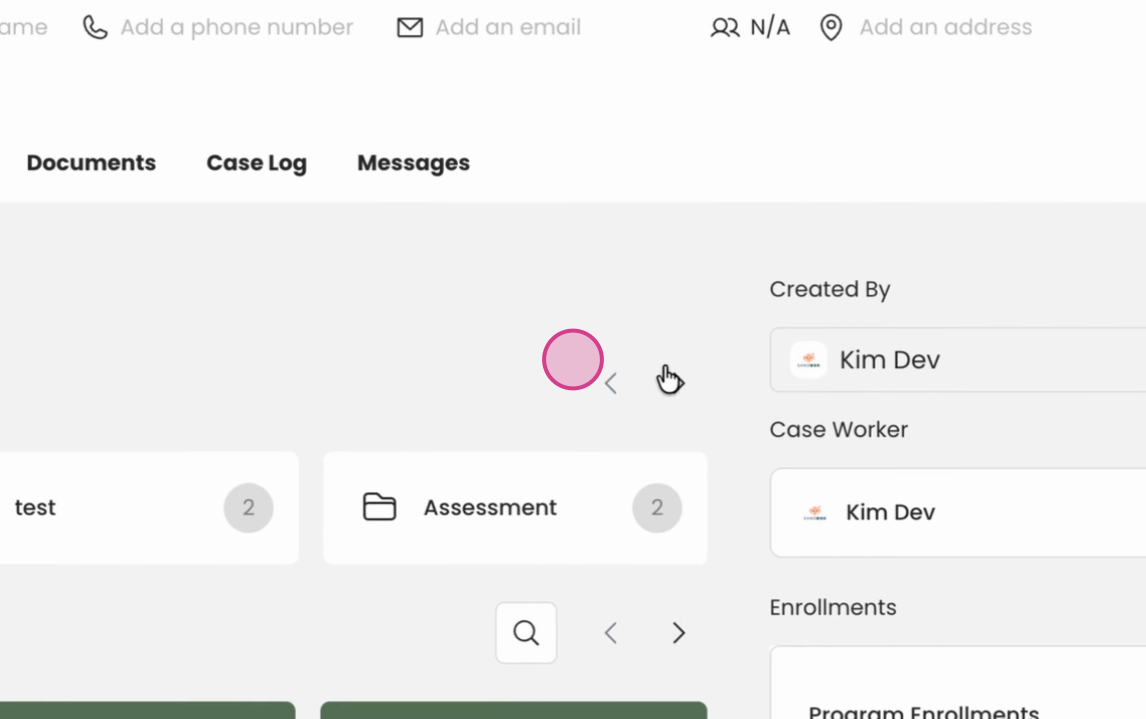
Step 16: Navigate back to the dashboard.
Step 17: Go to your client section.
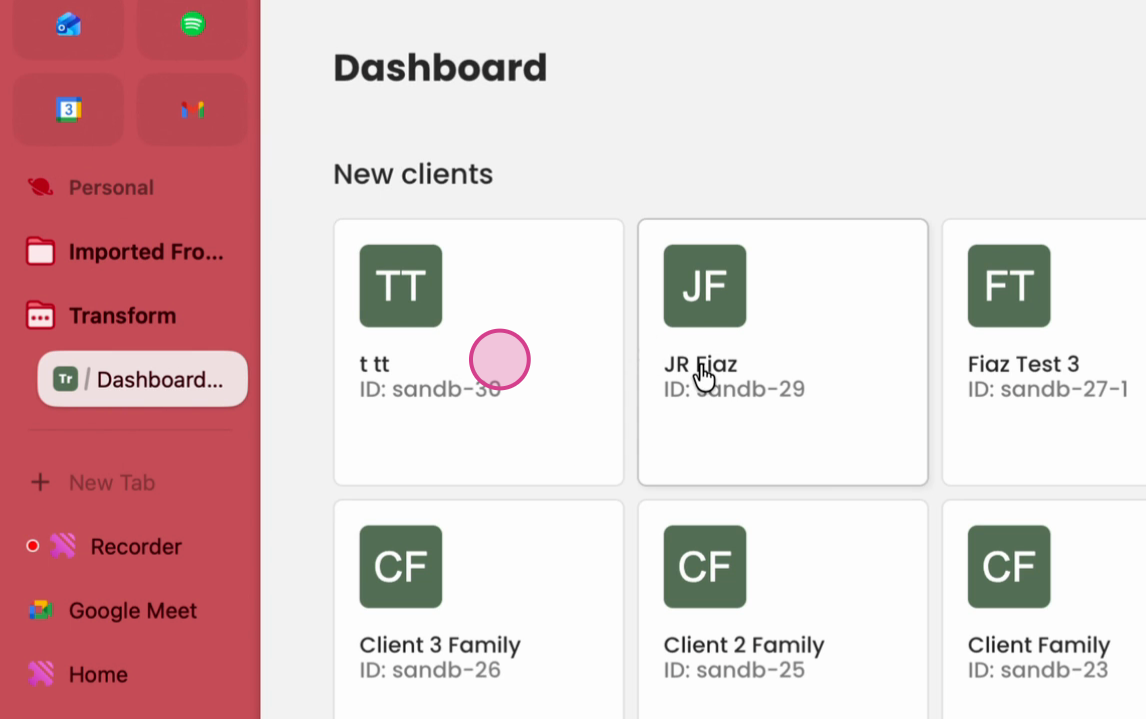
Step 18: You'll see the "Intake" folder you created with the connected forms.