In this article, we will guide you through the process of adding relationships and dependents to a client's profile in Transform.
Step 1:
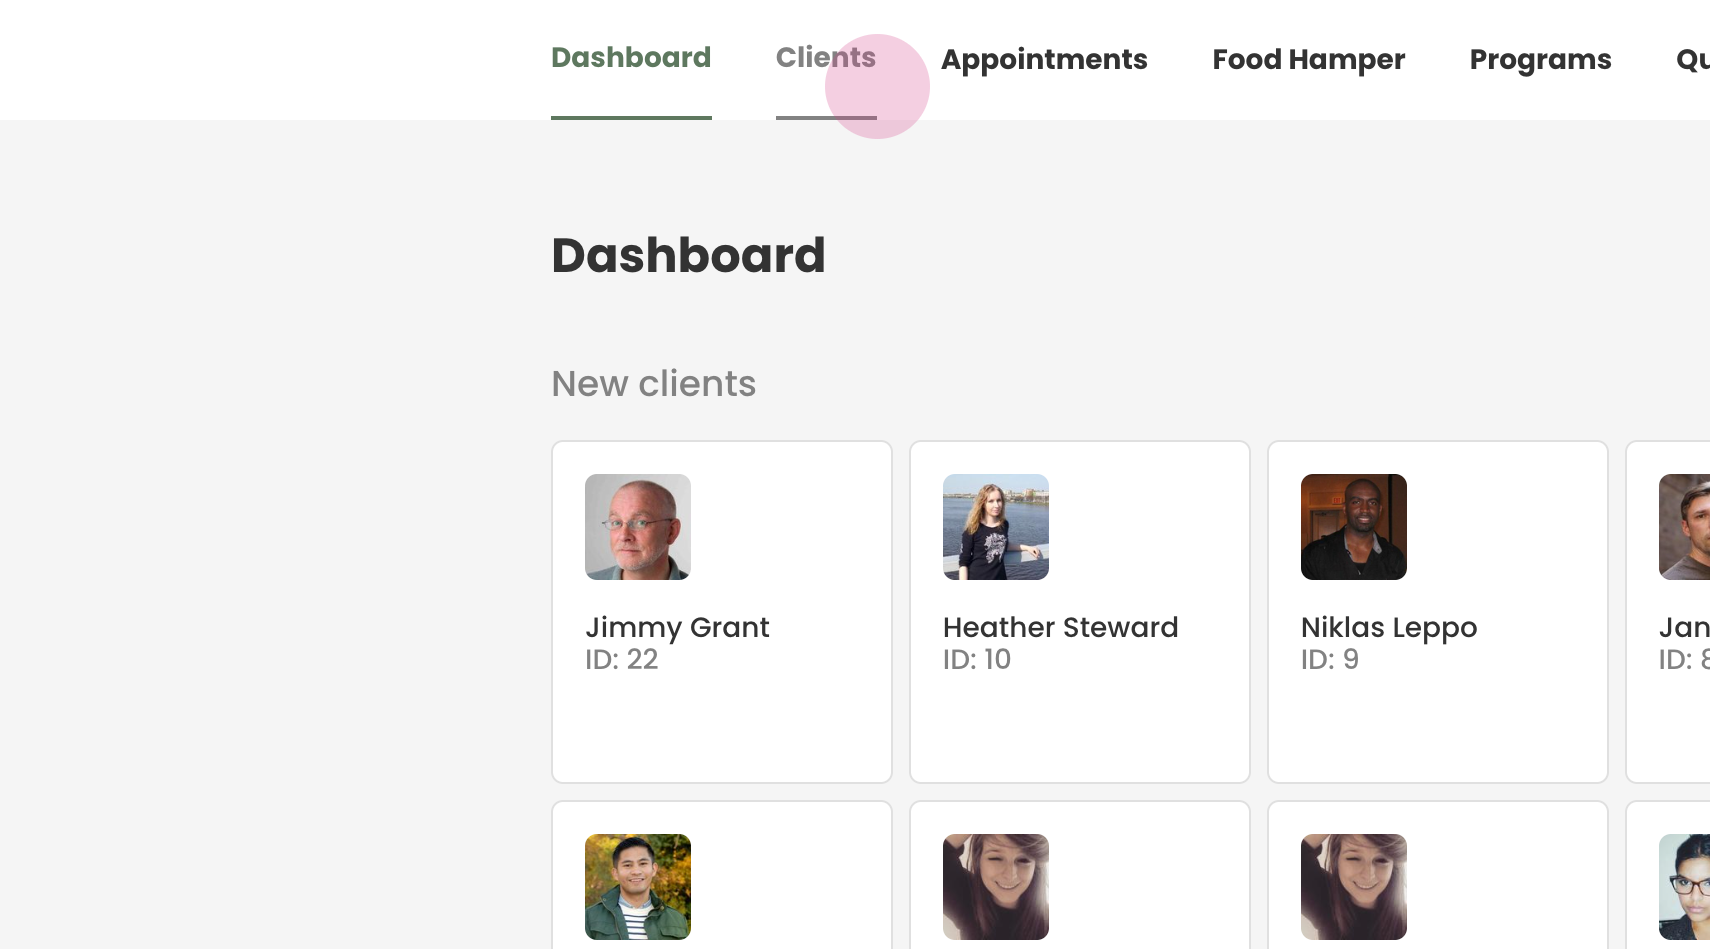
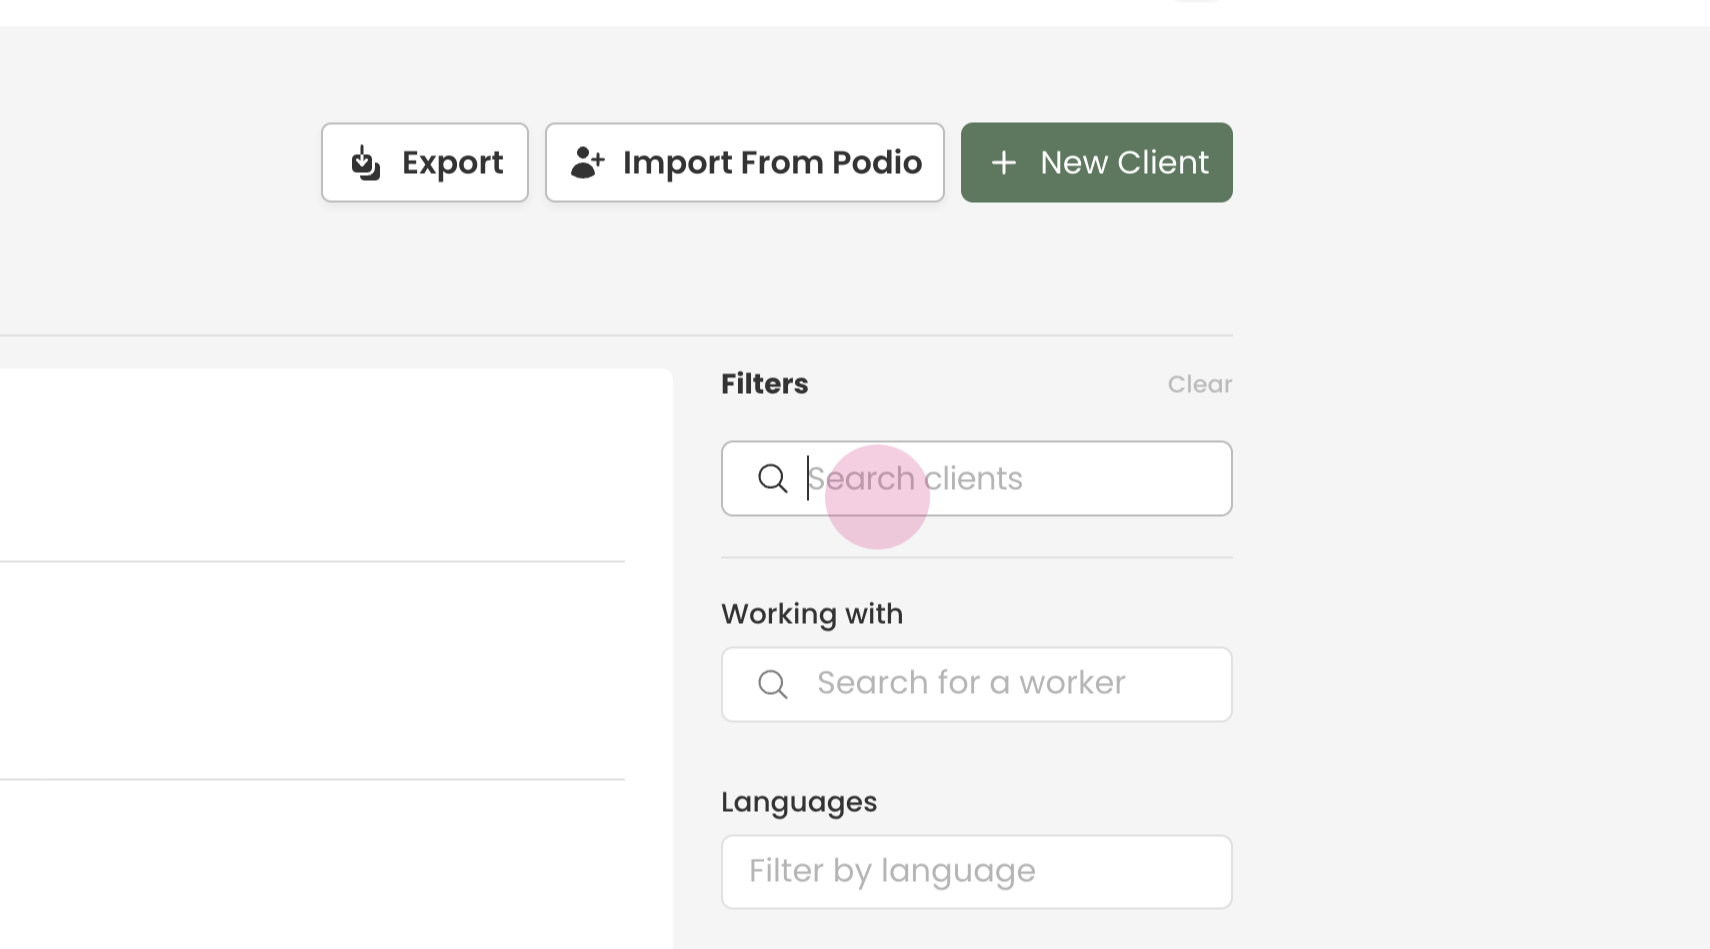
To begin, navigate to the 'Clients' tab and use the search box to search for the client.
Step 2:
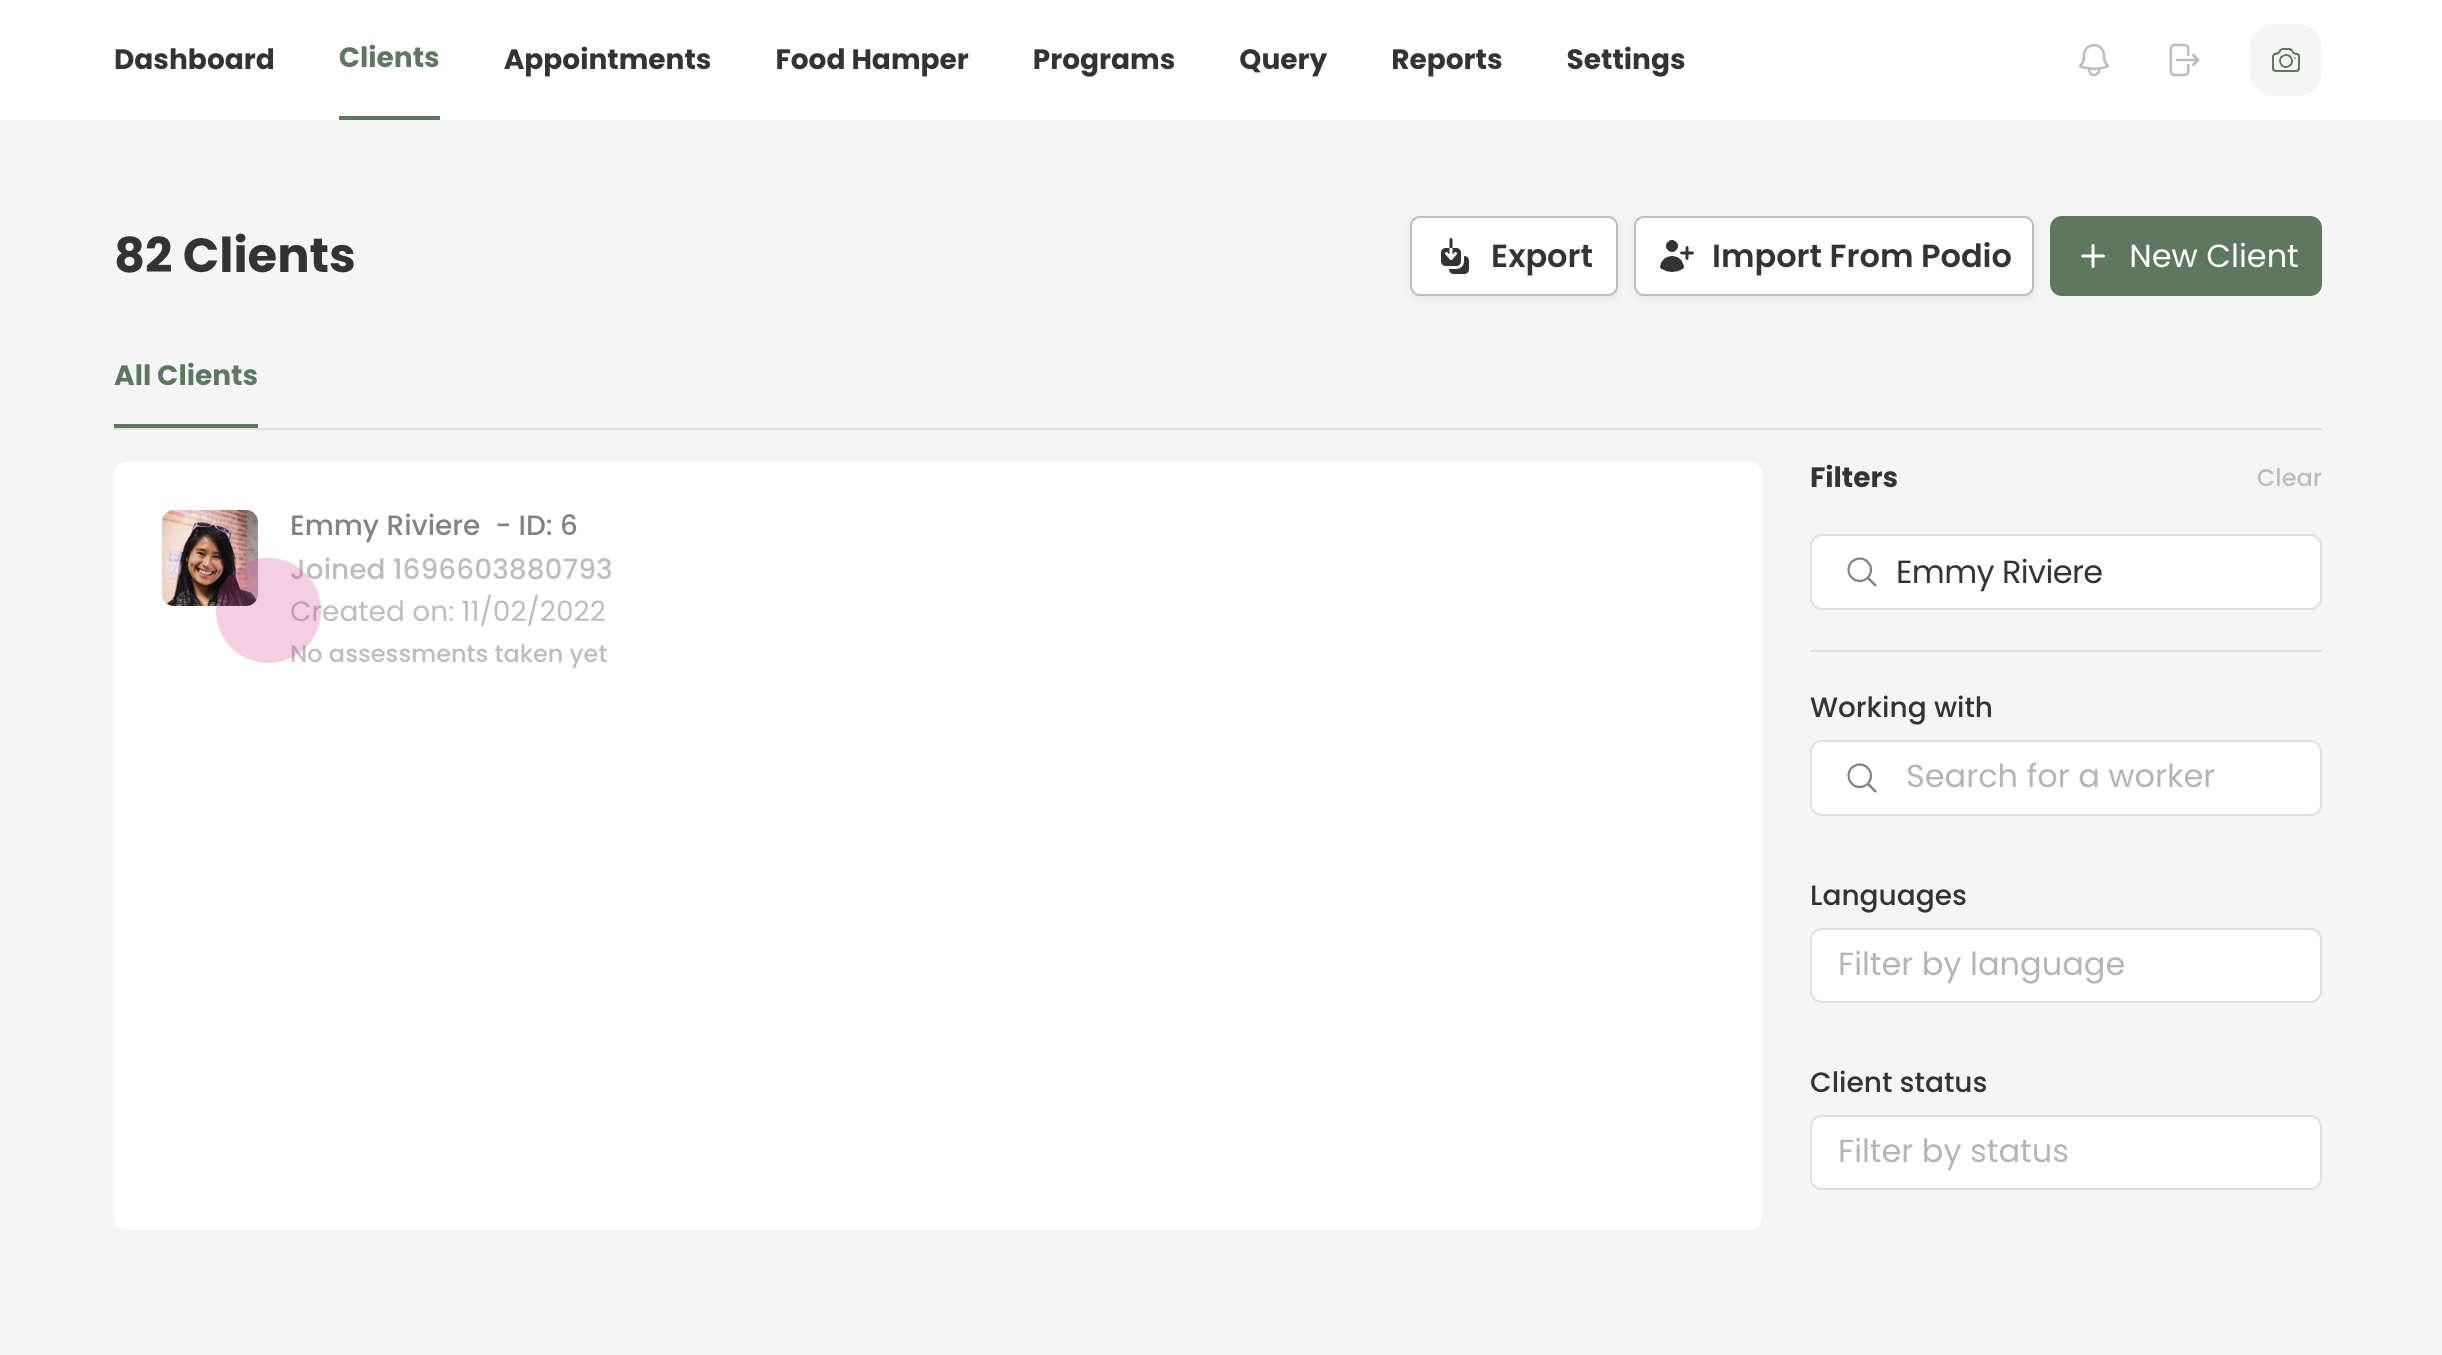
Enter the client's first and last name, or their ID, and press 'Enter' to search. Upon finding the client, select their profile.
Step 3:
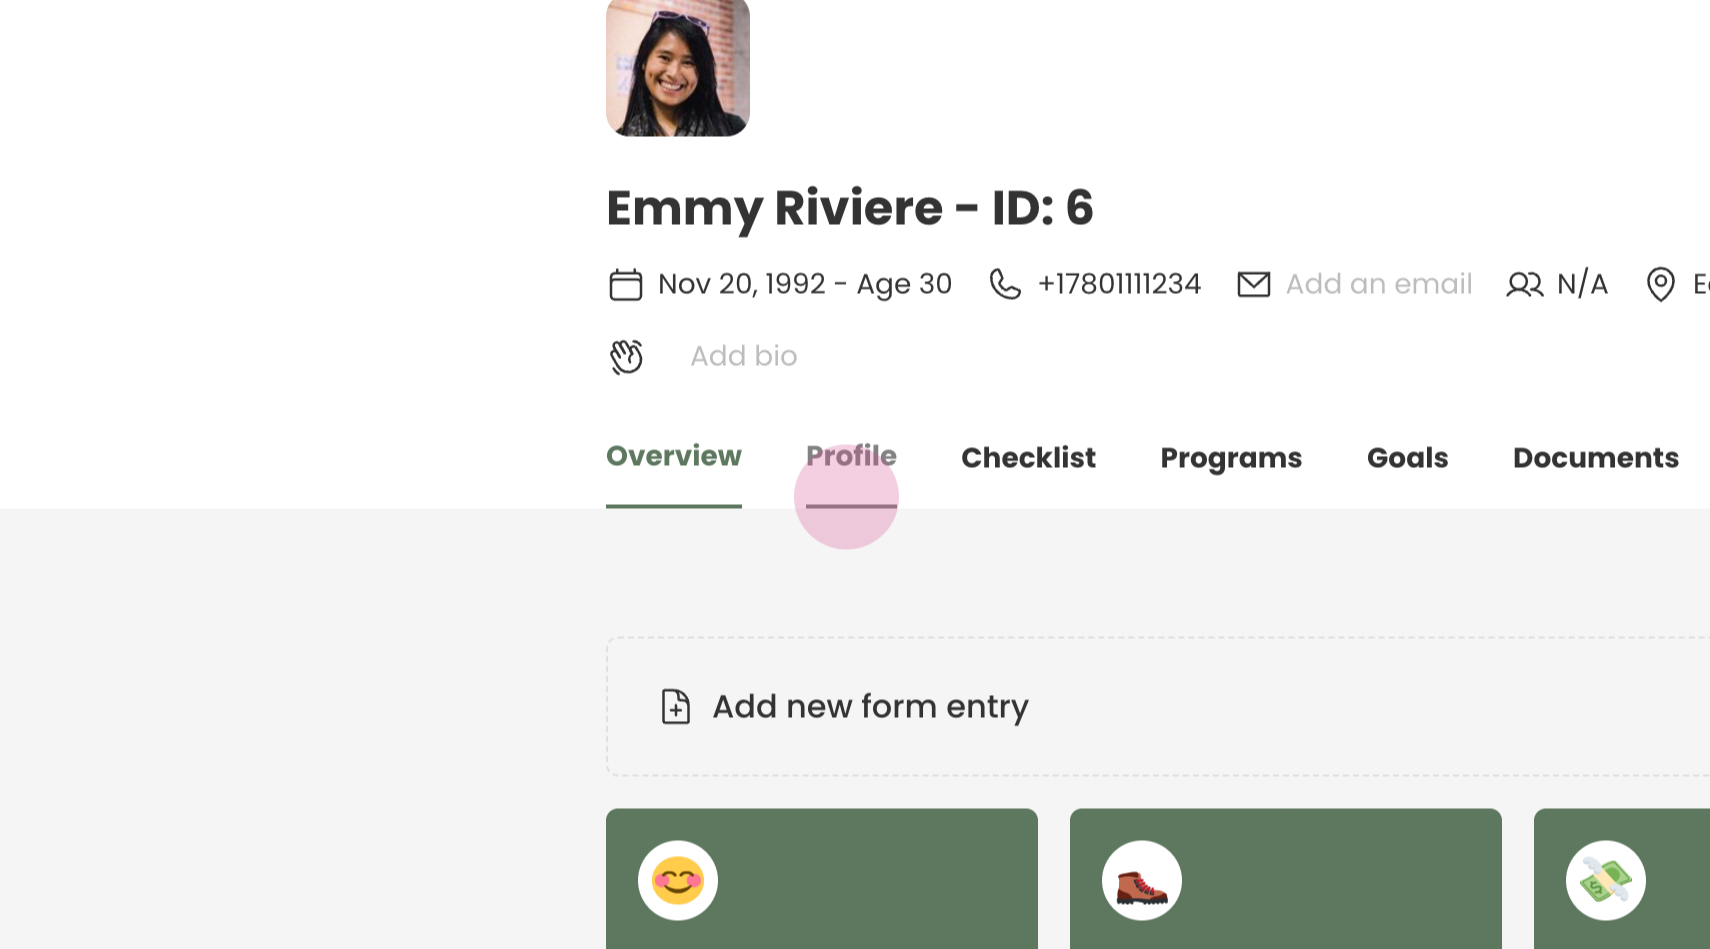
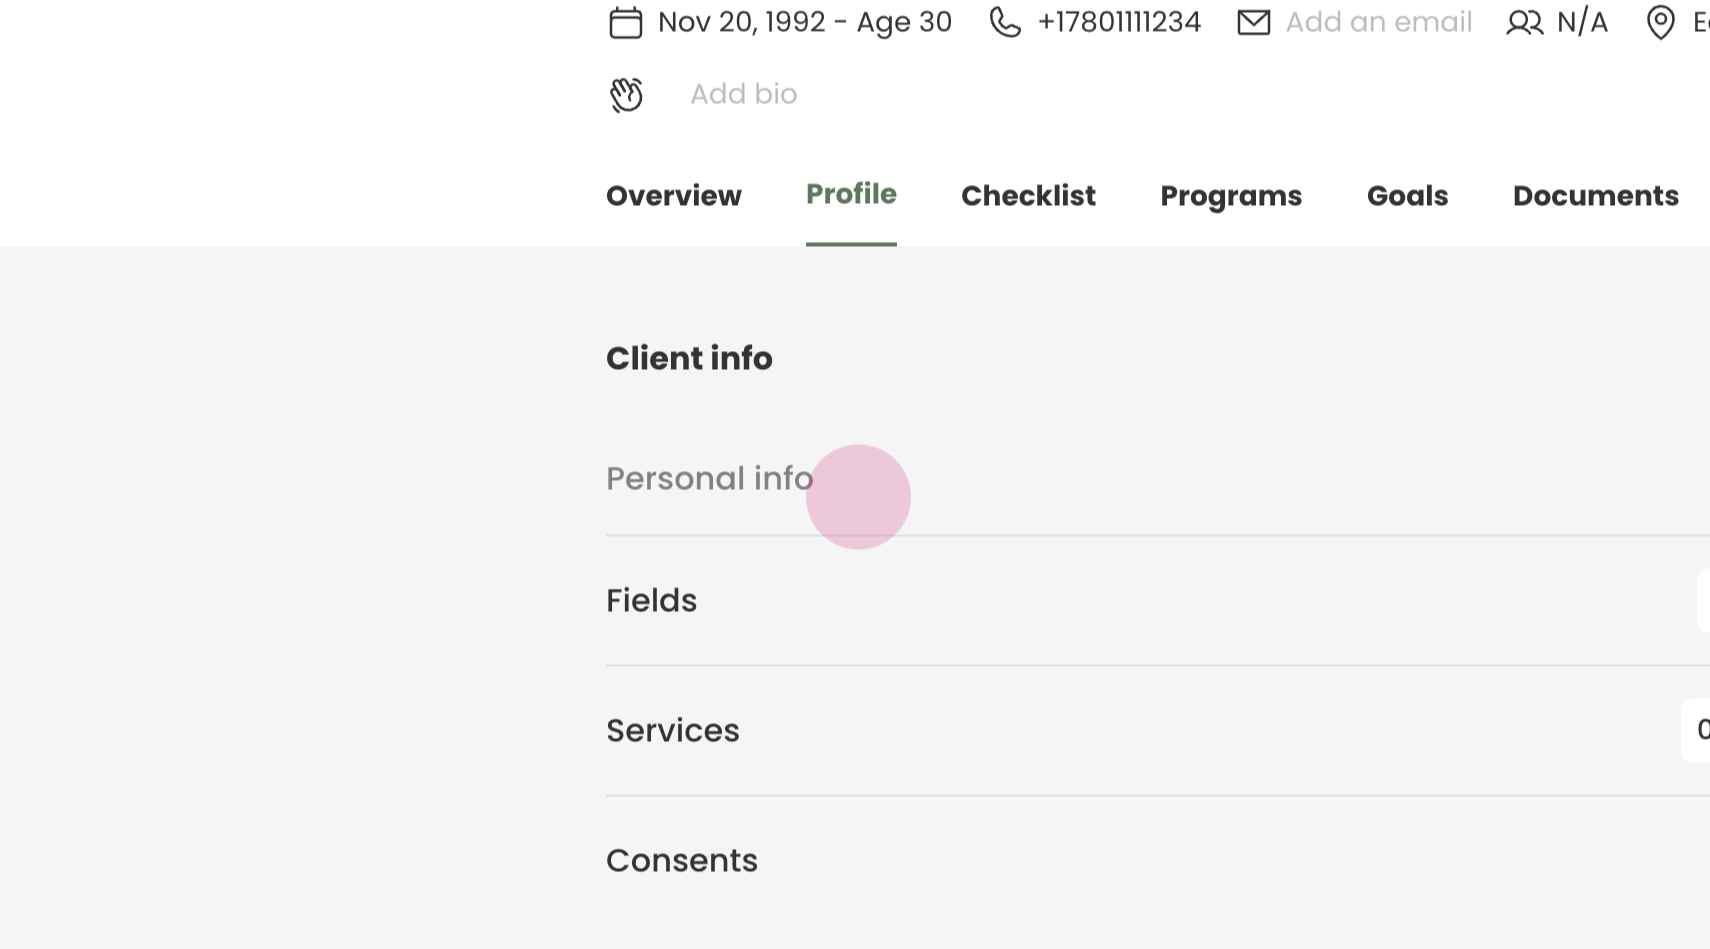
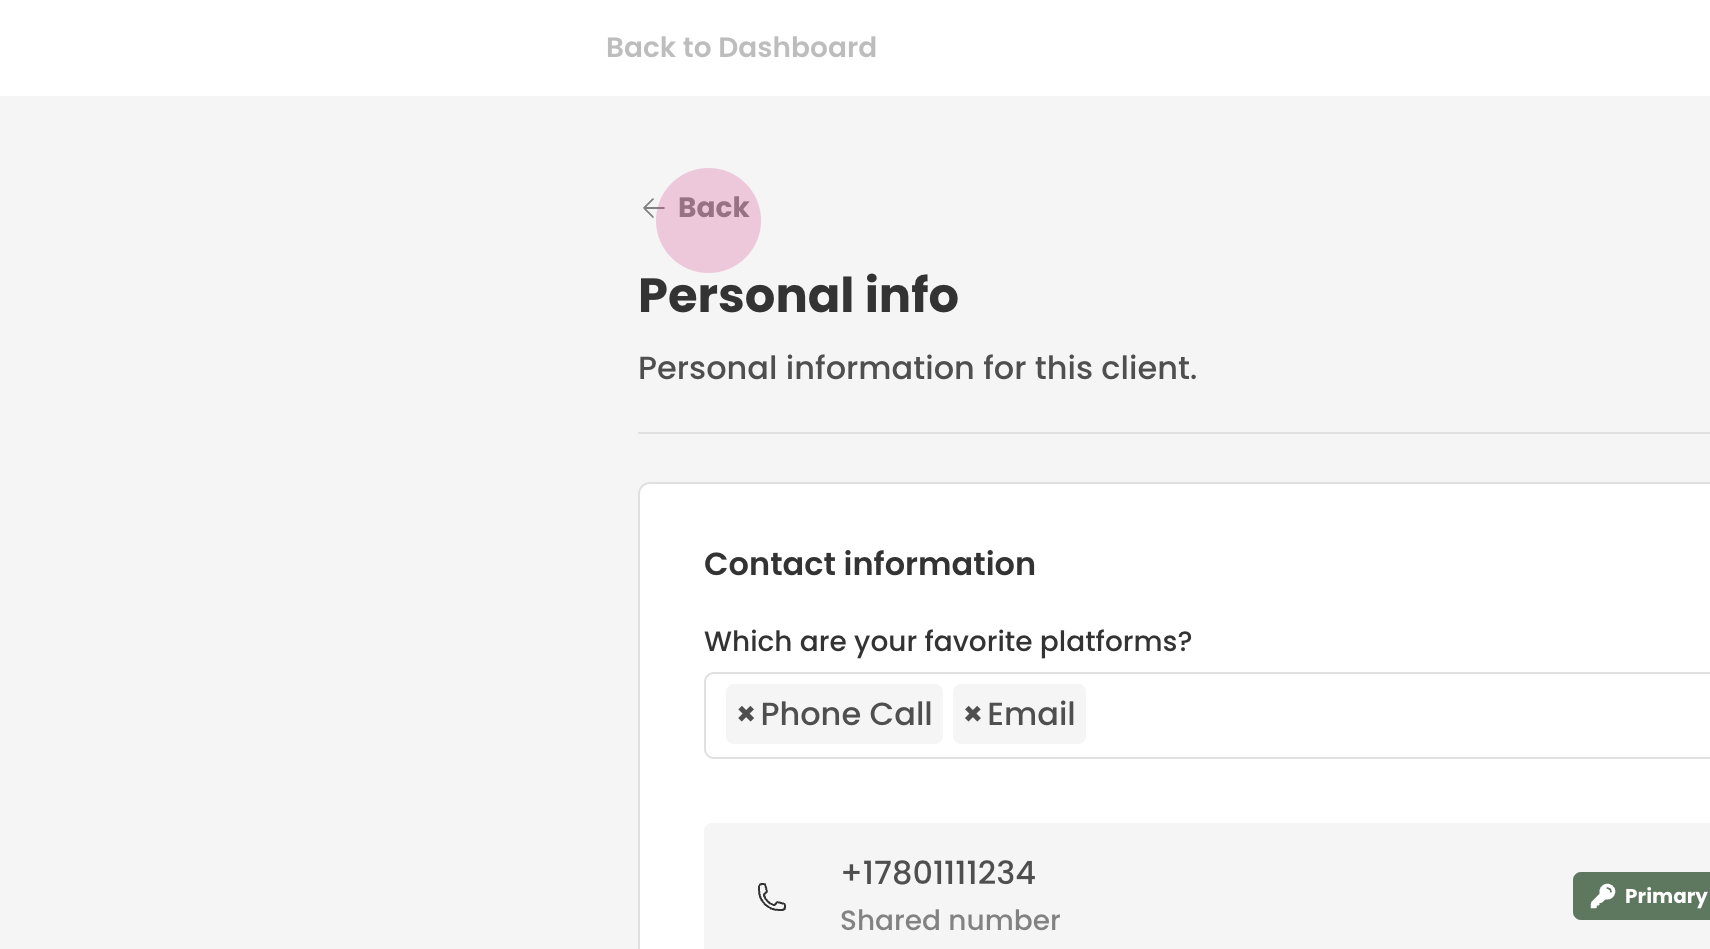
Inside their profile, go to the 'Profile' tab and then to 'Personal Info'.
Step 4:
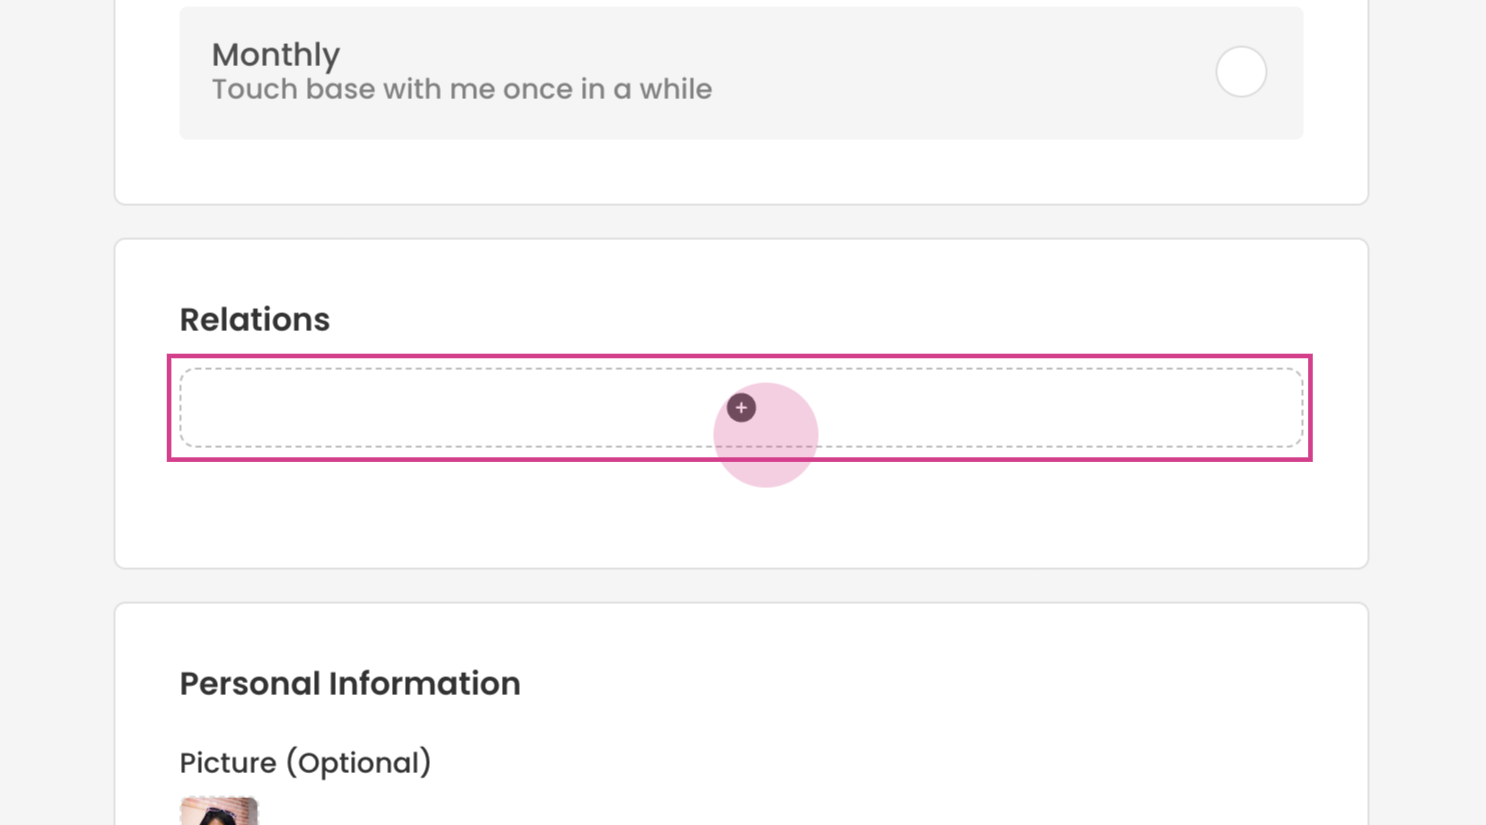
Scroll down until you reach the 'Relation' section and click on the 'Add' button.
Step 5:
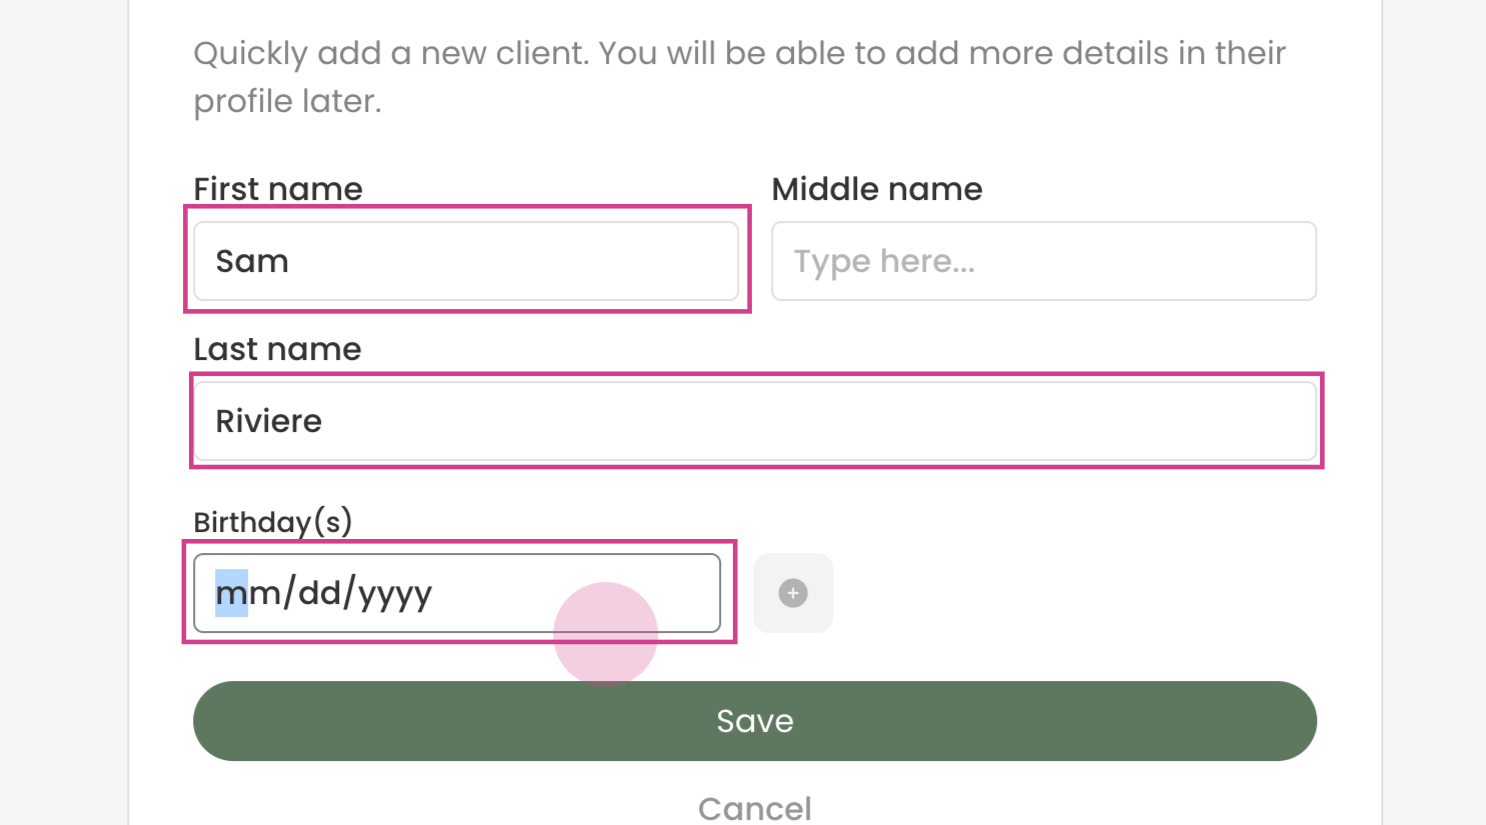
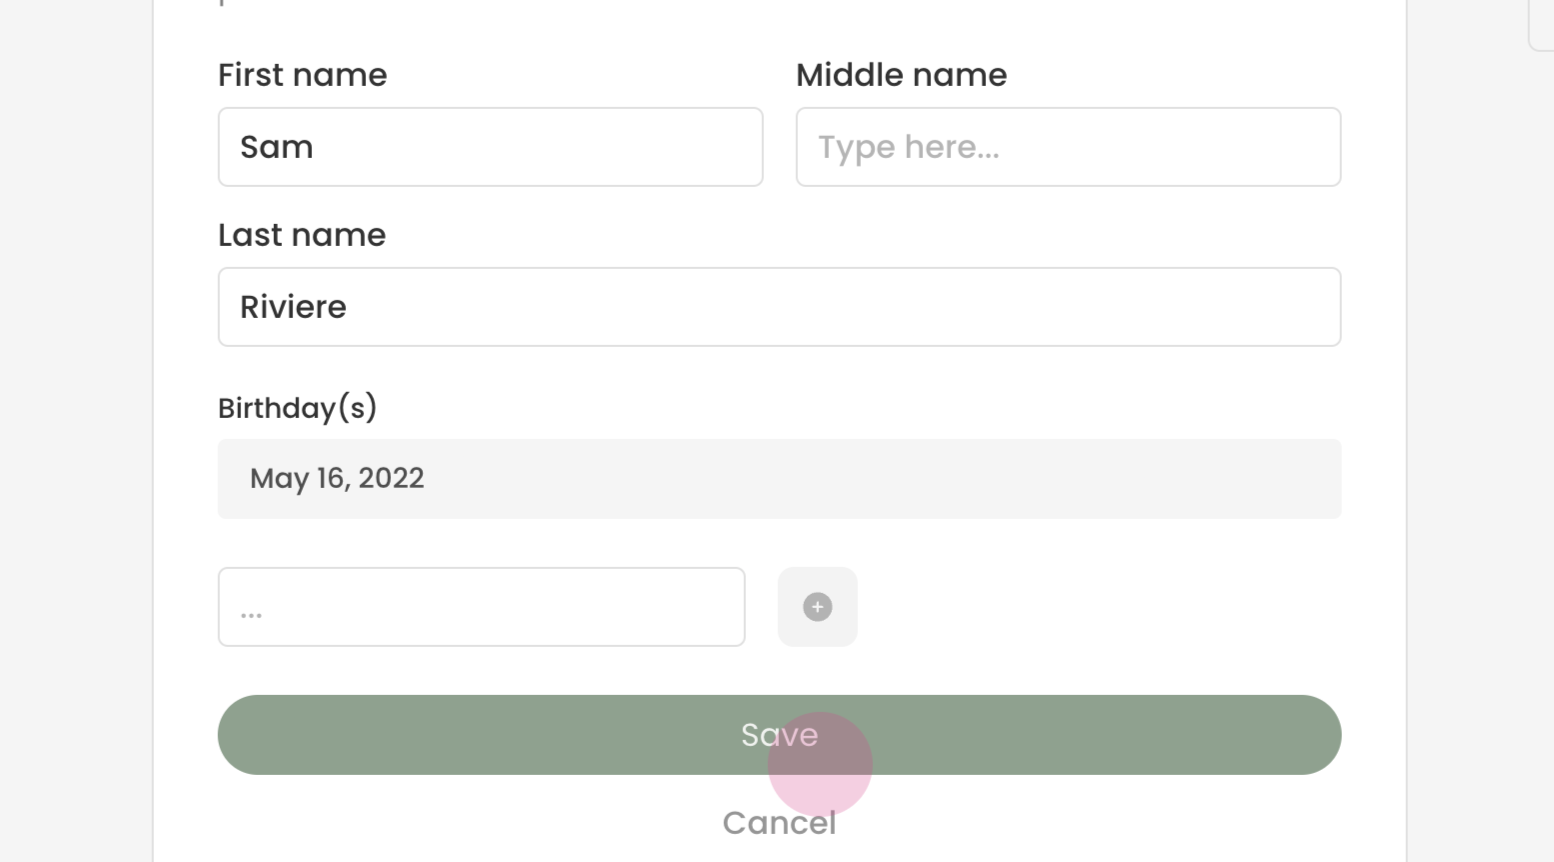
In the provided fields, enter the first name, last name, and birthday of the relation.
Step 6:
Click on the green plus icon to add the birthday.
After entering the details, click on 'Save' to add the relation.
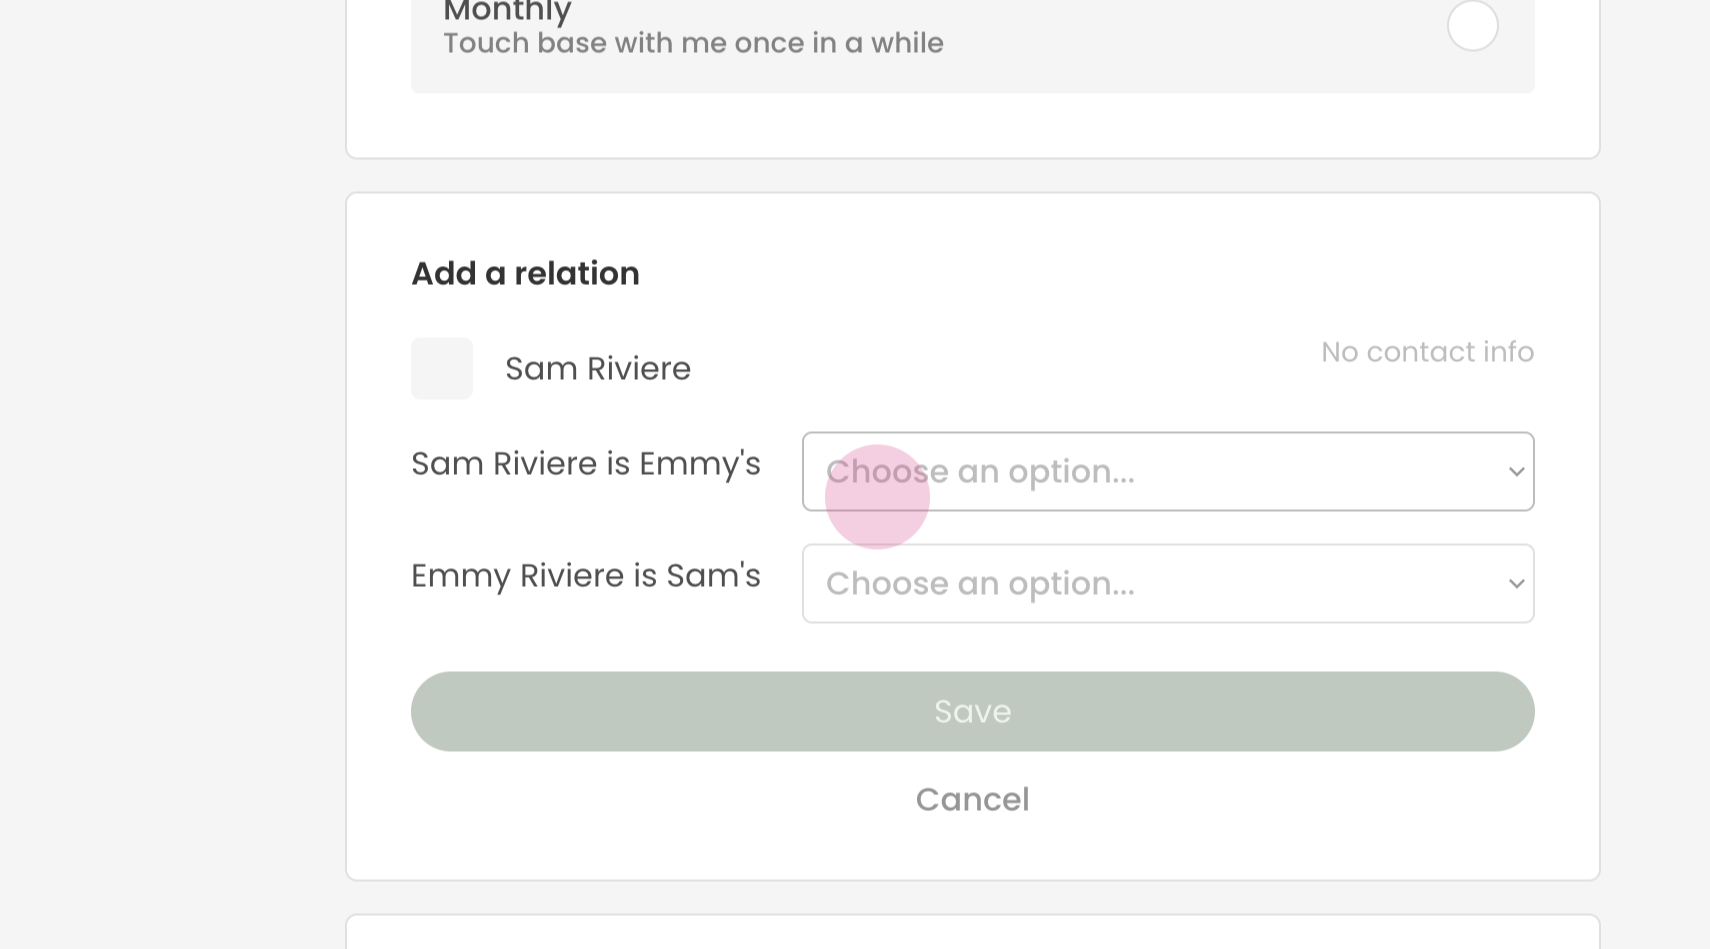
Step 7:
Next, define what the relationship is to the primary client.
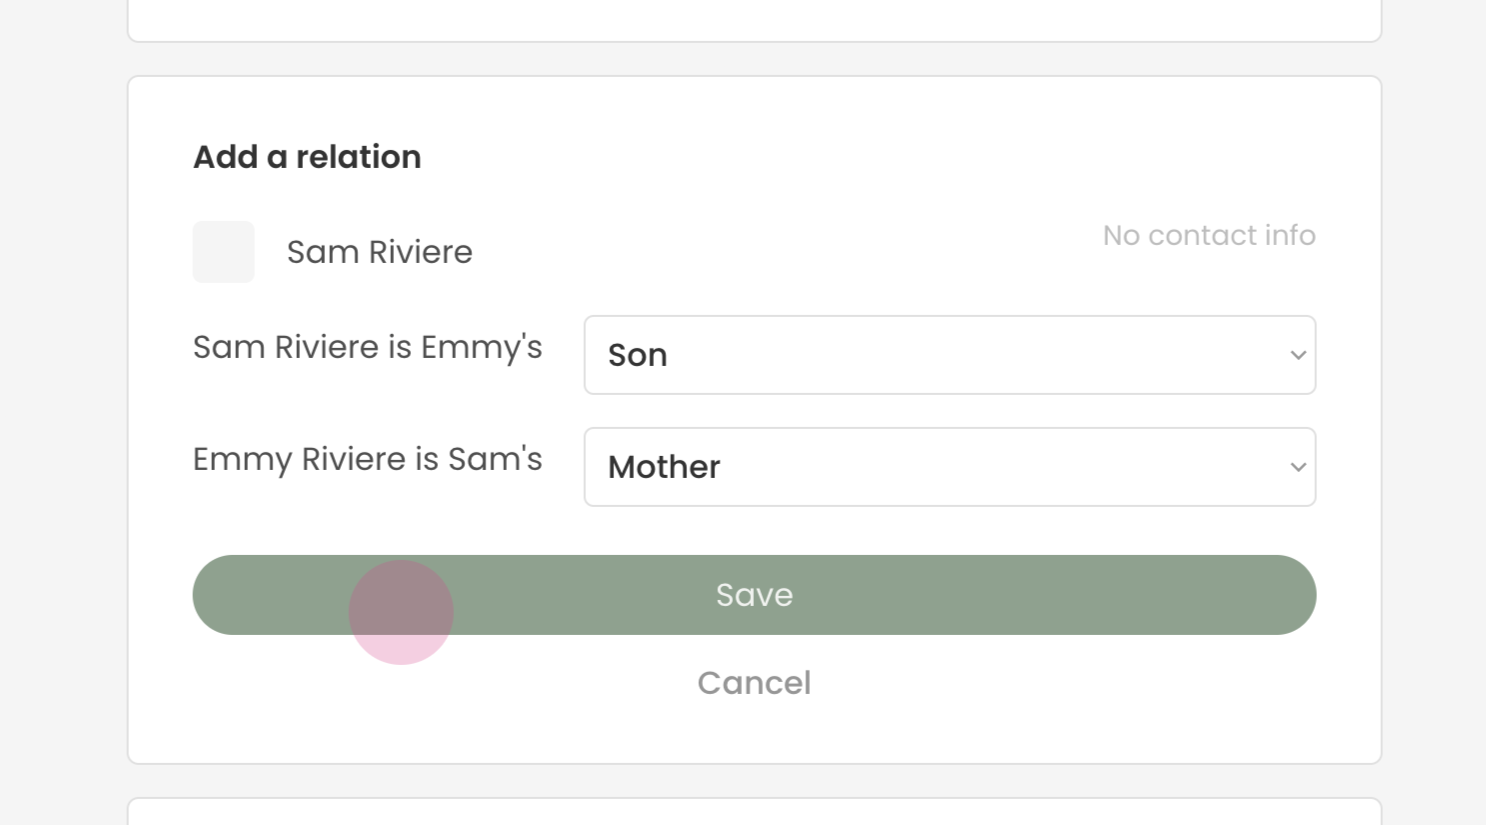
In our example, the relation is a son, and the primary contact's relationship to the relation is that of a mother.
After defining the relationships, click on 'Save' to finalize the addition.
Step 8:
The new relation is now saved in the client's profile. You can return to the dashboard by clicking on 'Back'.
Congratulations! You have successfully added a relation to a client's profile in Transform. By following these steps, you can easily manage and track the relationships and dependents of your clients.