In this article, we will guide you through the process of creating a food hamper schedule for clients using Transform.
Step 1:
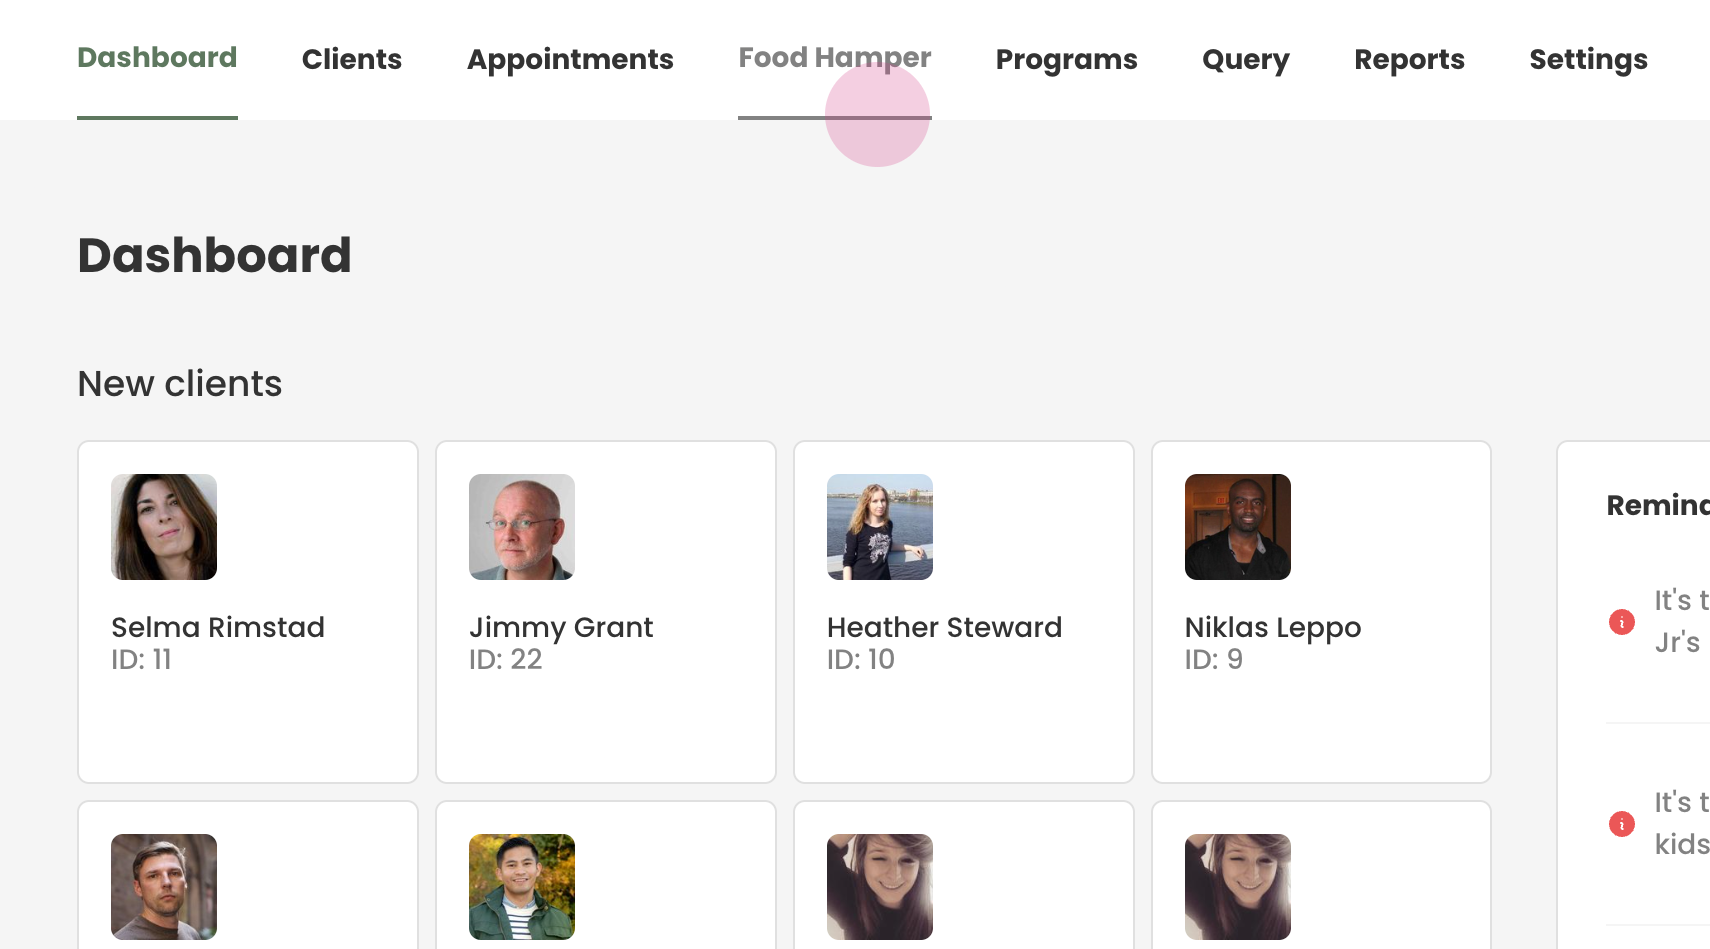
Begin by navigating to the food hamper tab located on the top navigation bar.
Step 2:
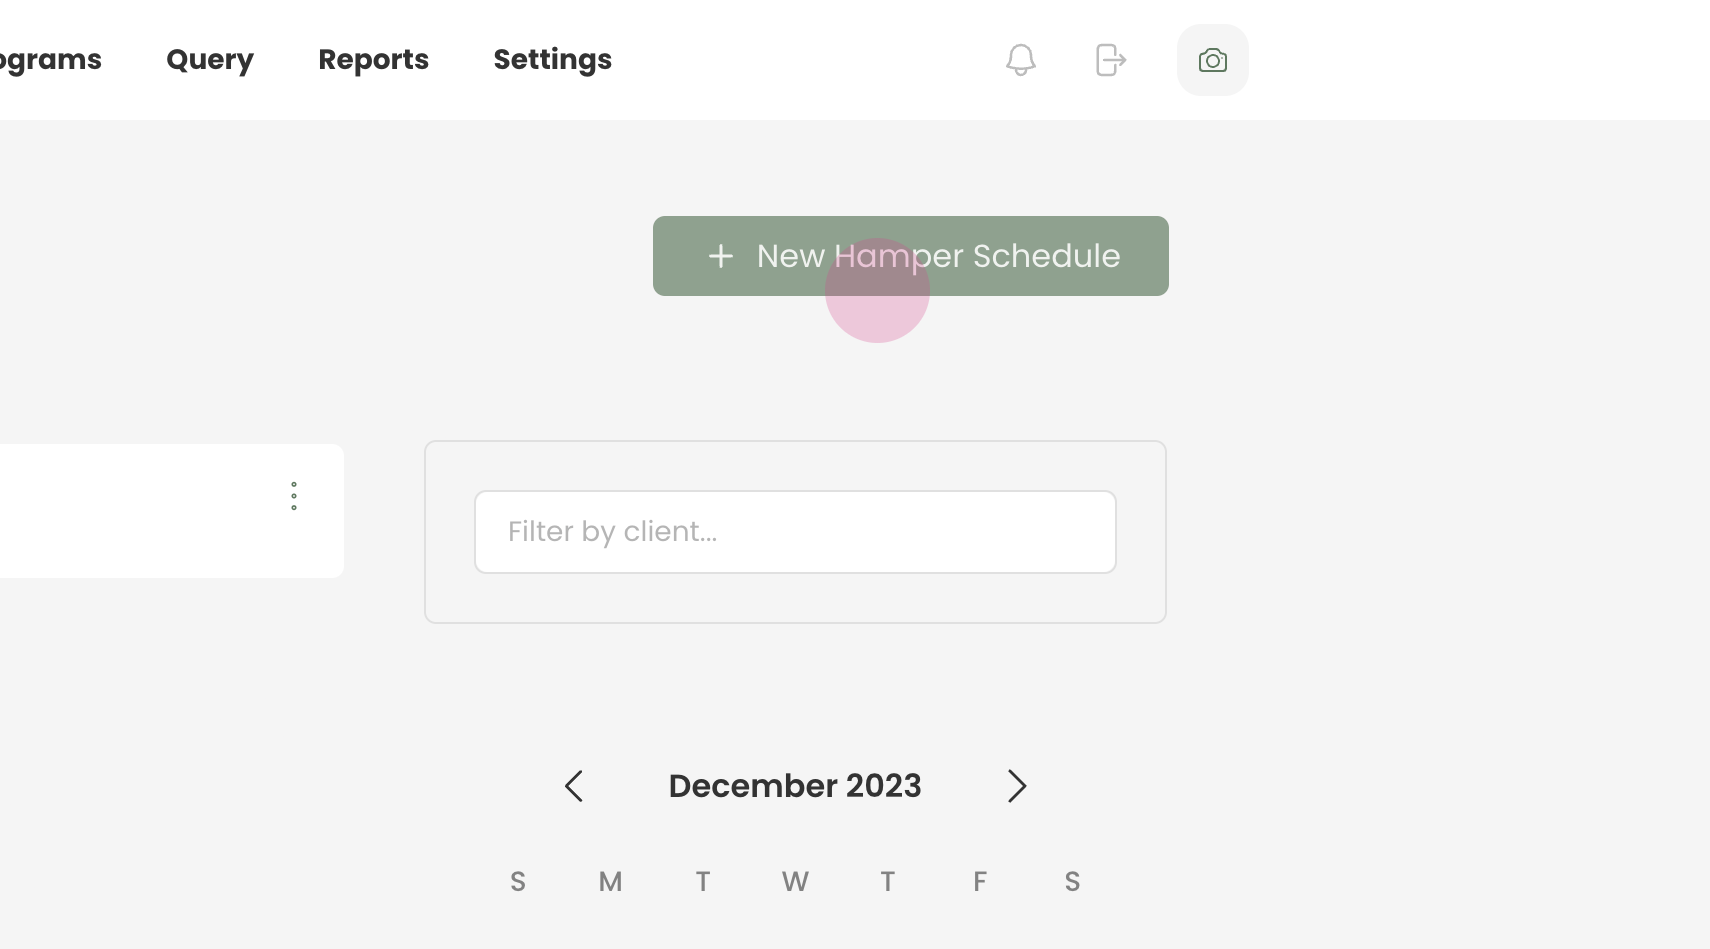
Once you have accessed the food hamper tab, click on the 'new hamper schedule' option to initiate the creation process of your new schedule.
Step 3:
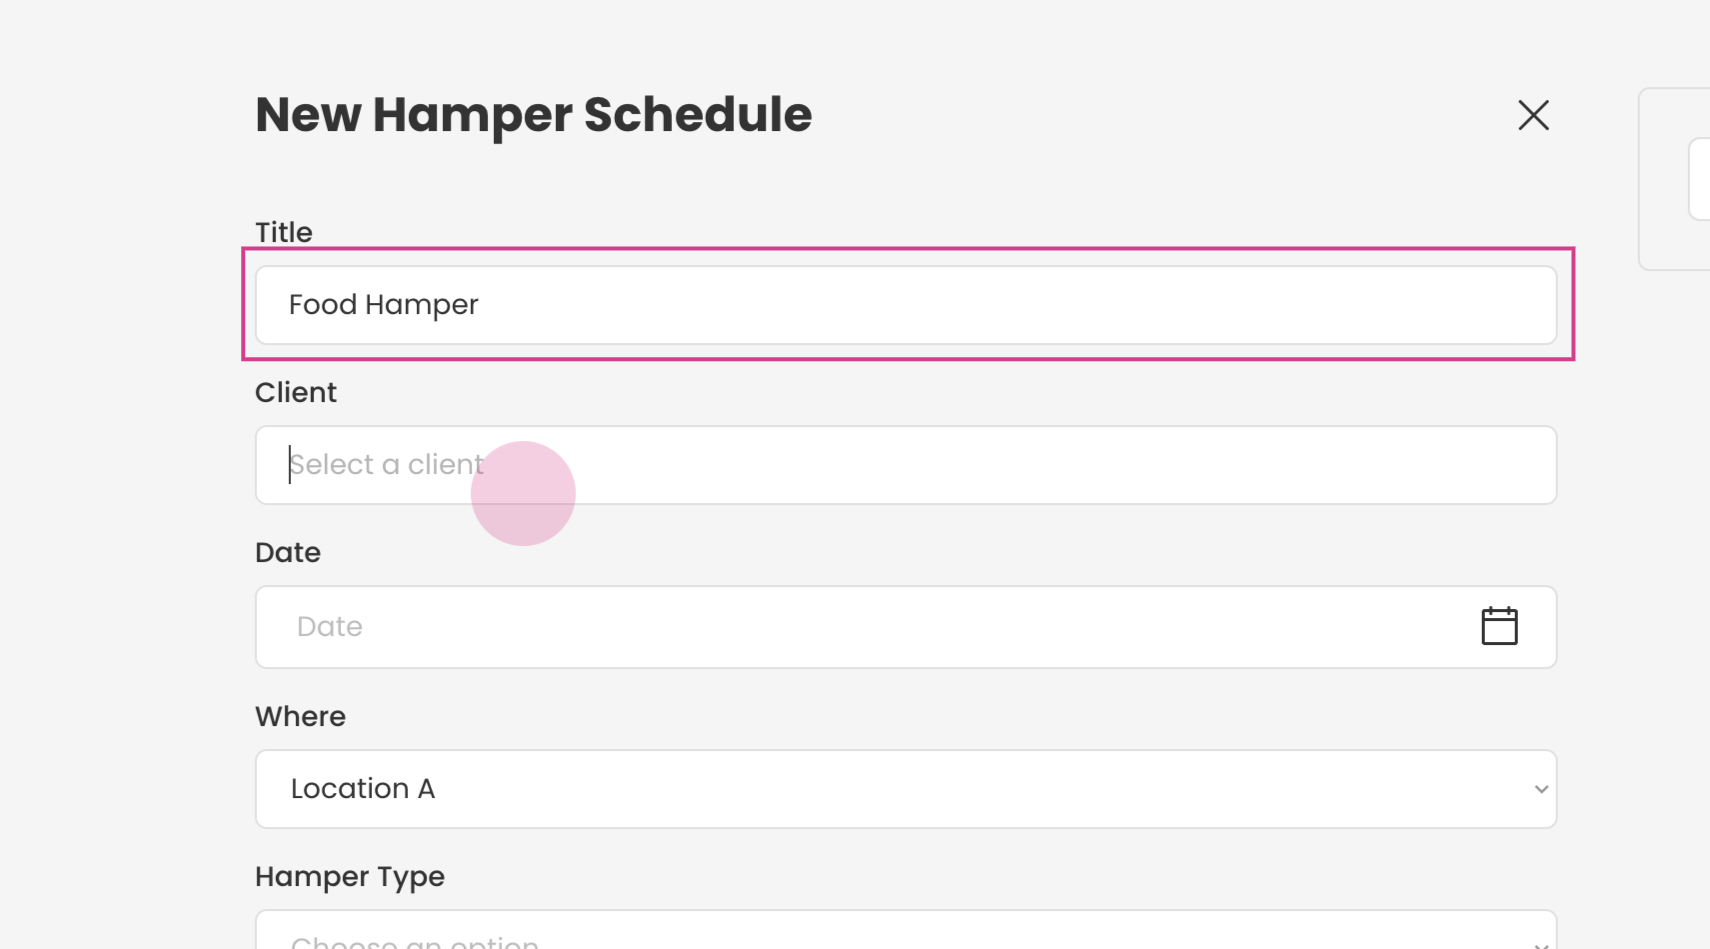
Next, you will need to provide a title for the new schedule.
Step 4:
Search for the client for whom the food hamper is intended. You can do this by typing in their first and last name or their client ID.
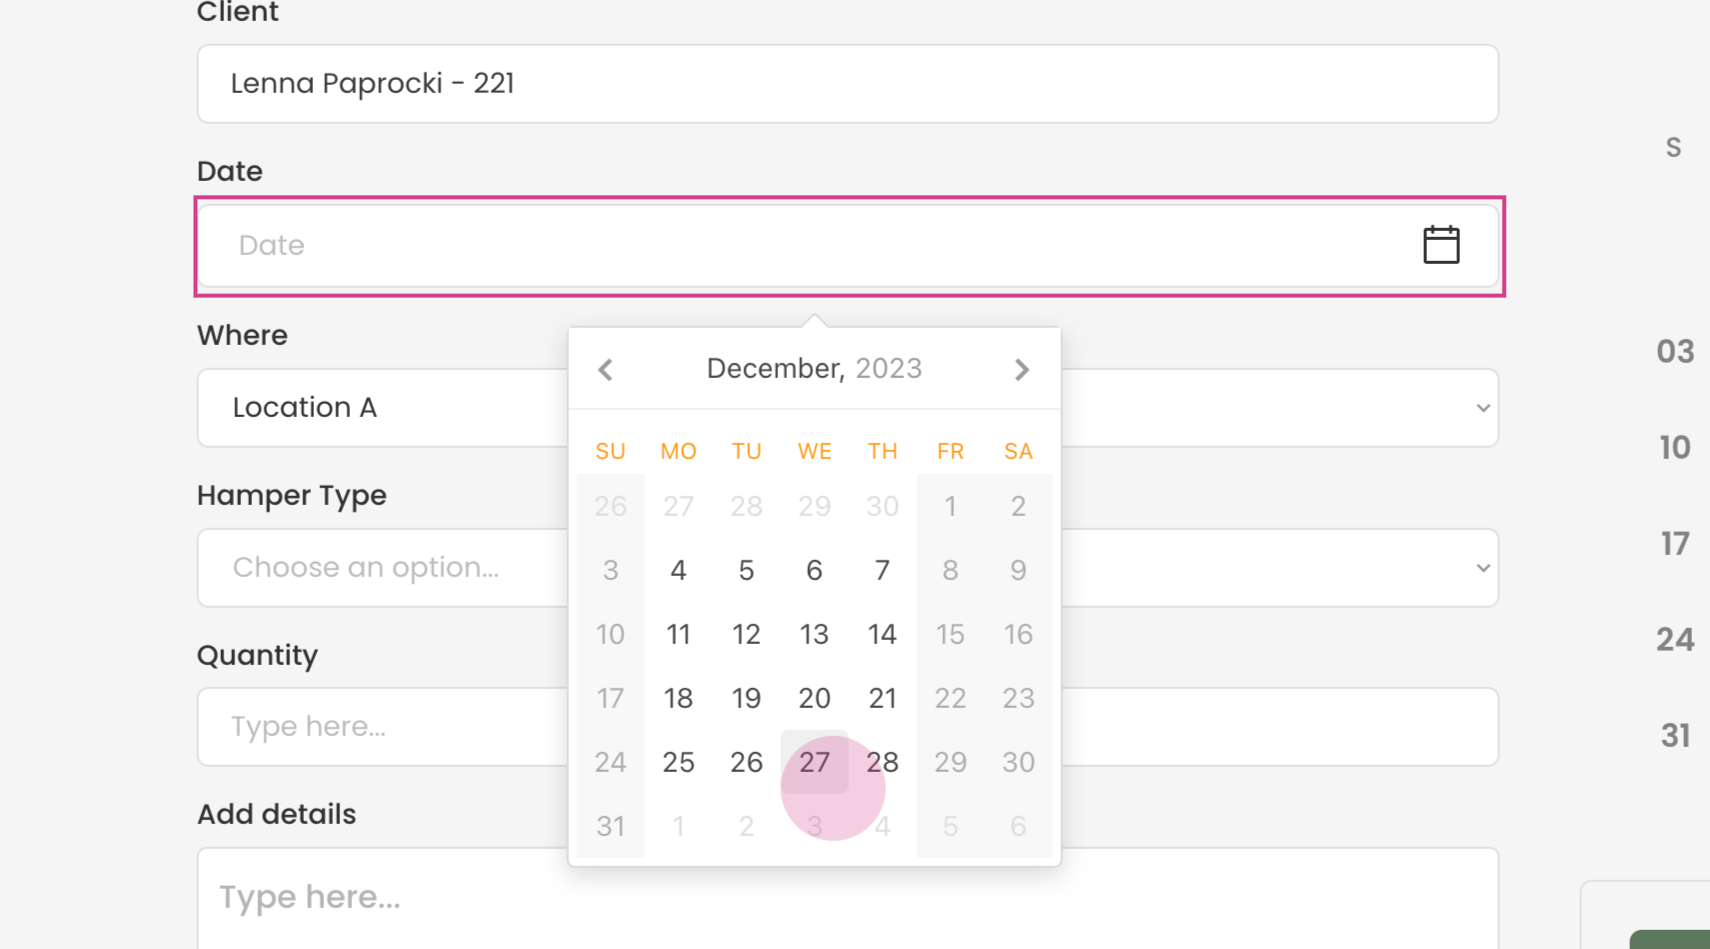
Step 5:
Now, select the first date for the pickup. This could be the current date or any future date.
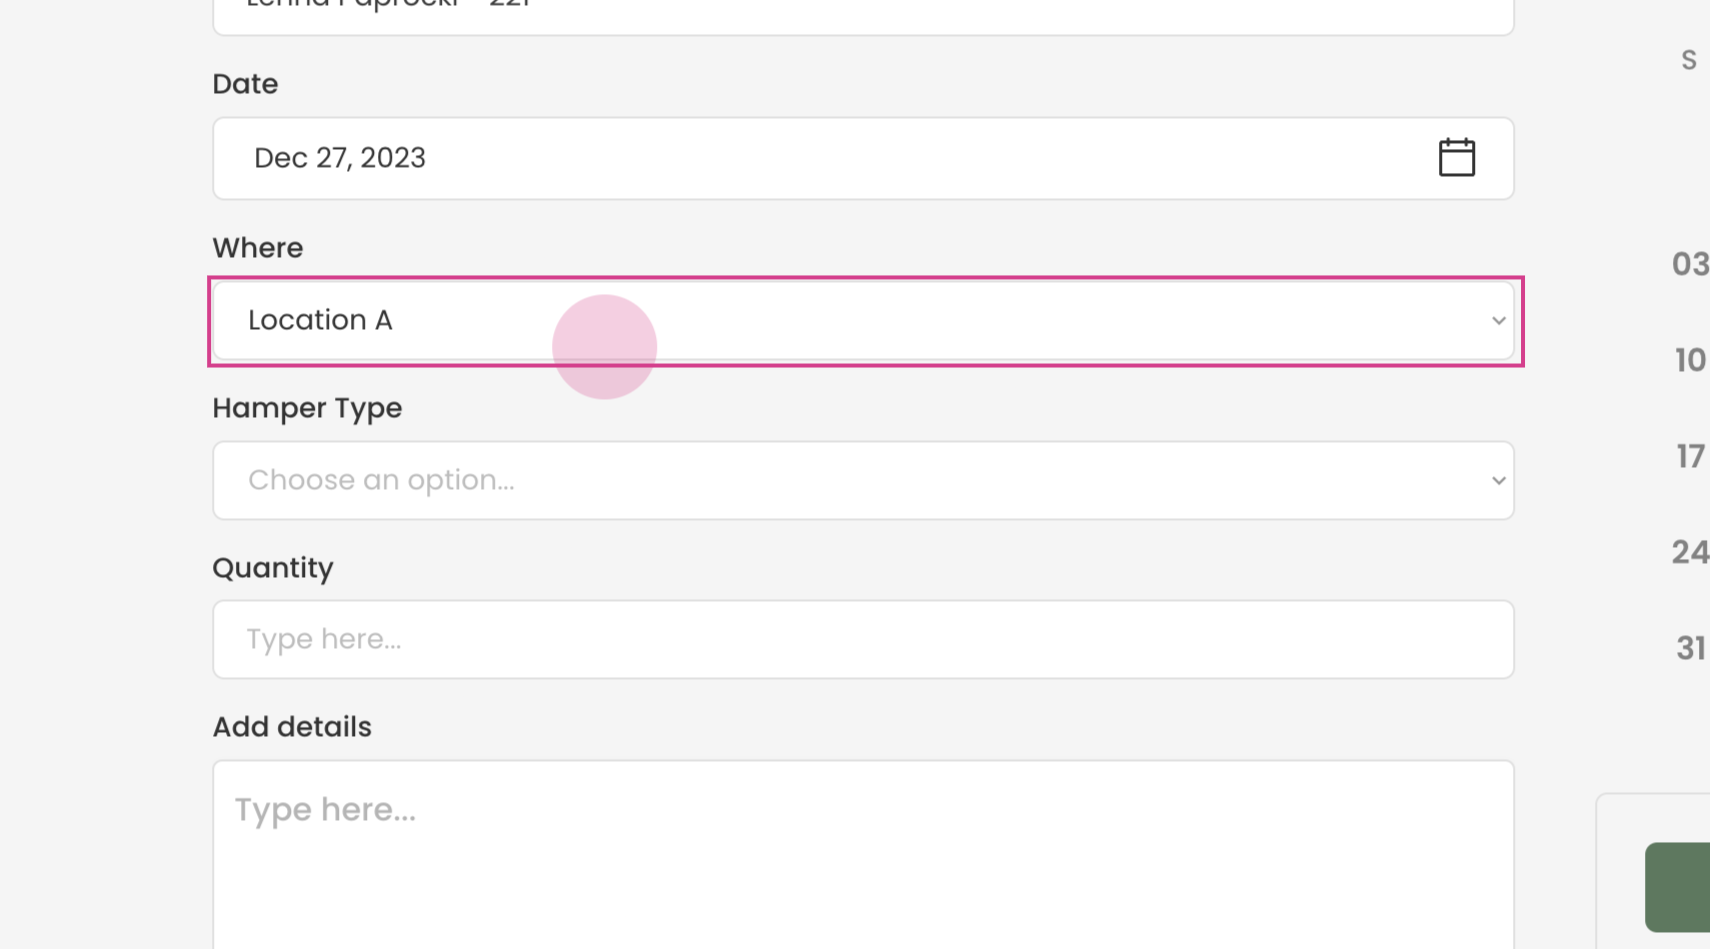
Step 6:
Choose the warehouse location from where the client can collect the food hamper.
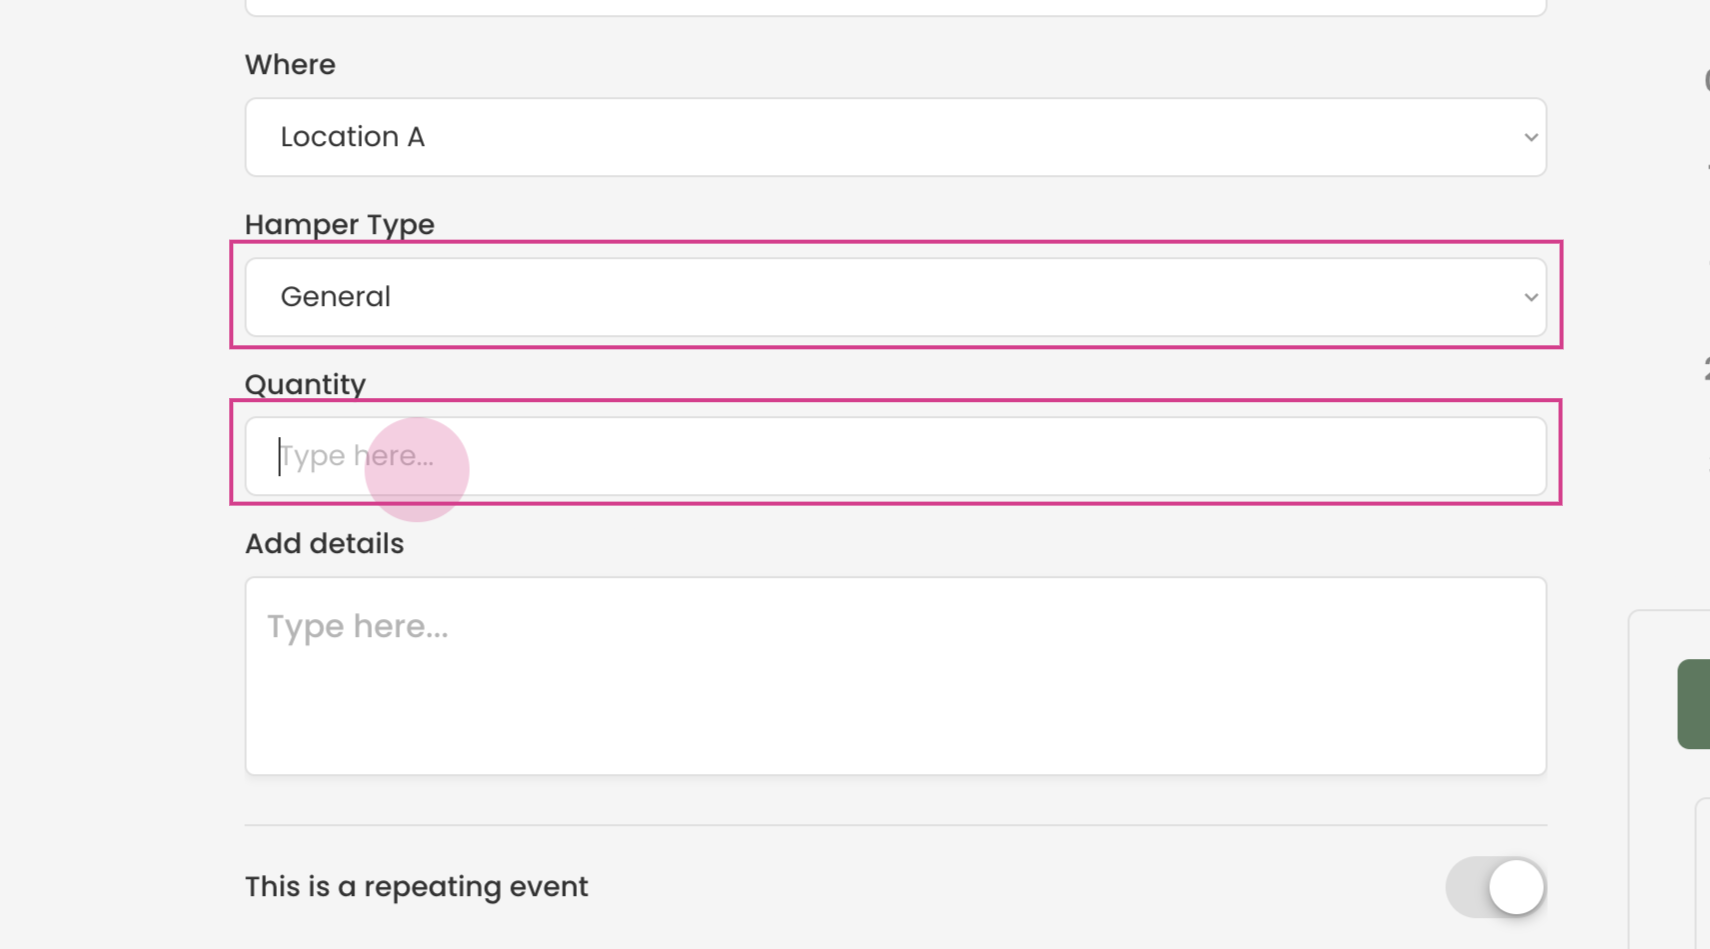
Step 7:
At this stage, you can select the type of hamper and enter the quantity of hampers to be provided per pickup.
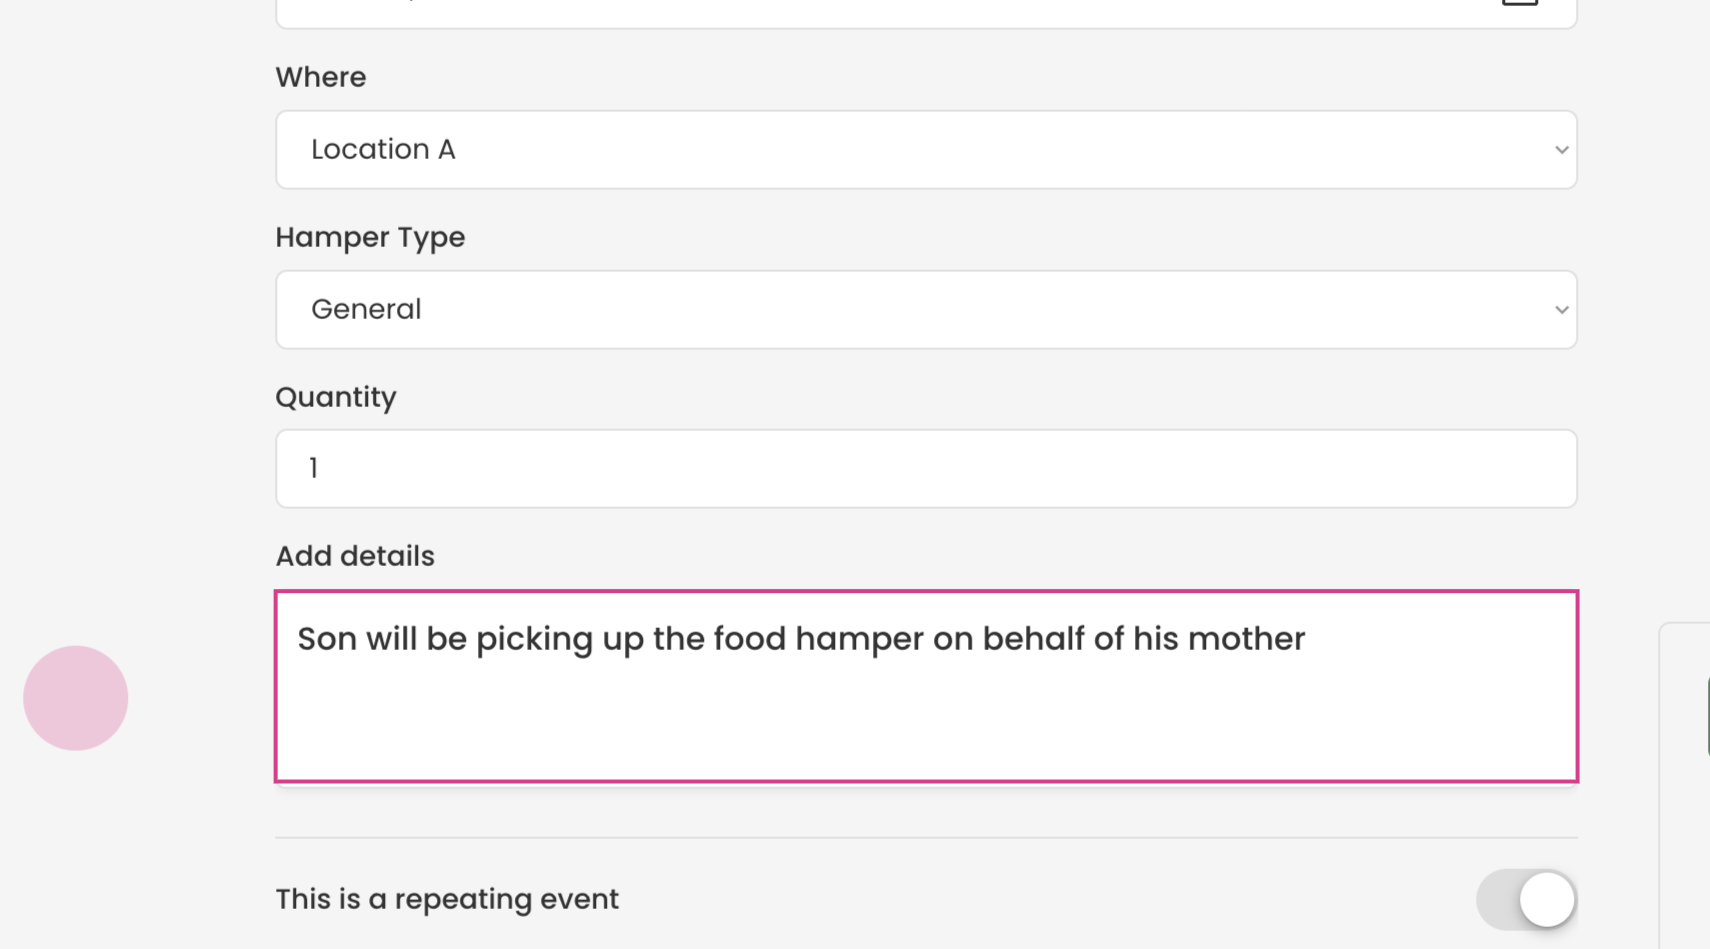
Step 8:
You also have the option to enter some notes. For instance, if someone else will be picking up the food hamper on behalf of the client.
Step 9:
Next, specify the typical duration for which clients within your organization receive assistance through food hampers.
In this example, we've selected a duration of one year with food hampers to be provided once a month.
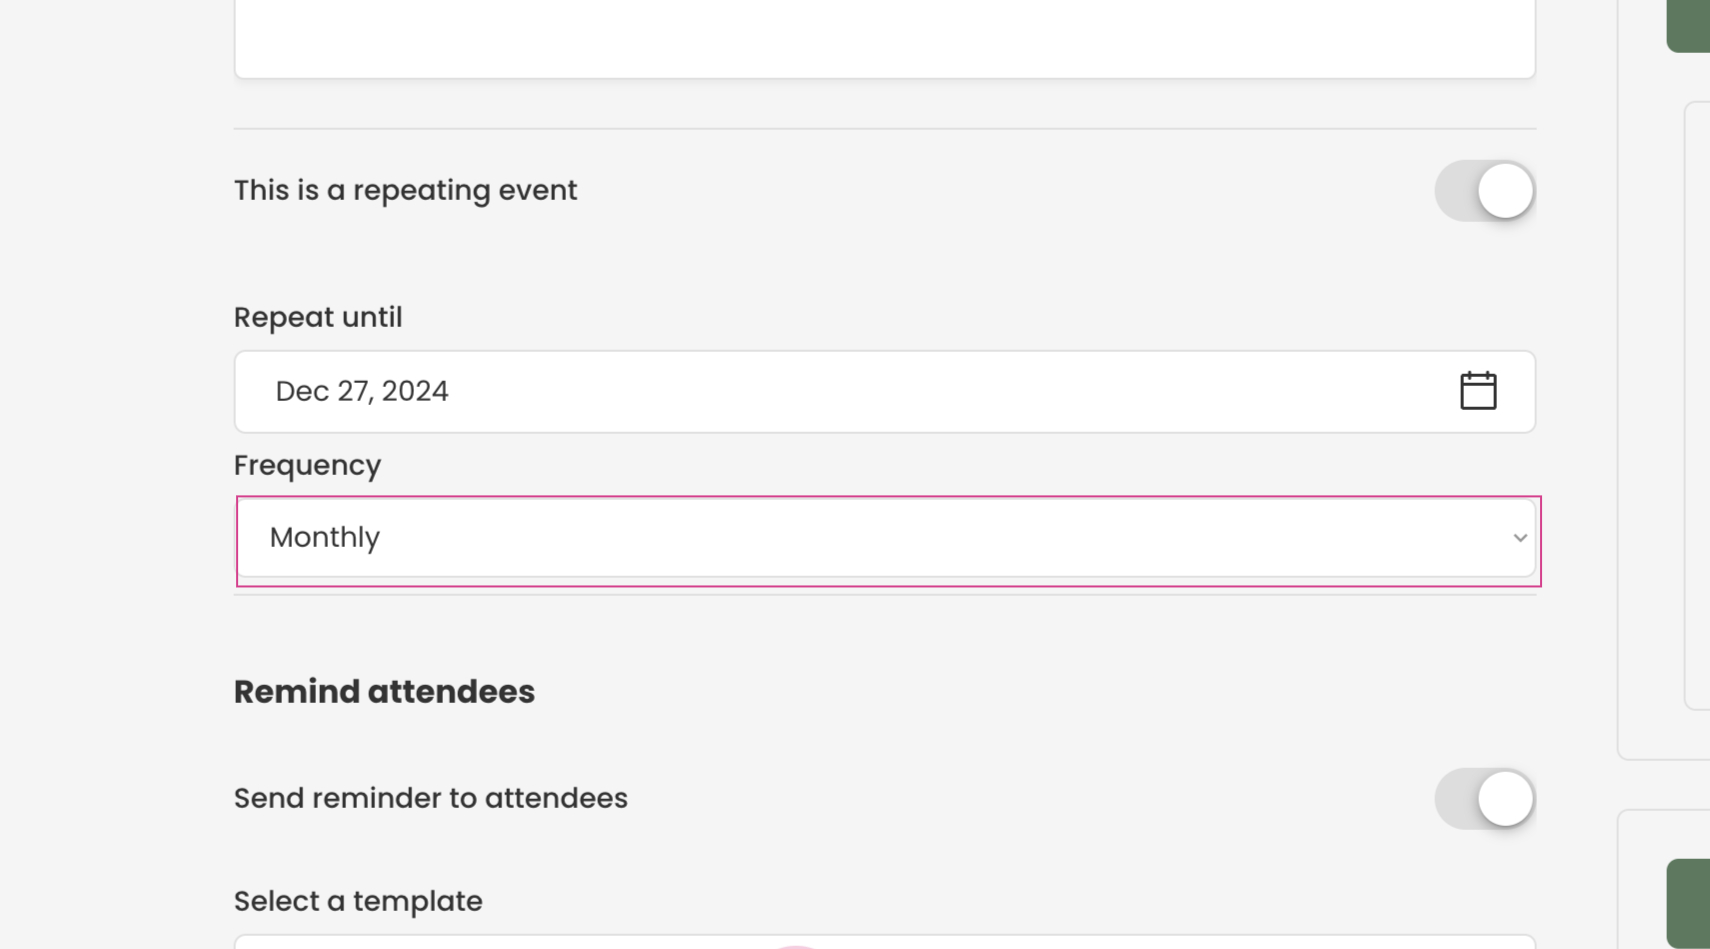
Step 10:
You can opt to send the clients a reminder. If you have multiple templates available, select the one you prefer for the message.
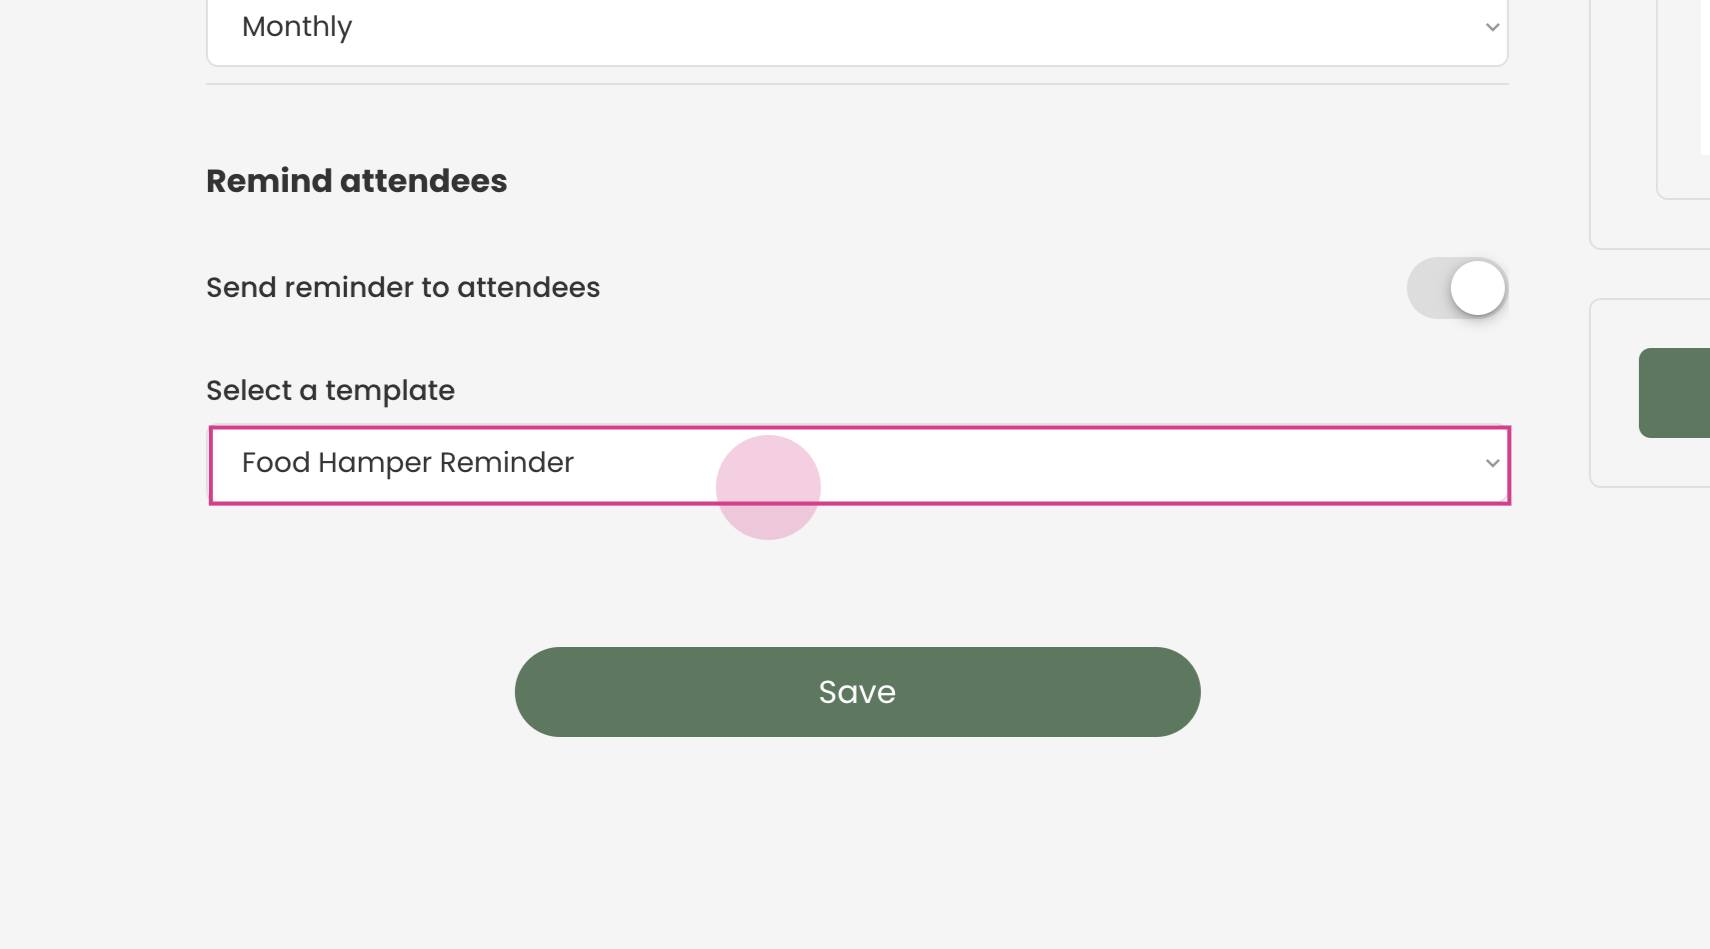
Step 11:
Finally, select 'save' to finalize the creation of the new Food Hamper schedule.
Congratulations! You have successfully created a new Food Hamper schedule using Transform. This will help streamline the process of managing food hamper distribution for your clients.