Welcome to this guide on executing the Food Hamper workflow in Transform. This walk-through will take you through the process of confirming a food hamper pick-up for a client.
Step 1:
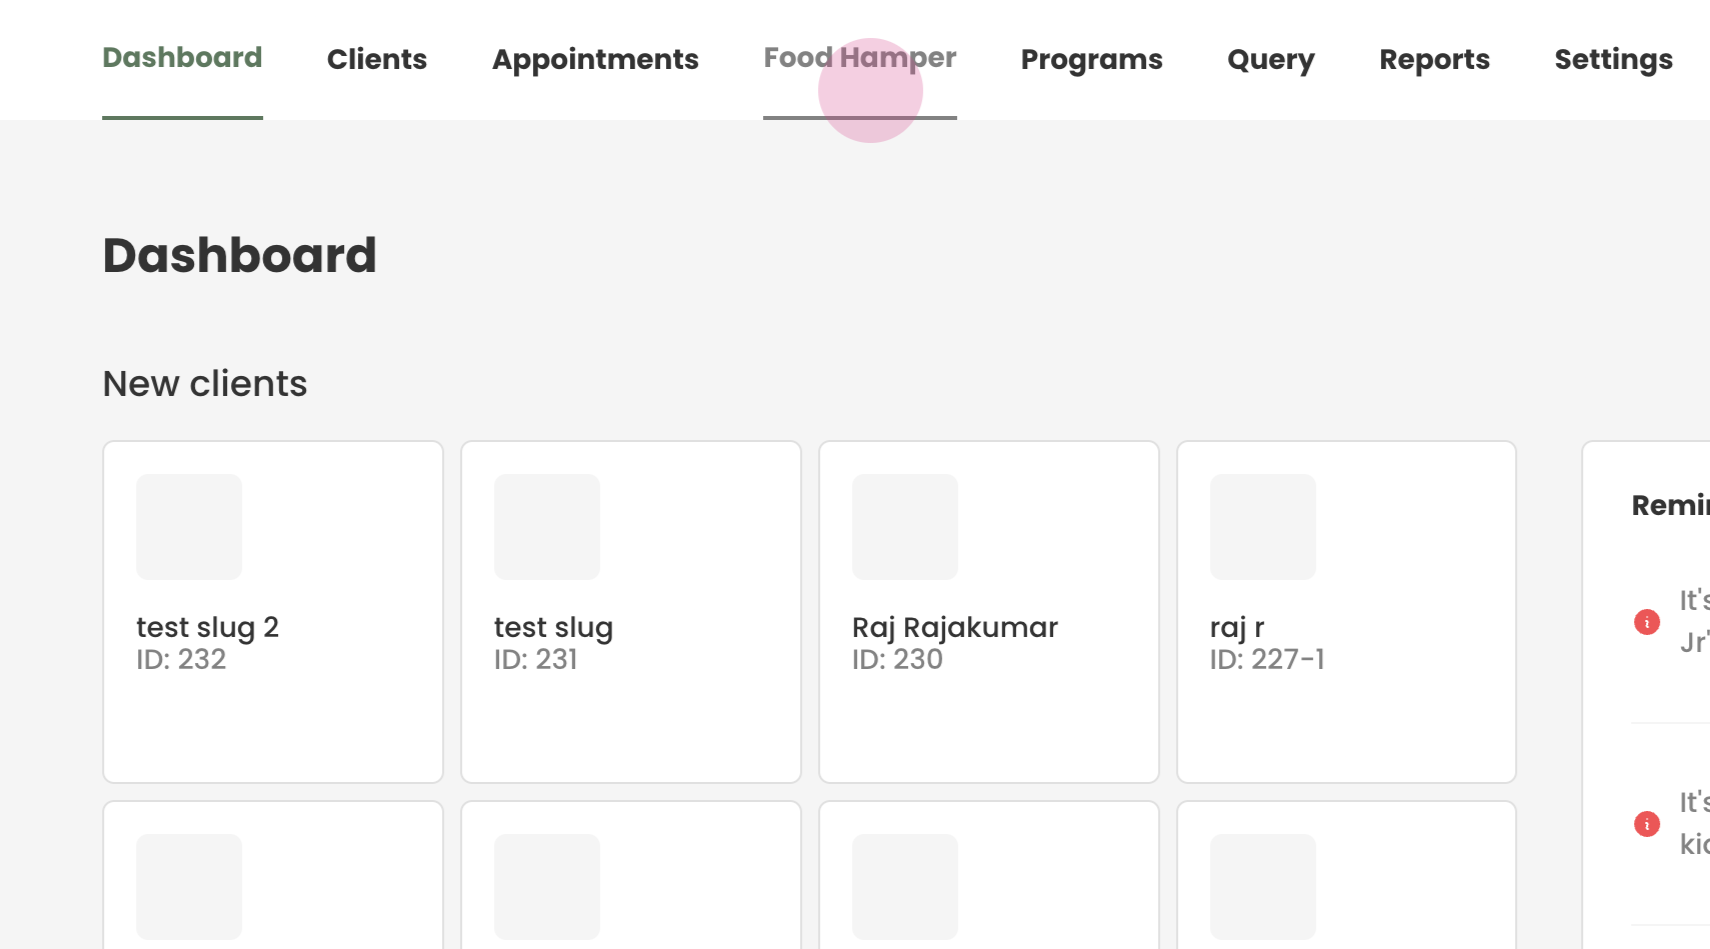
Start by going to the tab named 'Food Hamper' located at the top of the page.
Step 2:
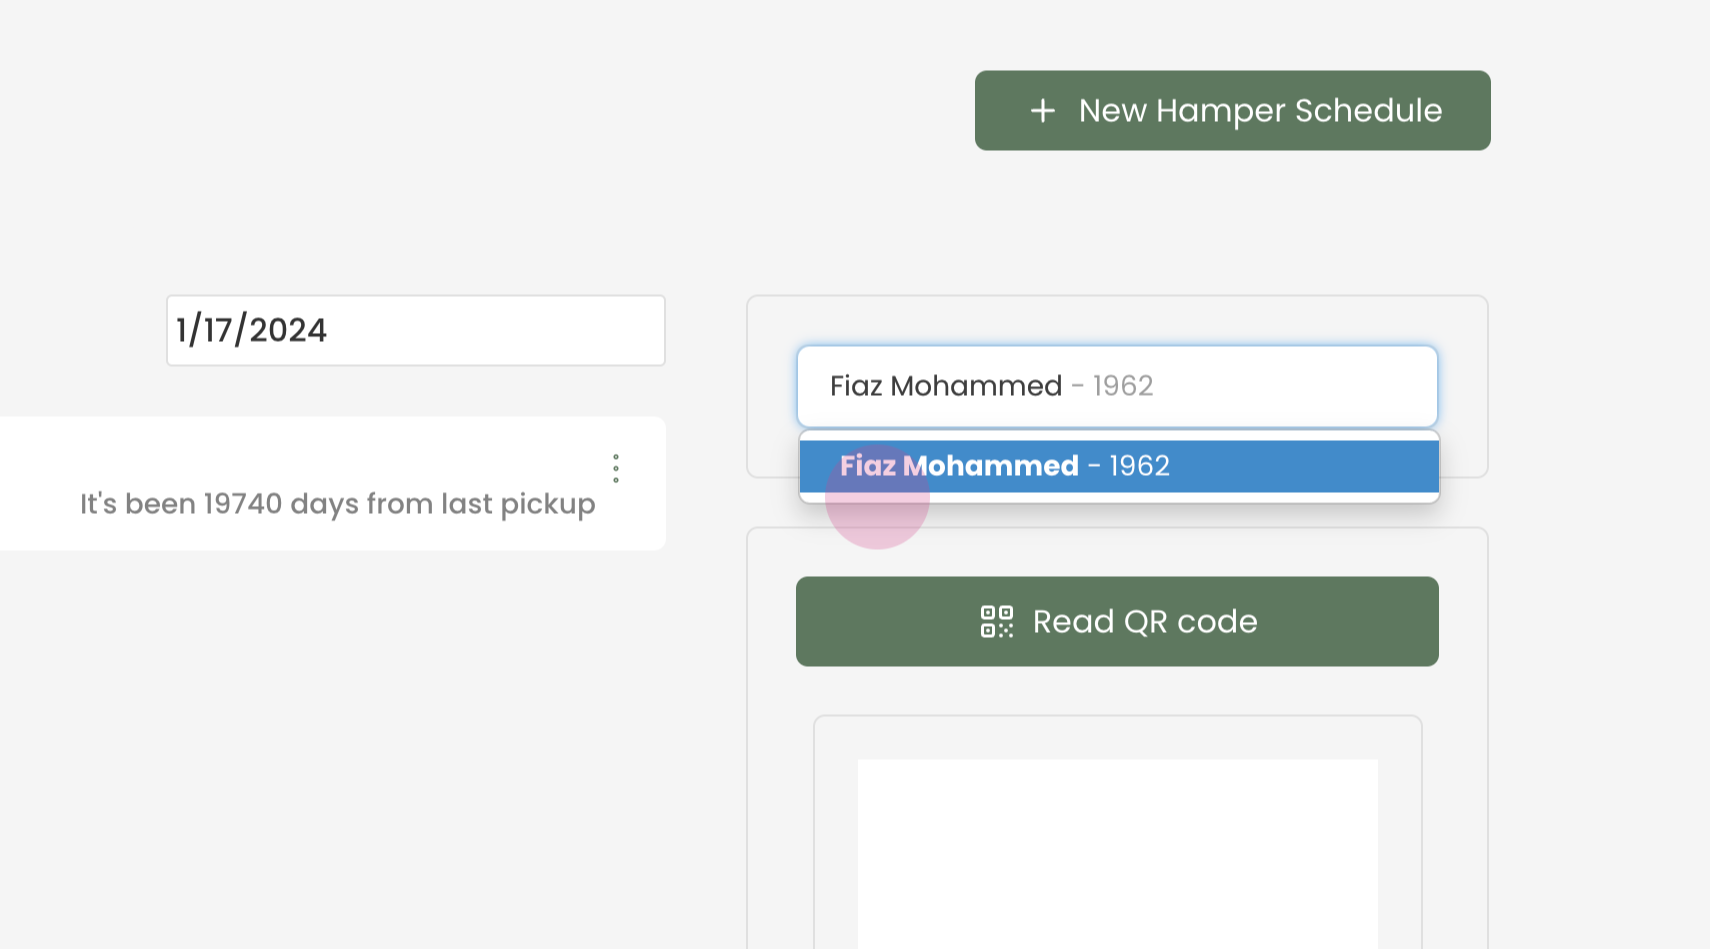
In the search box, type in the client's name or find their record.
Step 3:
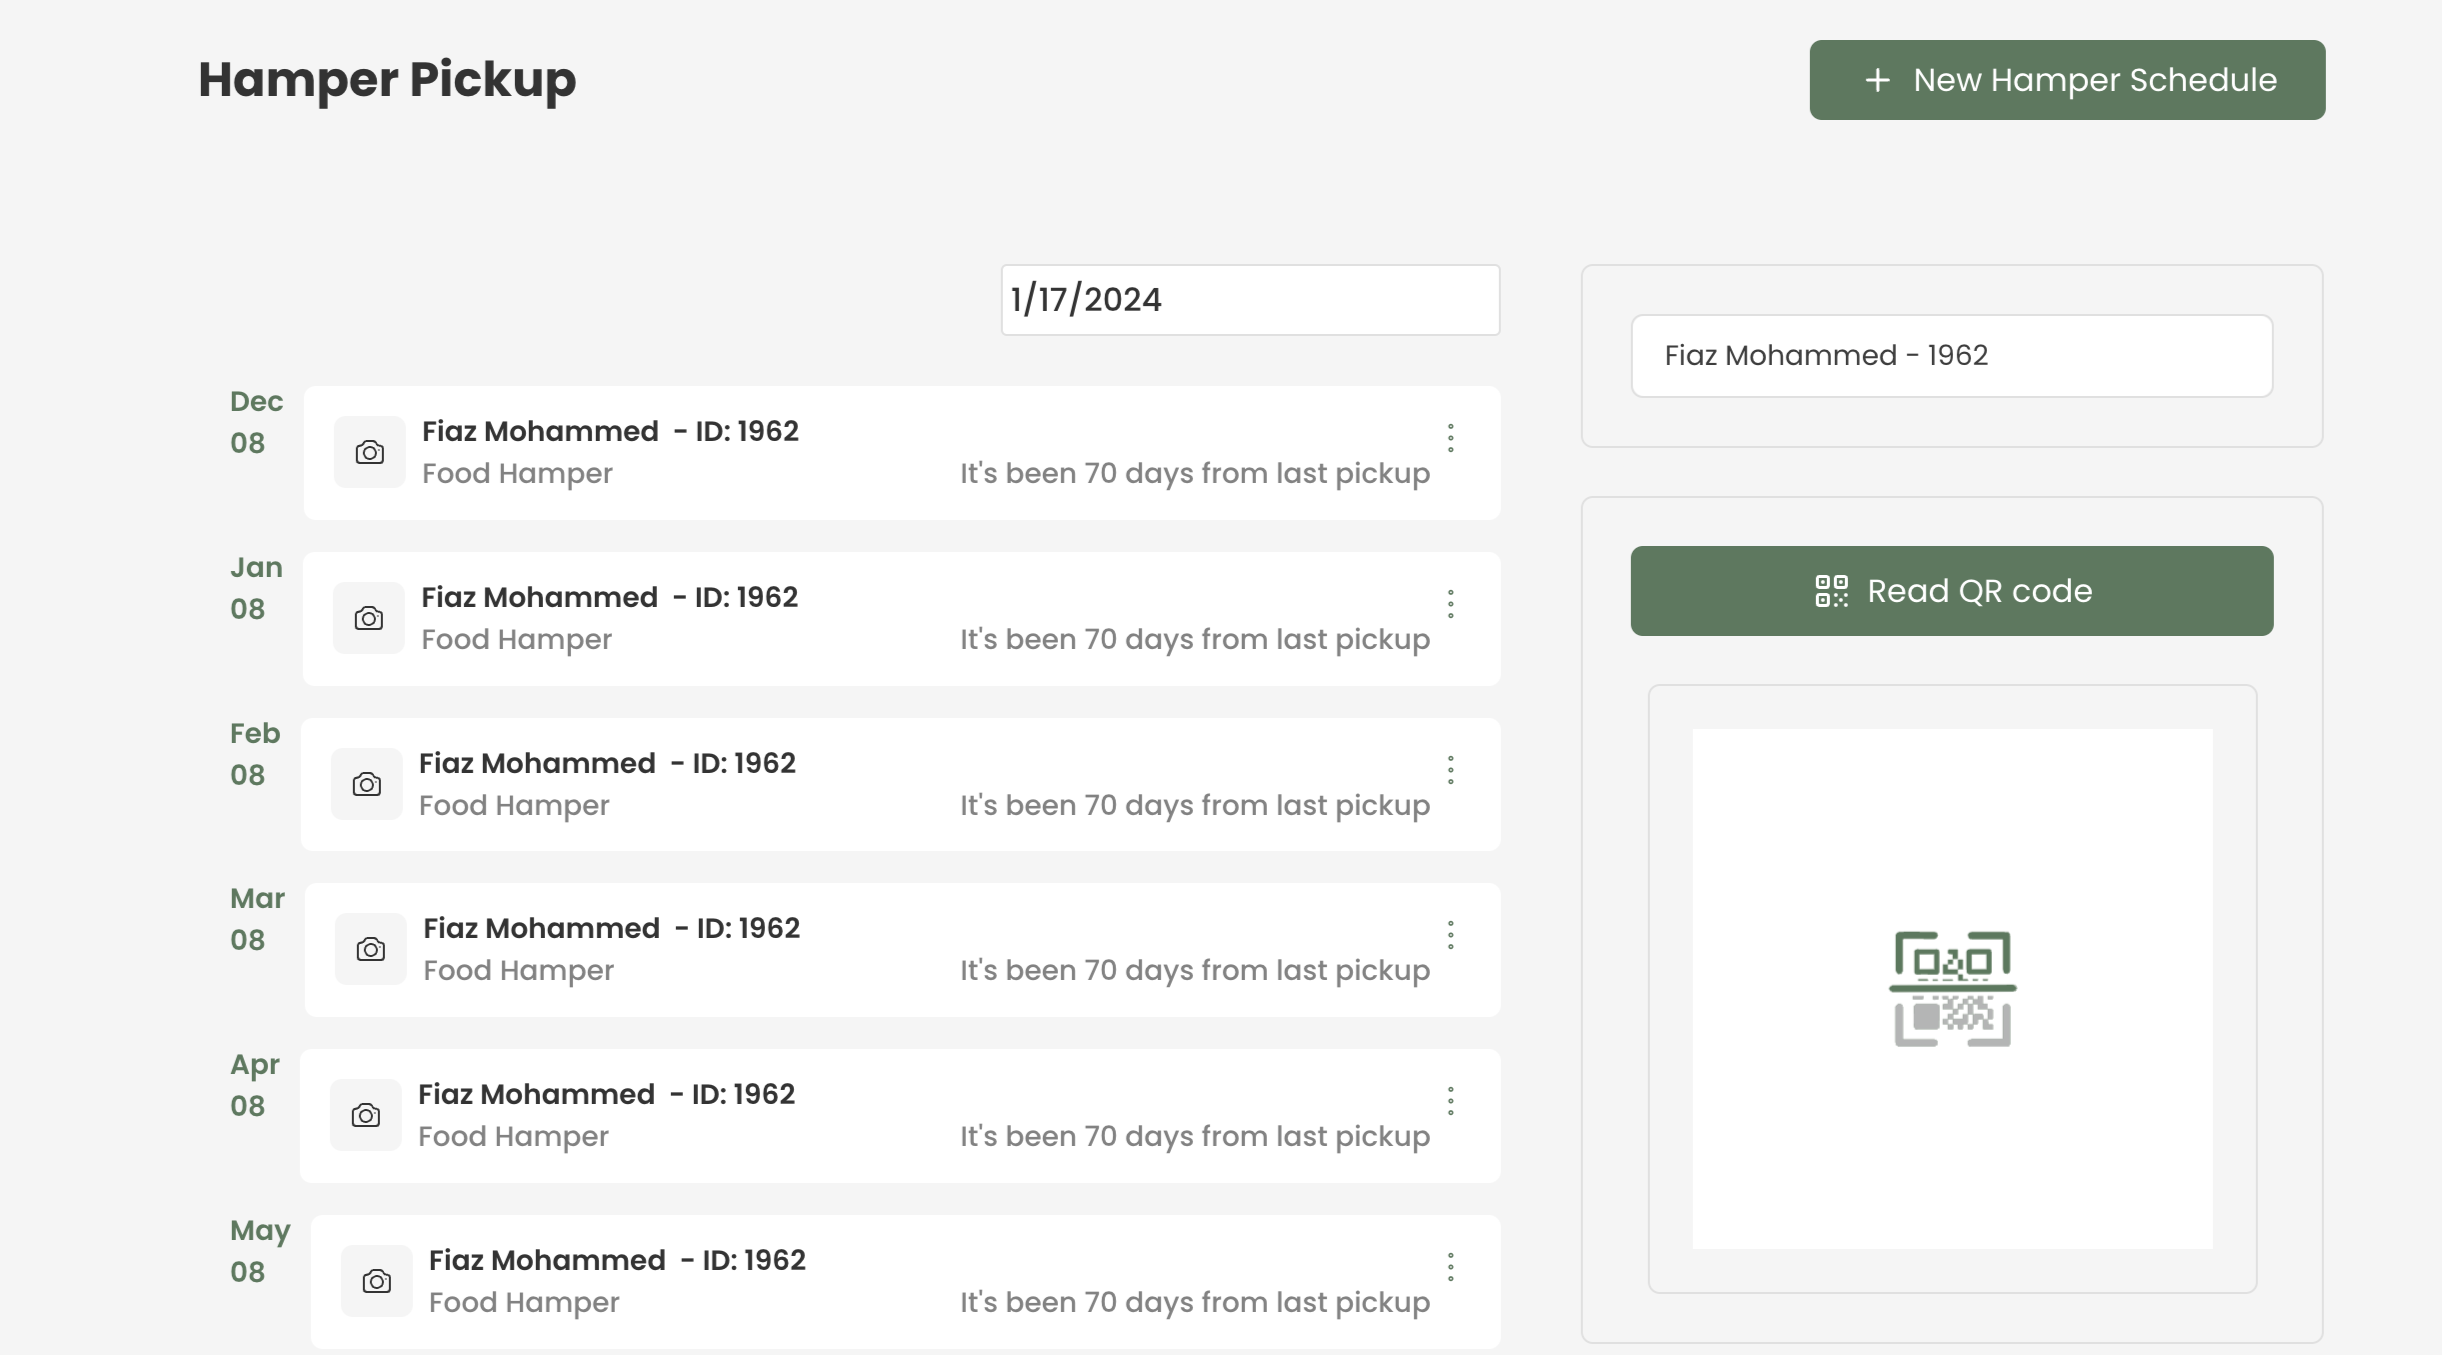
Upon successful search, a list of the client’s future pick-ups will appear.
*Please note, if a client does not have a schedule set up, no appointments will show in this area. If this is the case, refer to our schedule creation guide to set up a schedule.
Step 4:
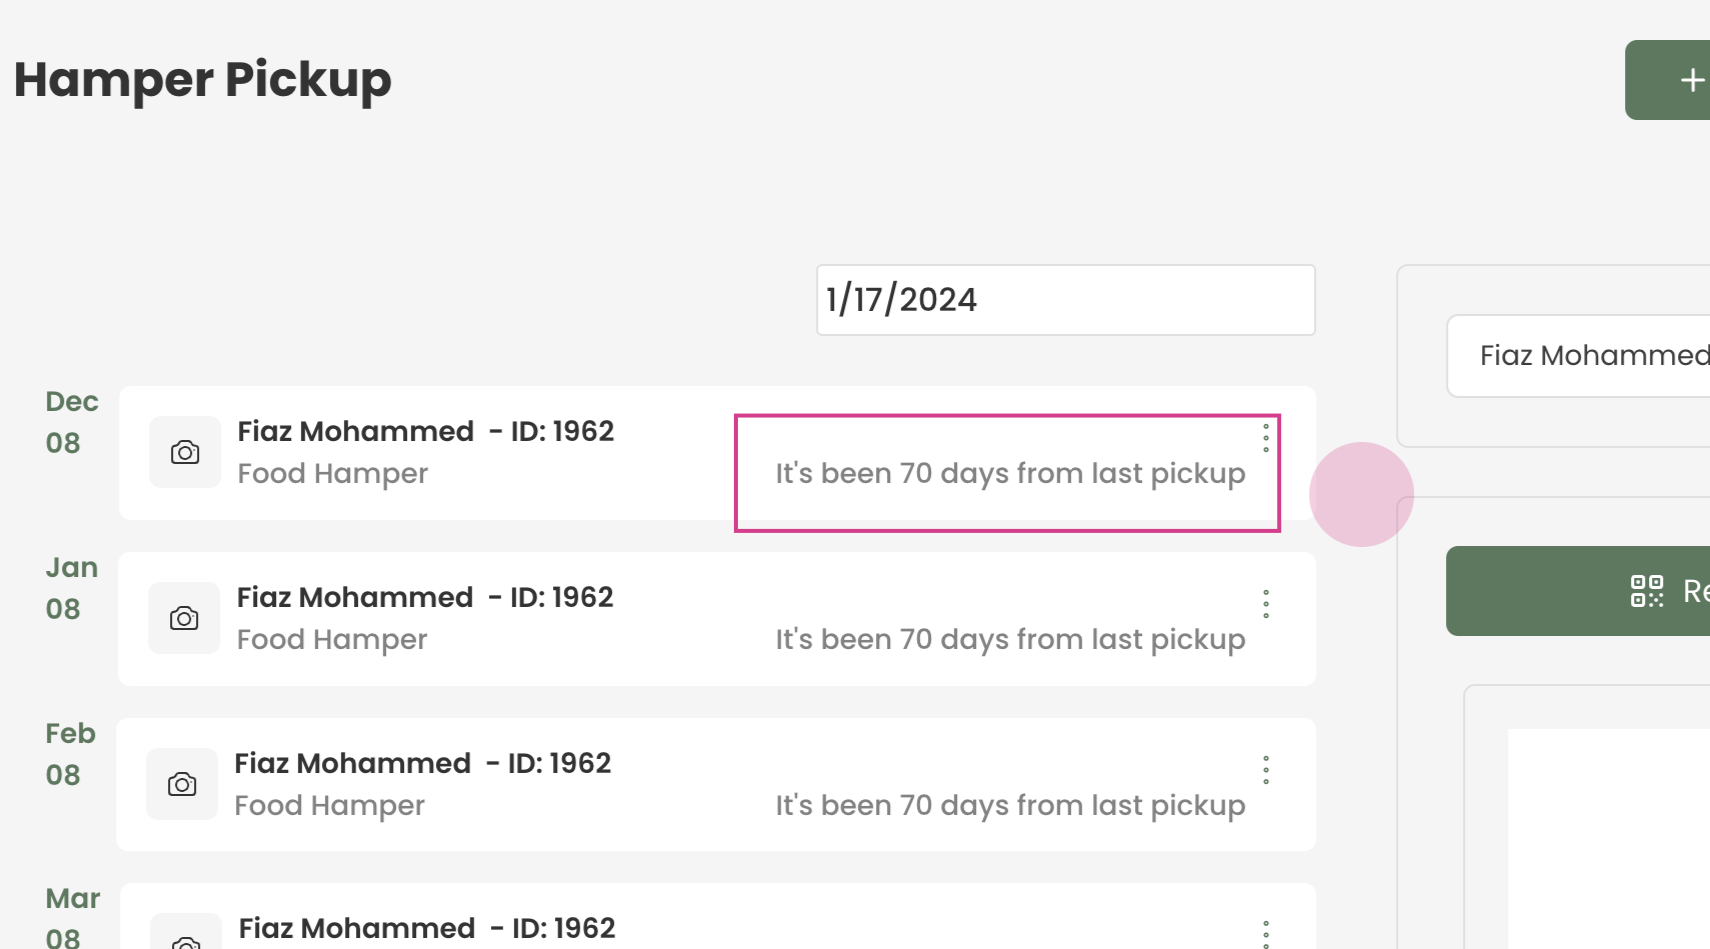
In our example, clients pick up hampers monthly. The system tracks how many days have passed since their last pickup.
We have this here to ensure clients do not come early for their food hamper pickups.
Step 5:
Now we need to select the date for the pickup. In this example, since the current date is January 17th, 2024, I will select January 8th as the pickup since it falls within the correct month.

*Clients are not required to pick up on a specific date as stated in Transform. They only need to come in any time after 30 days have passed since their last pickup.
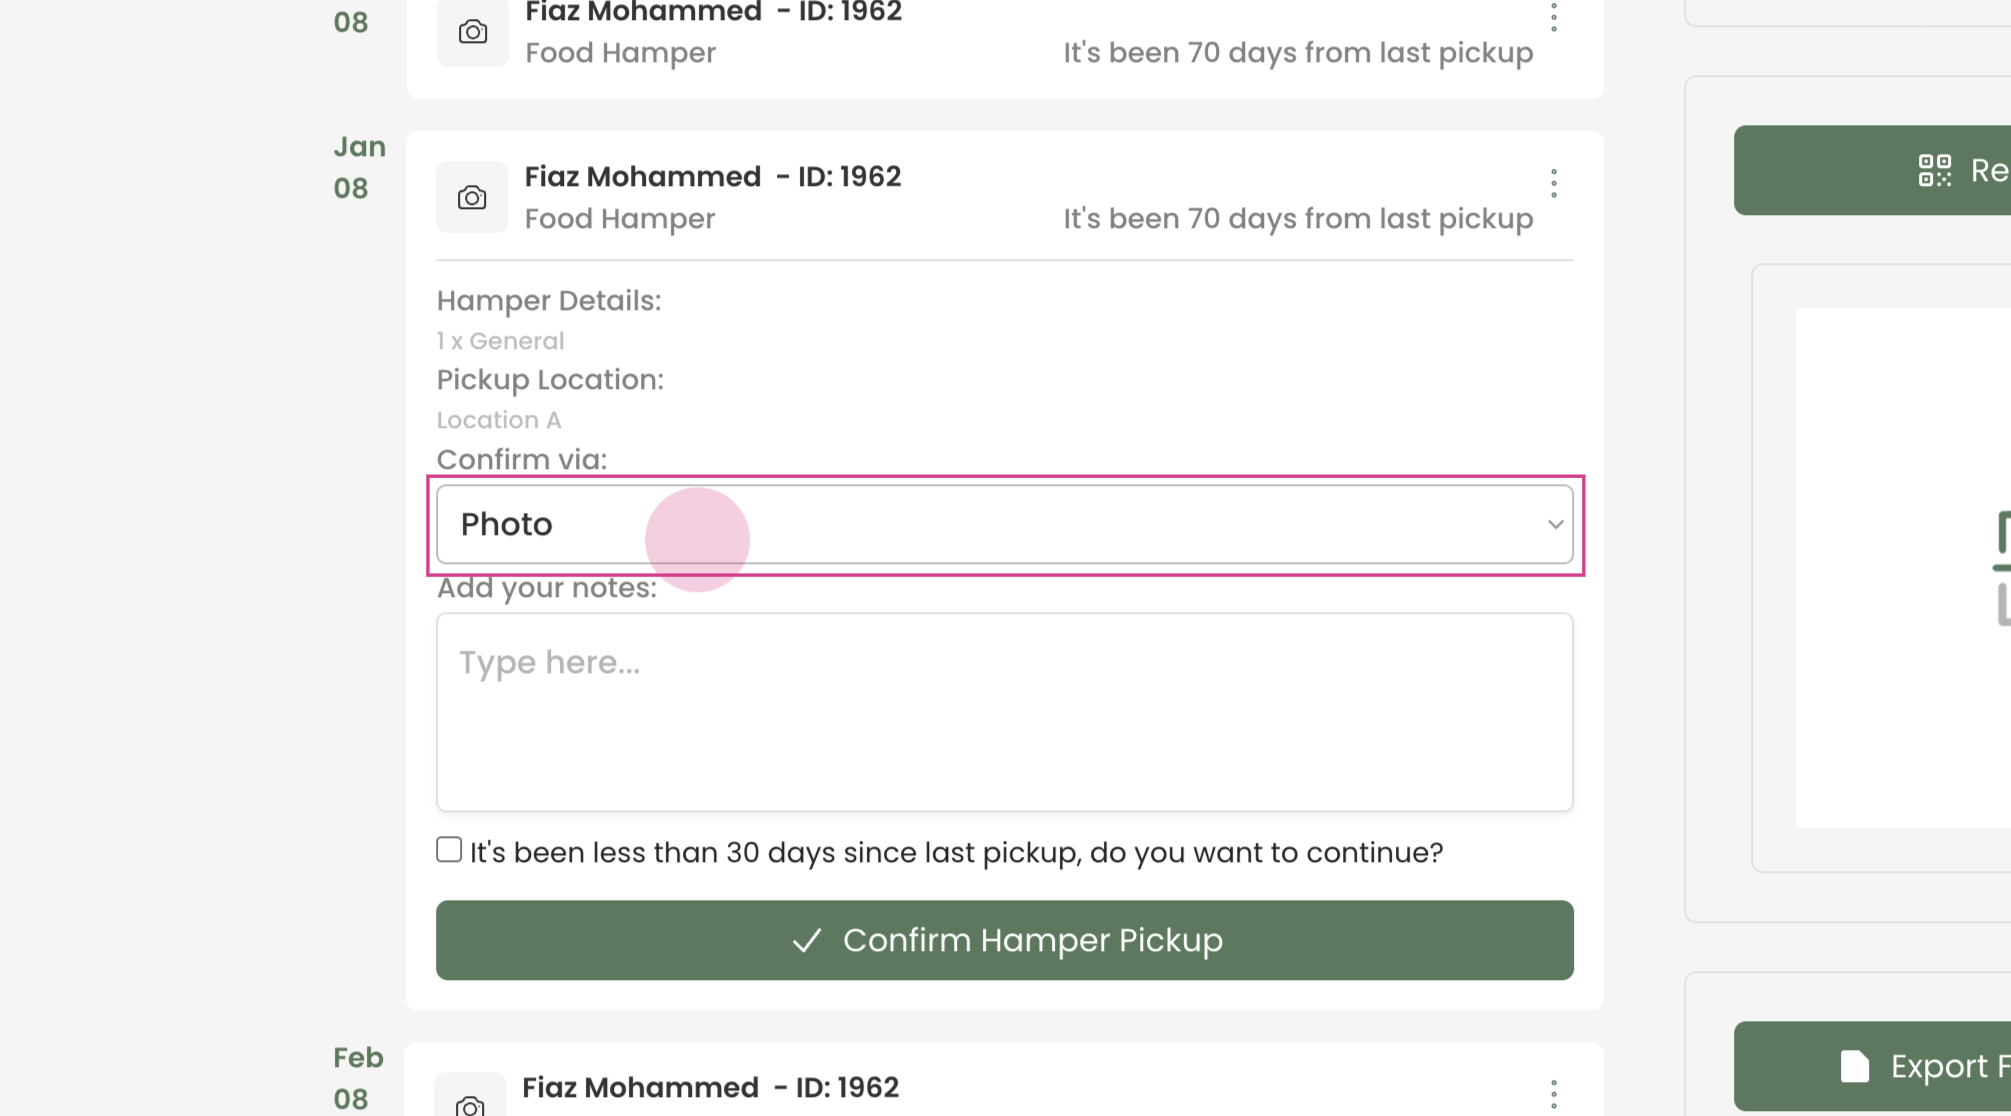
Step 6:
Once we select the client's name and appointment, we are presented with three options for confirmation: Photo, Personal ID, or Token.
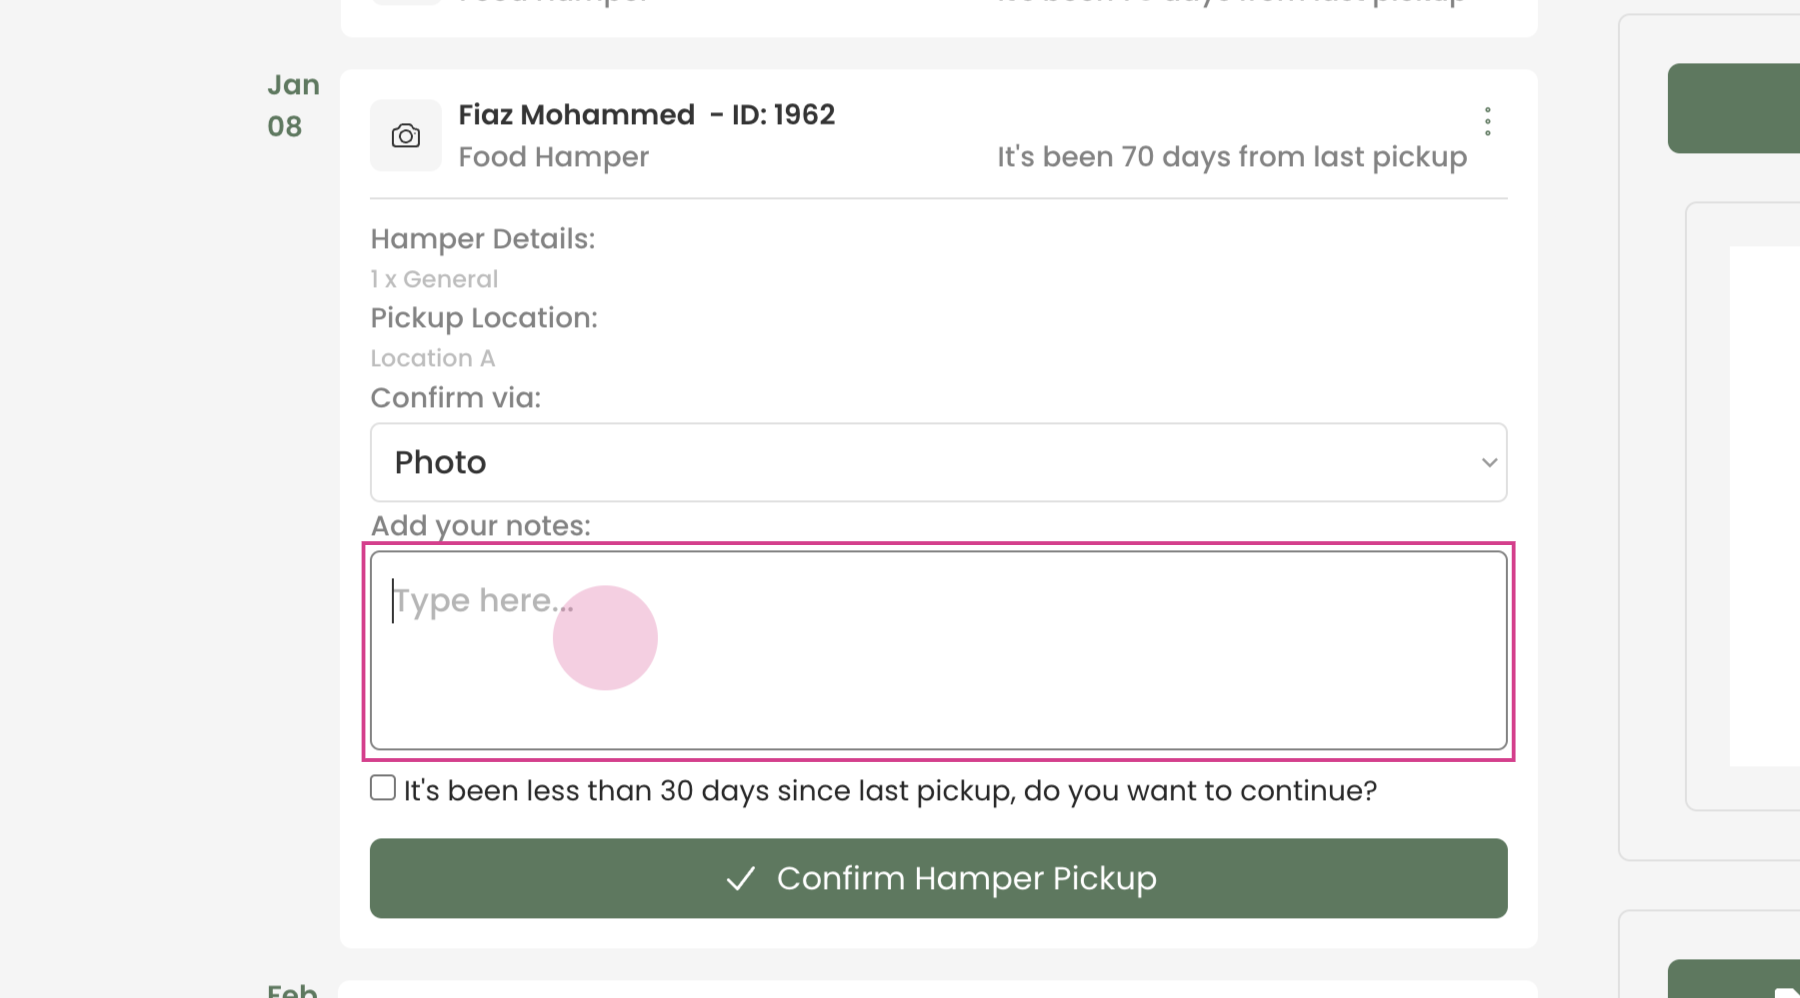
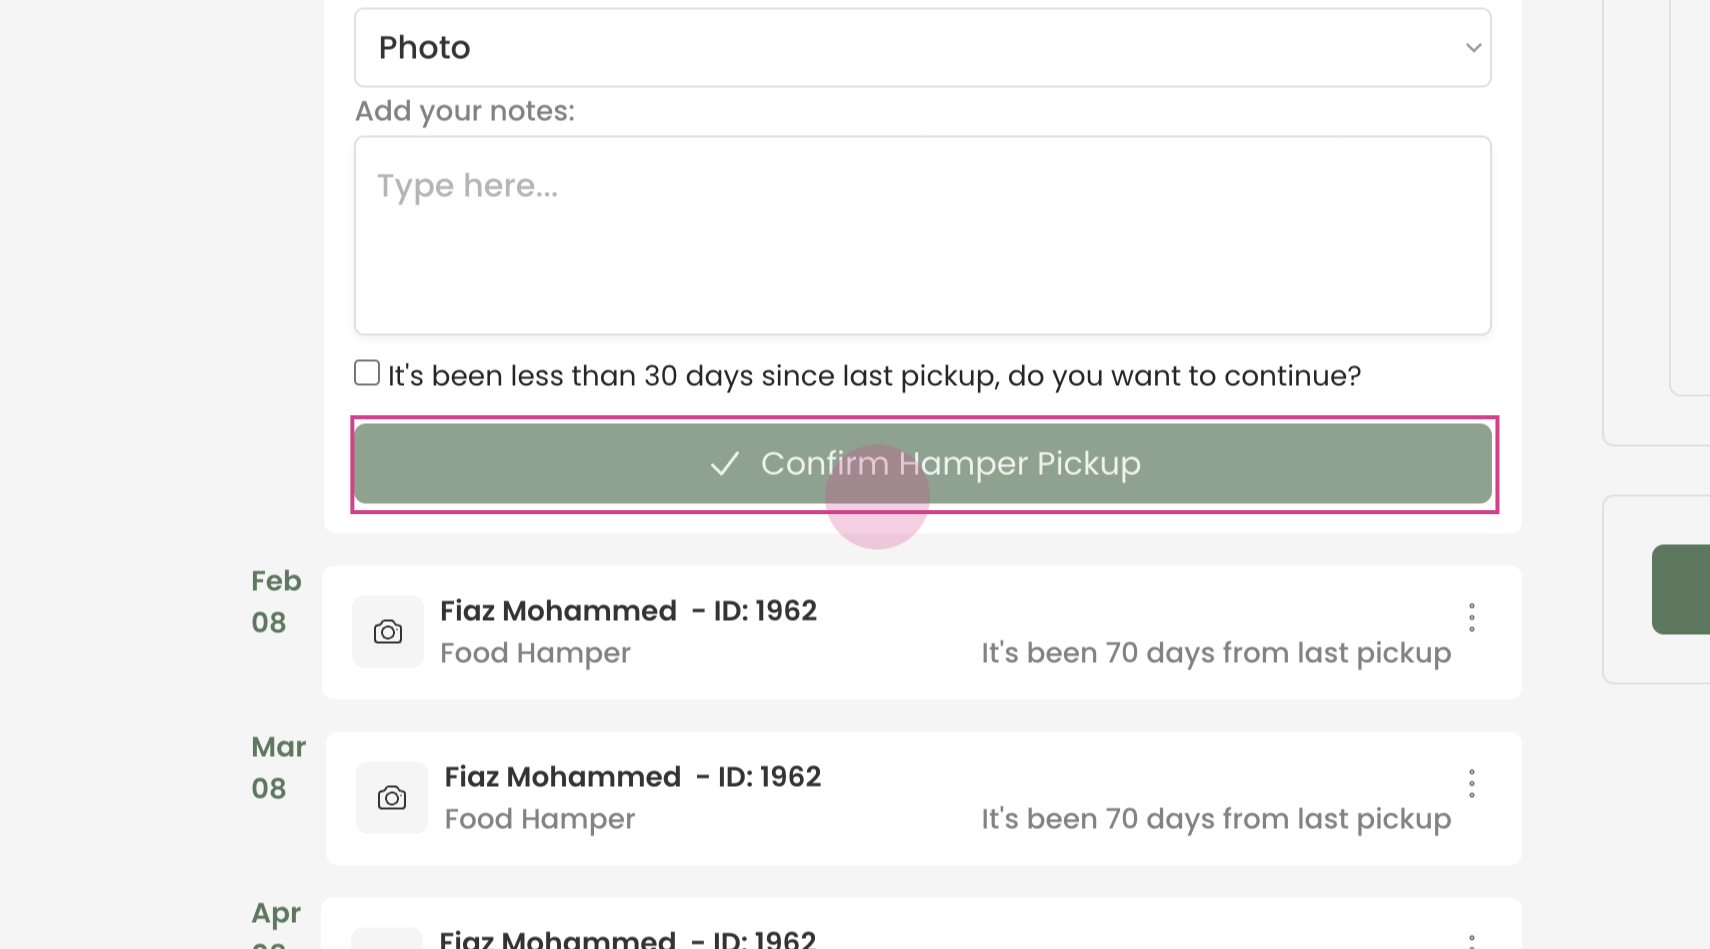
Step 7:
You can add any notes pertaining to the appointment, and then proceed to confirm the hamper pickup.
Step 8:
After confirming the hamper pickup, the system will update to display '0 days from last pickup' as the client has just collected their hamper.
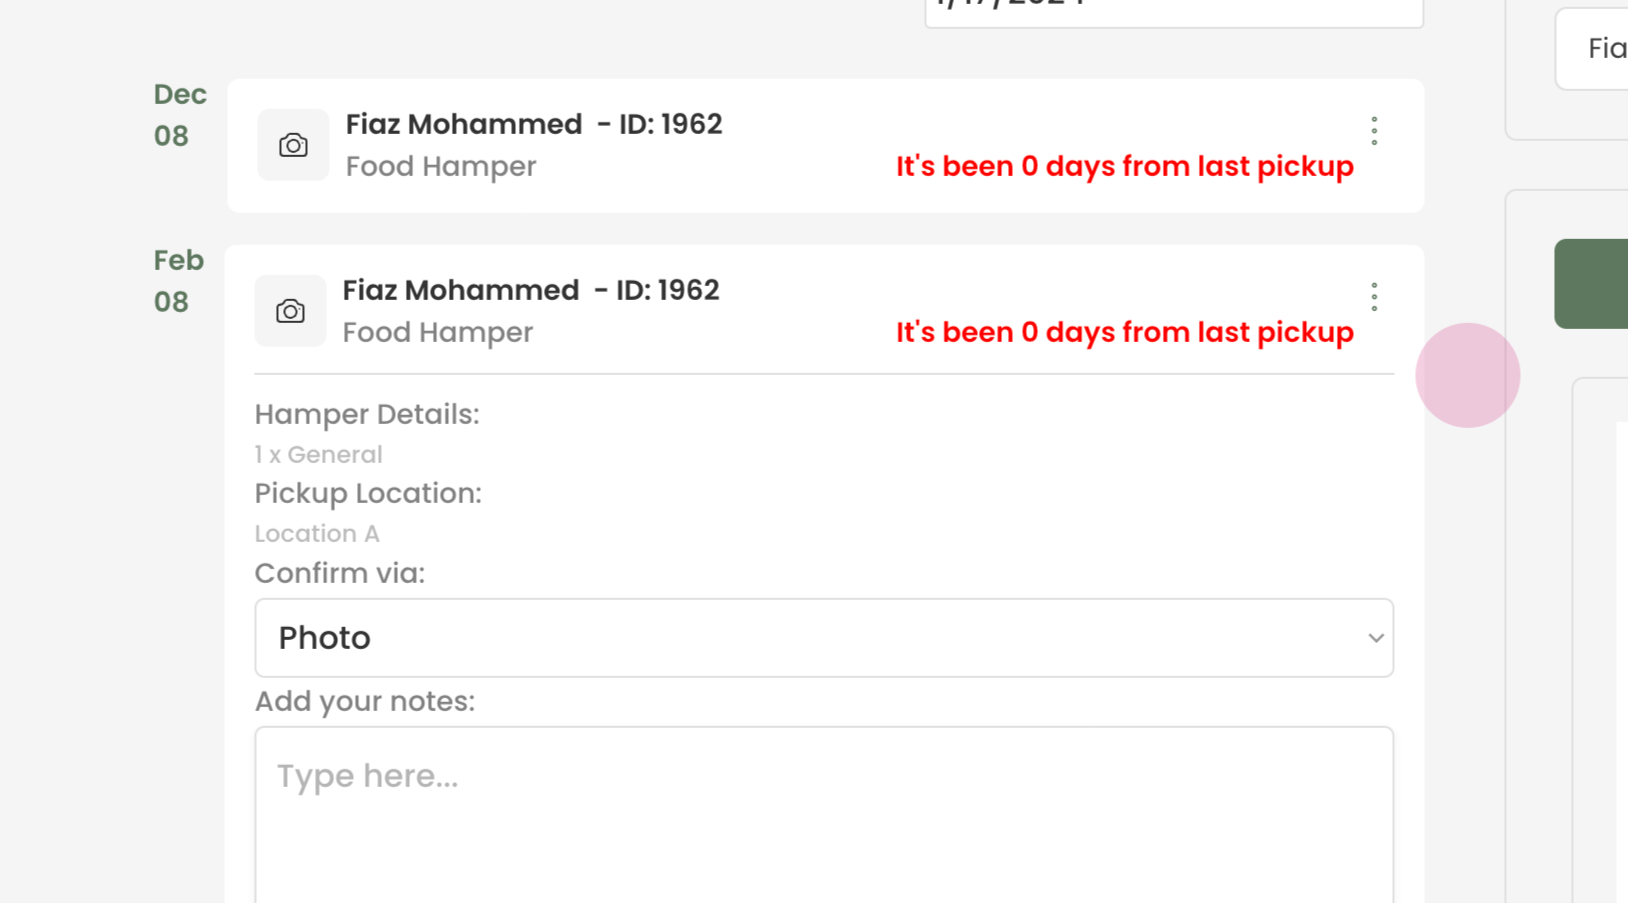
The client is now free to pick up their hamper and you have successfully processed a hamper pickup using Transform.