This article will guide you through the process of creating and managing programs in your system.
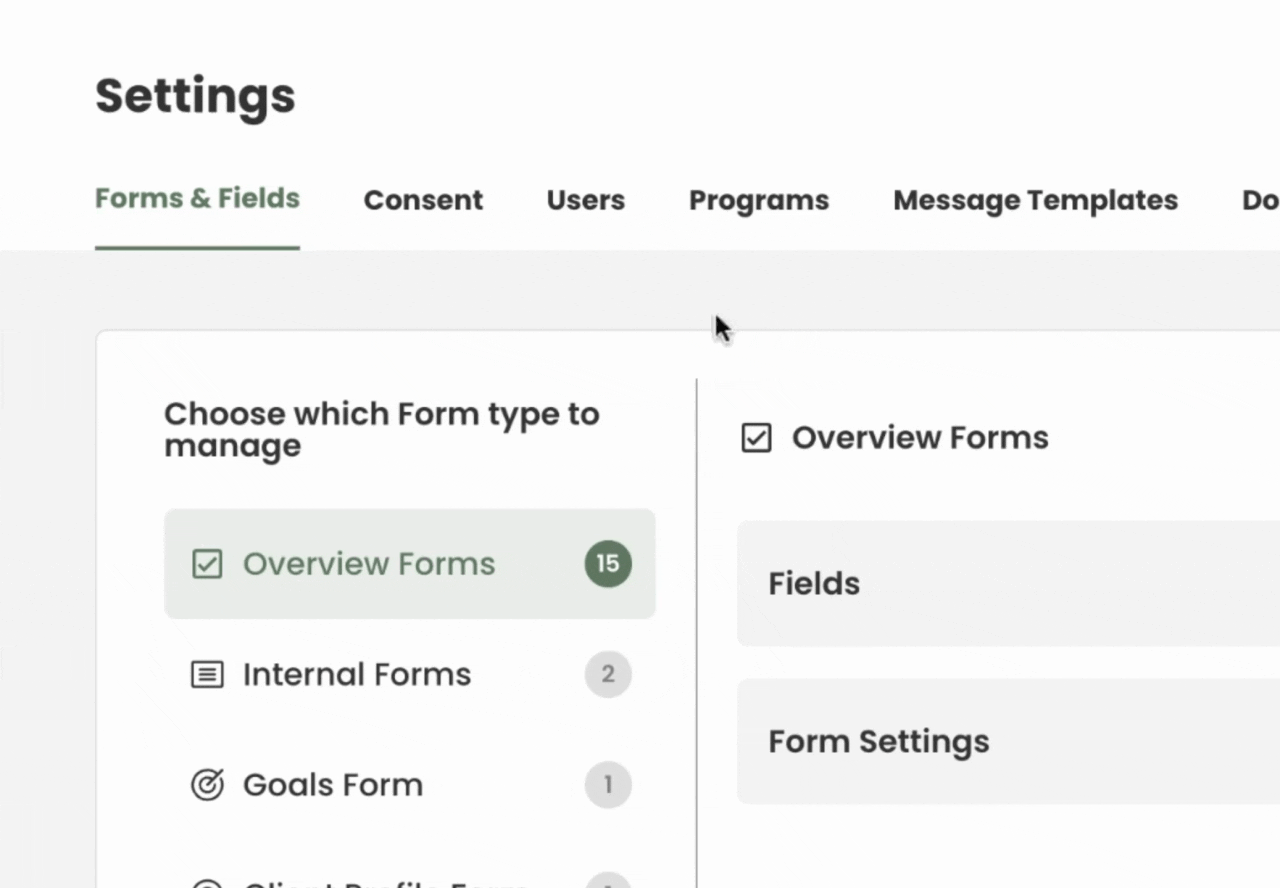
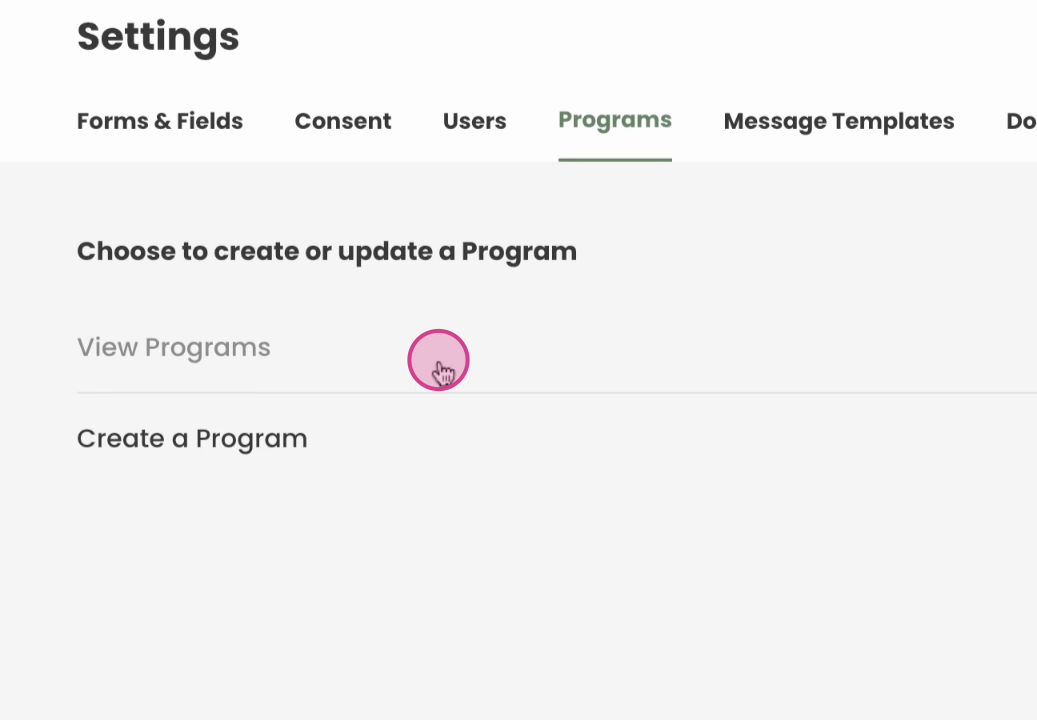
Step 1: Start by navigating to the Settings.
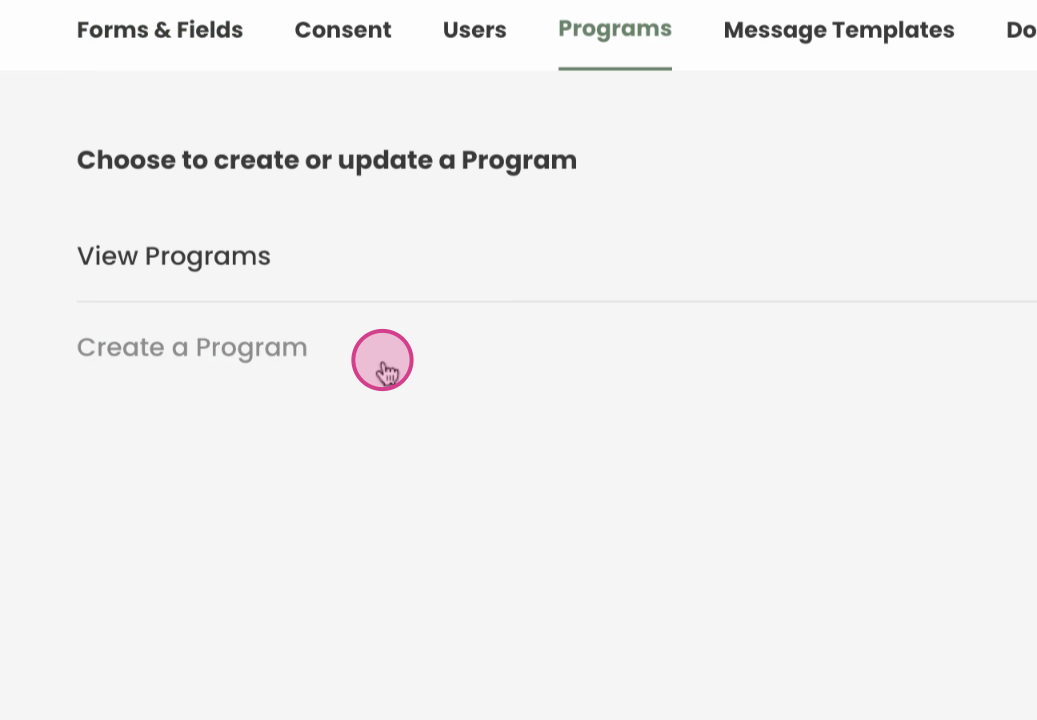
Step 2: From the Settings, proceed to the Programs section.
Step 3: Here, we'll create a new program.
Step 4: Name this new program that you want to add.
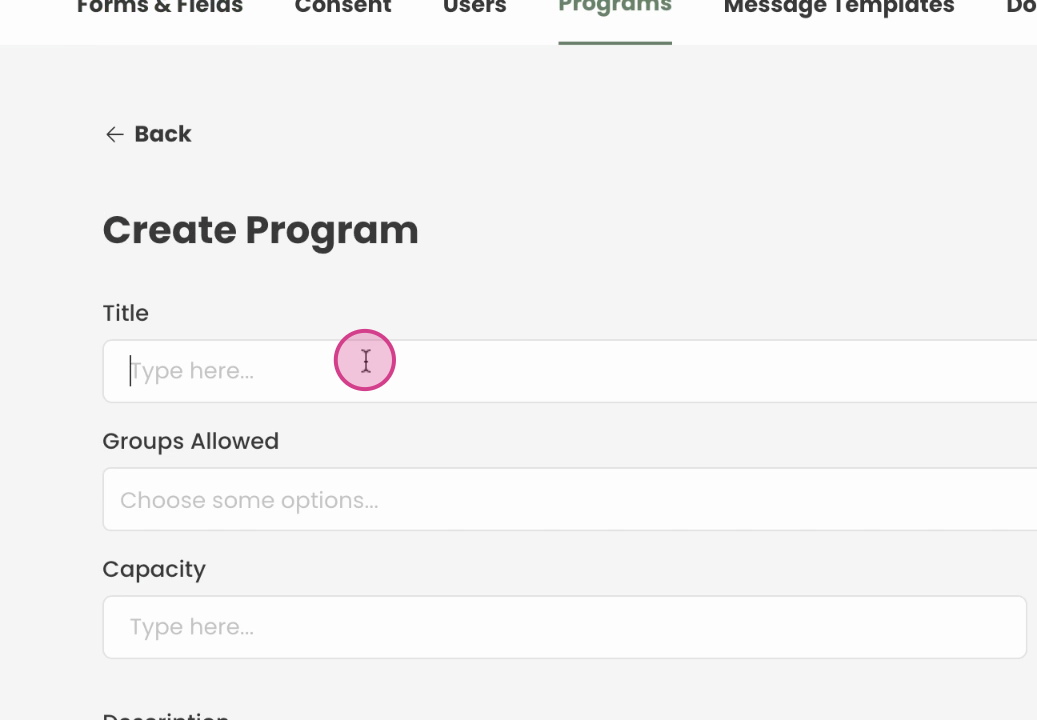
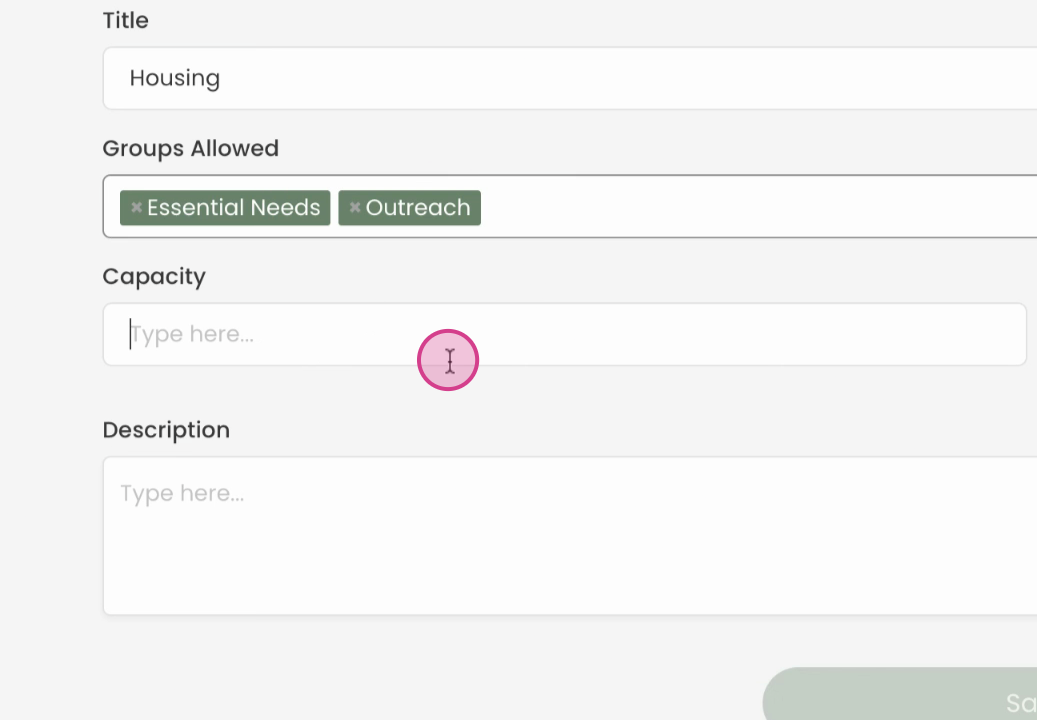
Step 5: After naming select groups you want to allow, or leave this field blank to allow all users
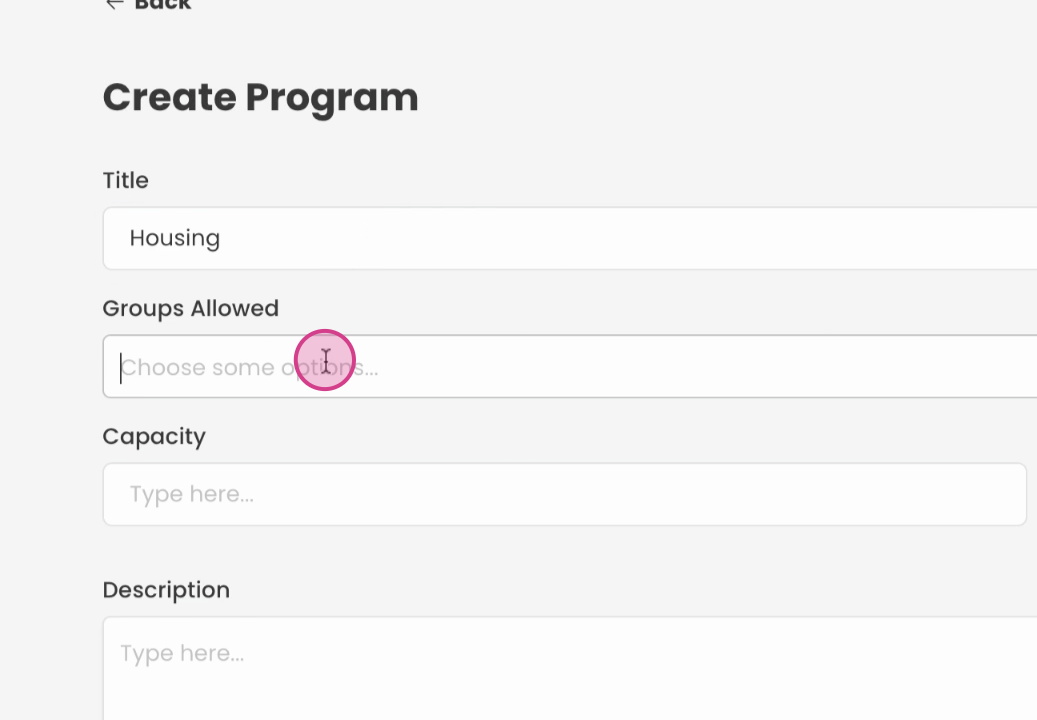
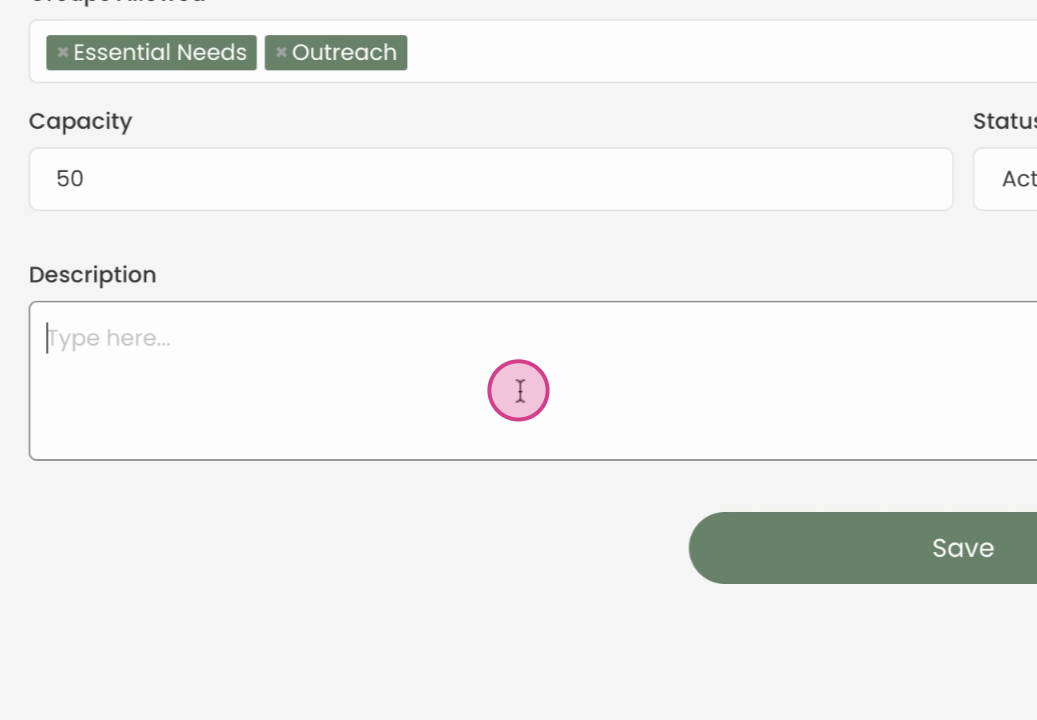
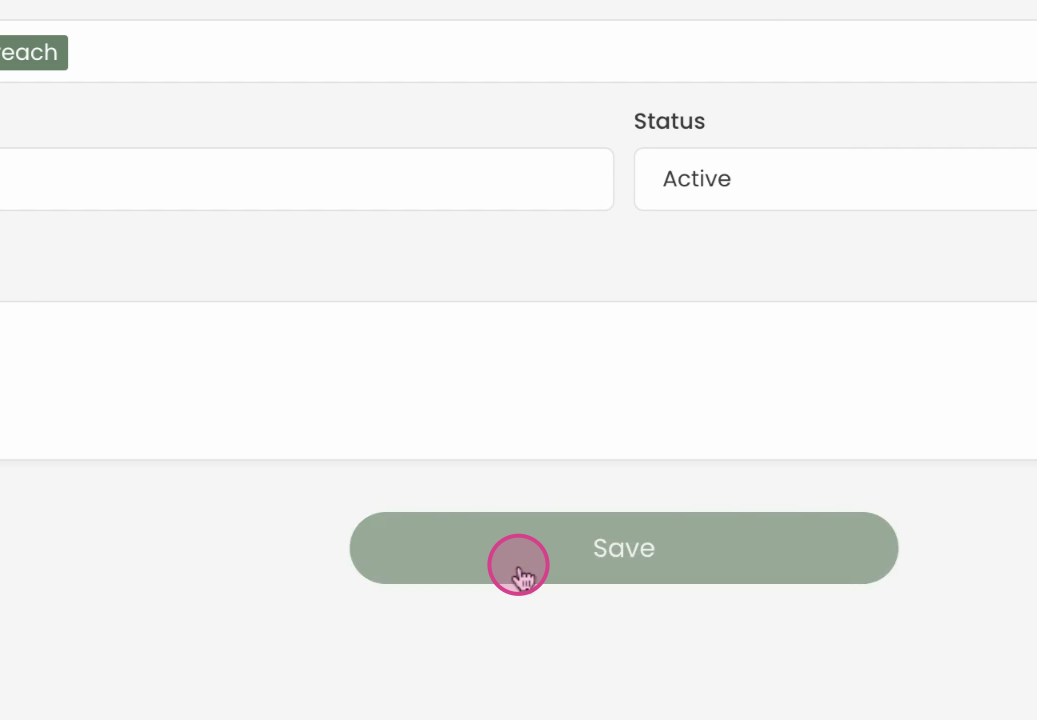
Step 6: Enter the capacity if this program has a limit of participants, like a class setting. You can also leave this blank.
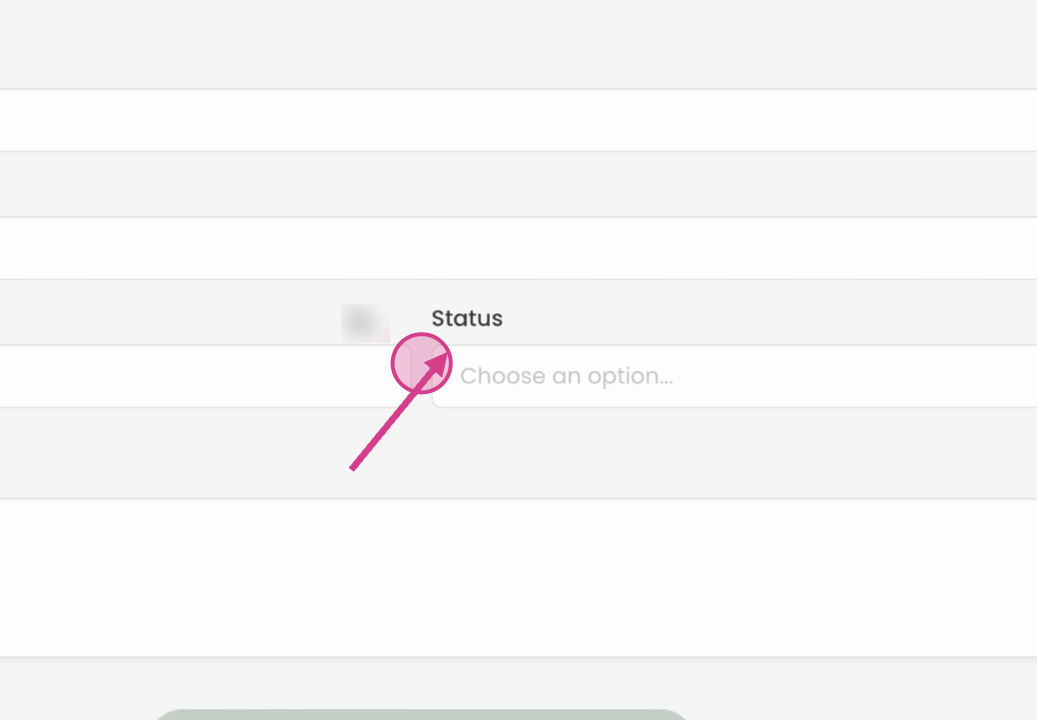
Step 8: select the status as active if the program is ready to start enrolling individuals
Step 9: add a description of the program below as well.
Step 10: Once saved, you'll be able to see the program you've created.
Step 11: You can always go back to Review the programs and Edit any time
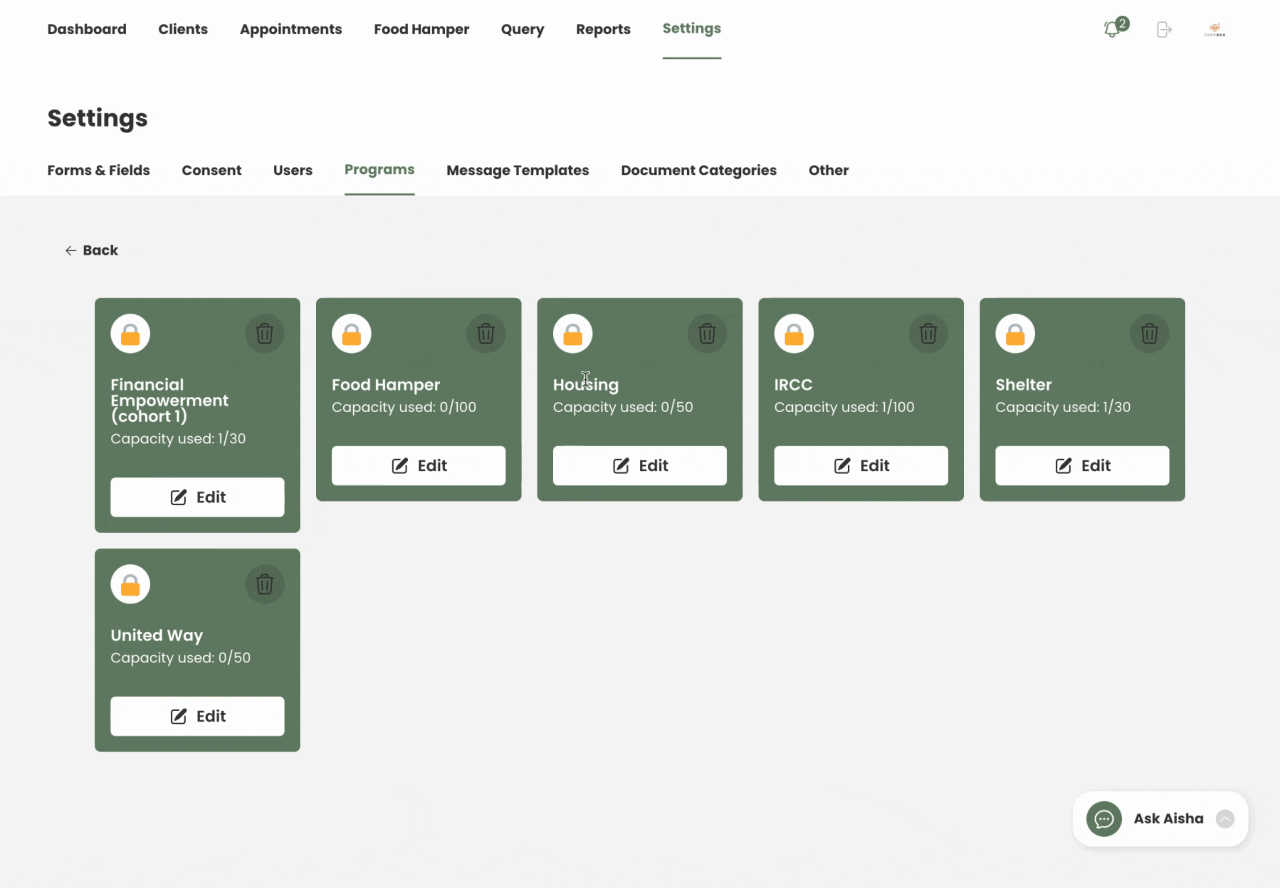
Step 12: Review the programs you've created.
By following these steps, you'll be able to create, manage, and edit programs effectively.