Easily generate an exportable list of all your clients by following these straightforward steps. This guide walks you through the process using your dashboard’s reporting tools, showing how to set up, customize, and save your client list for future use.
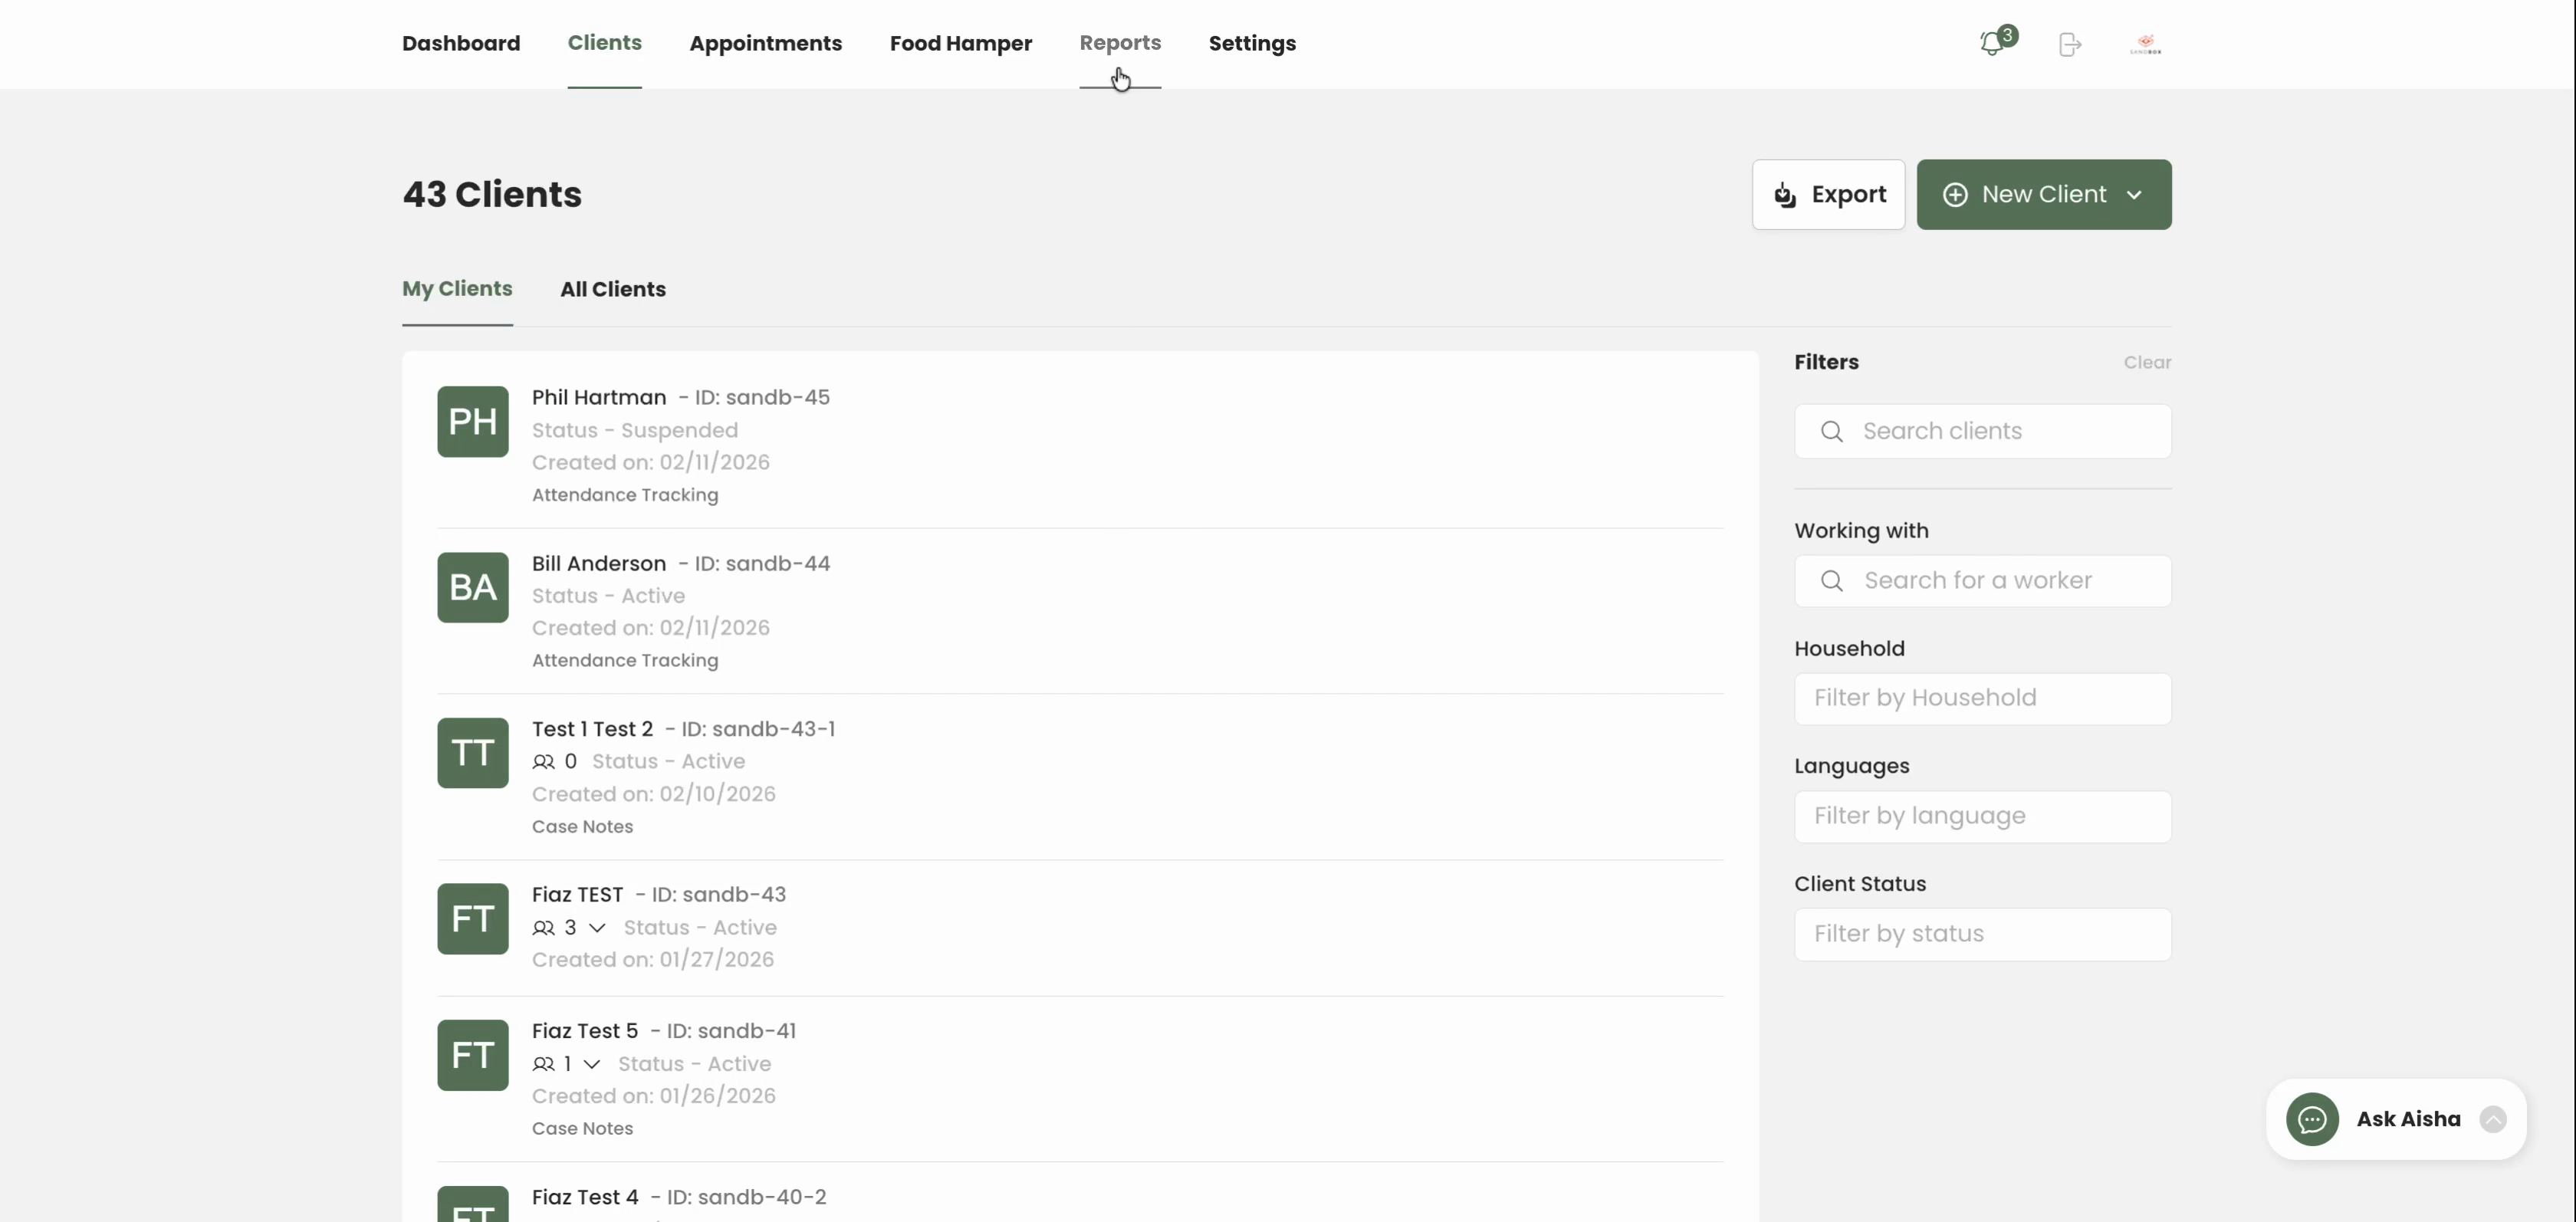
Step 1: Go to the Reports tab.
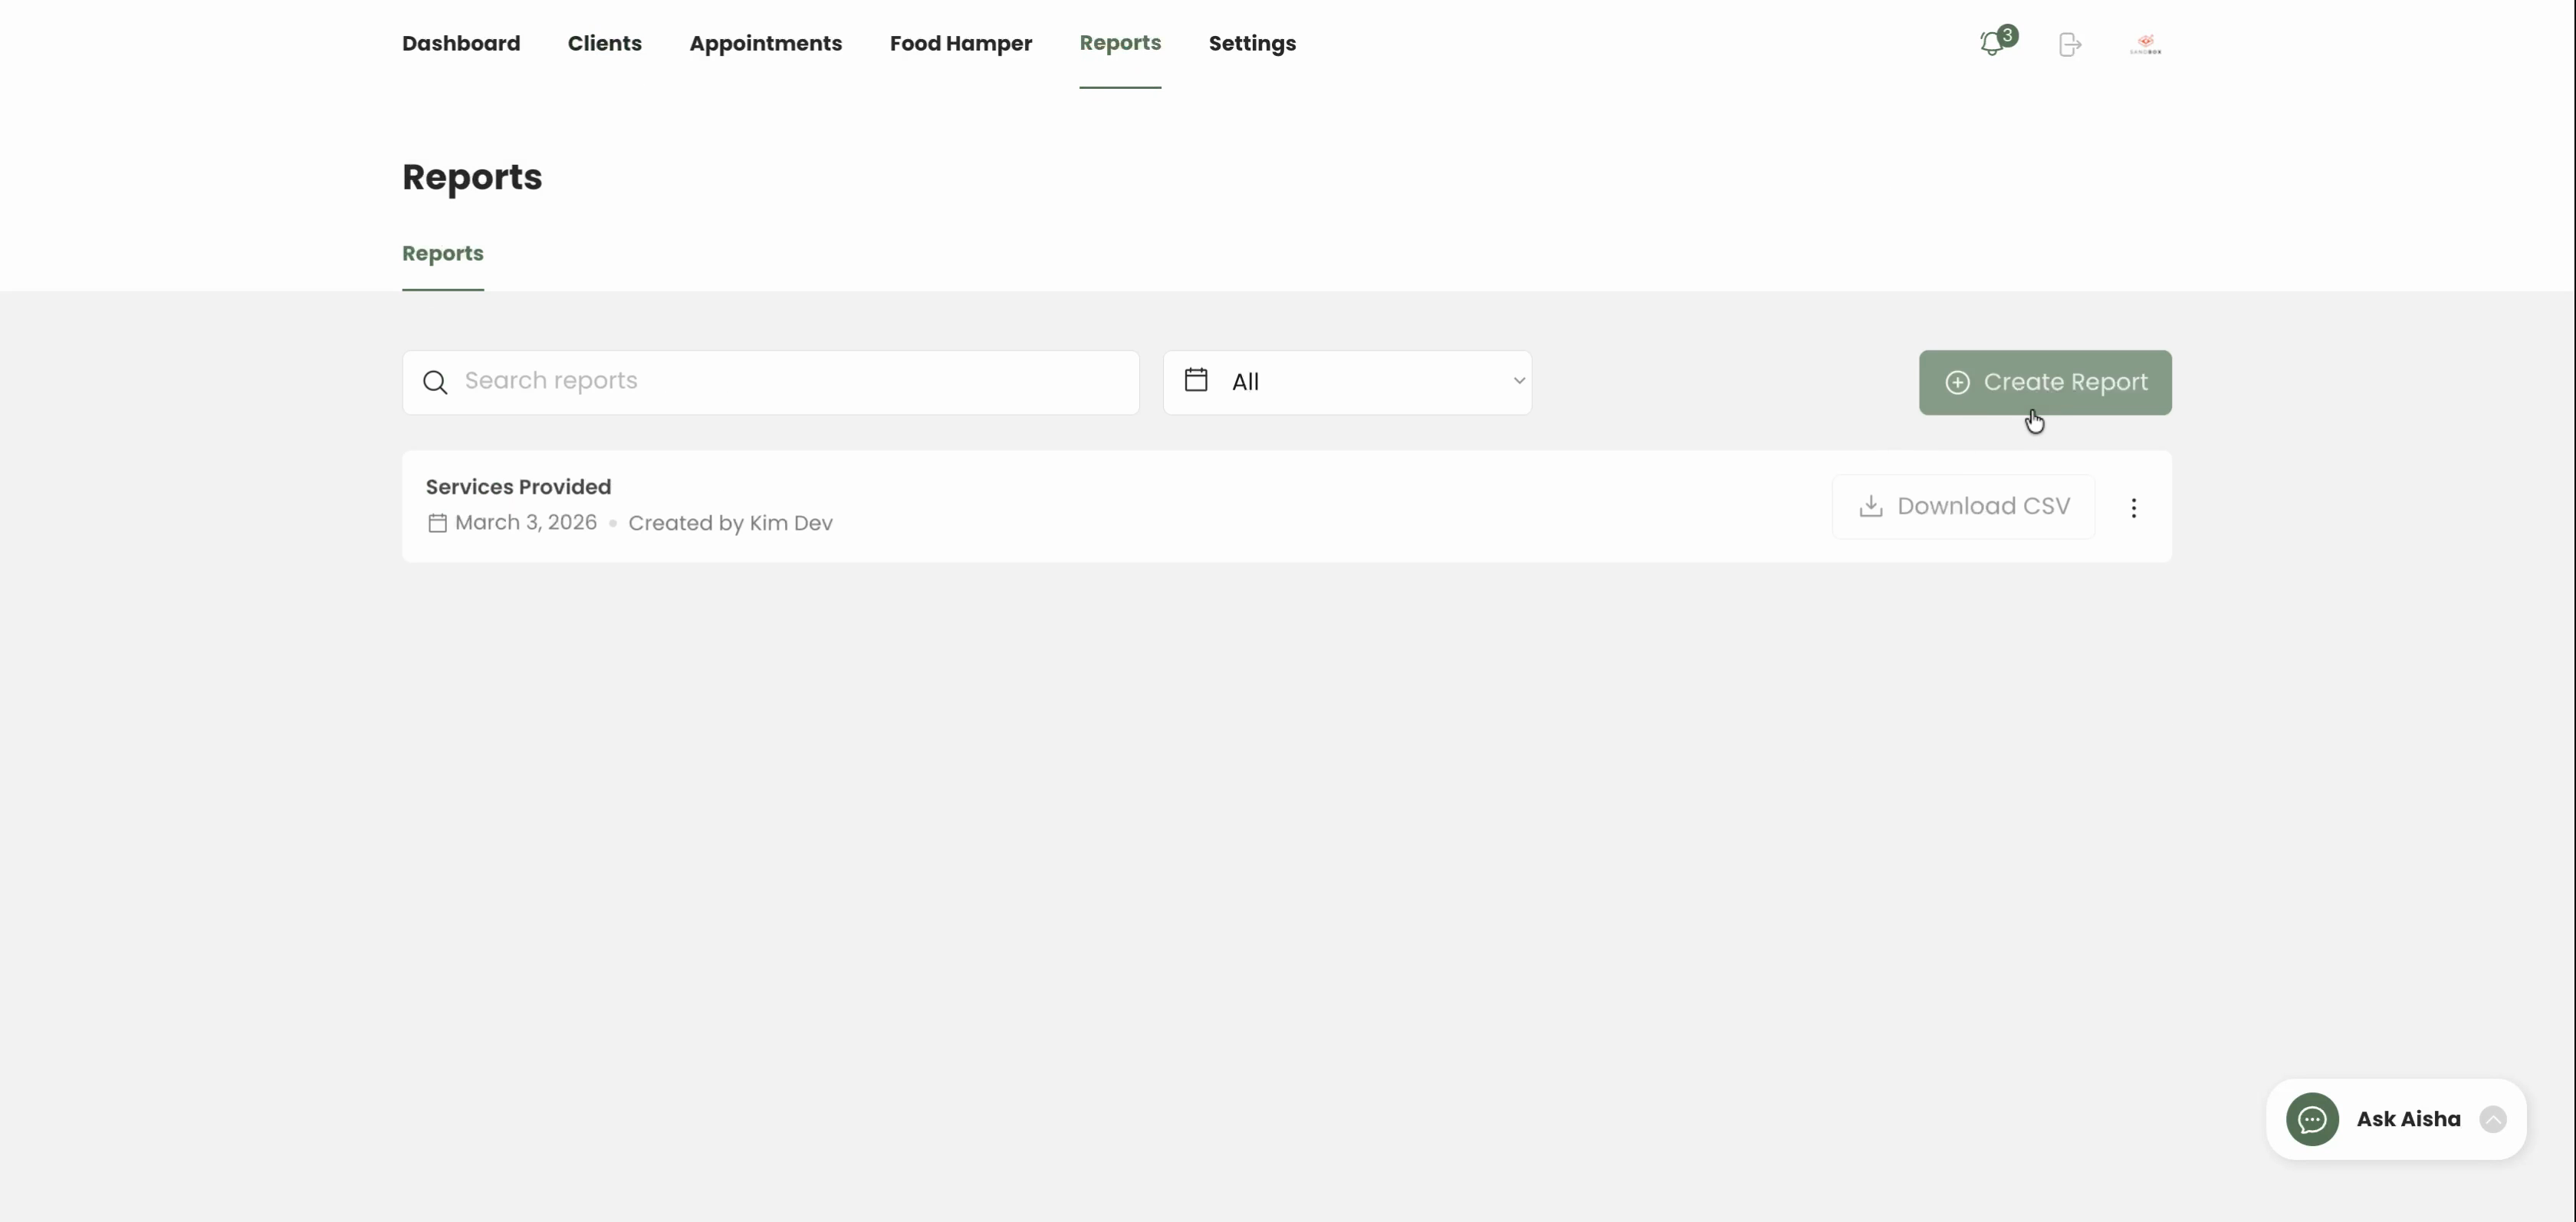
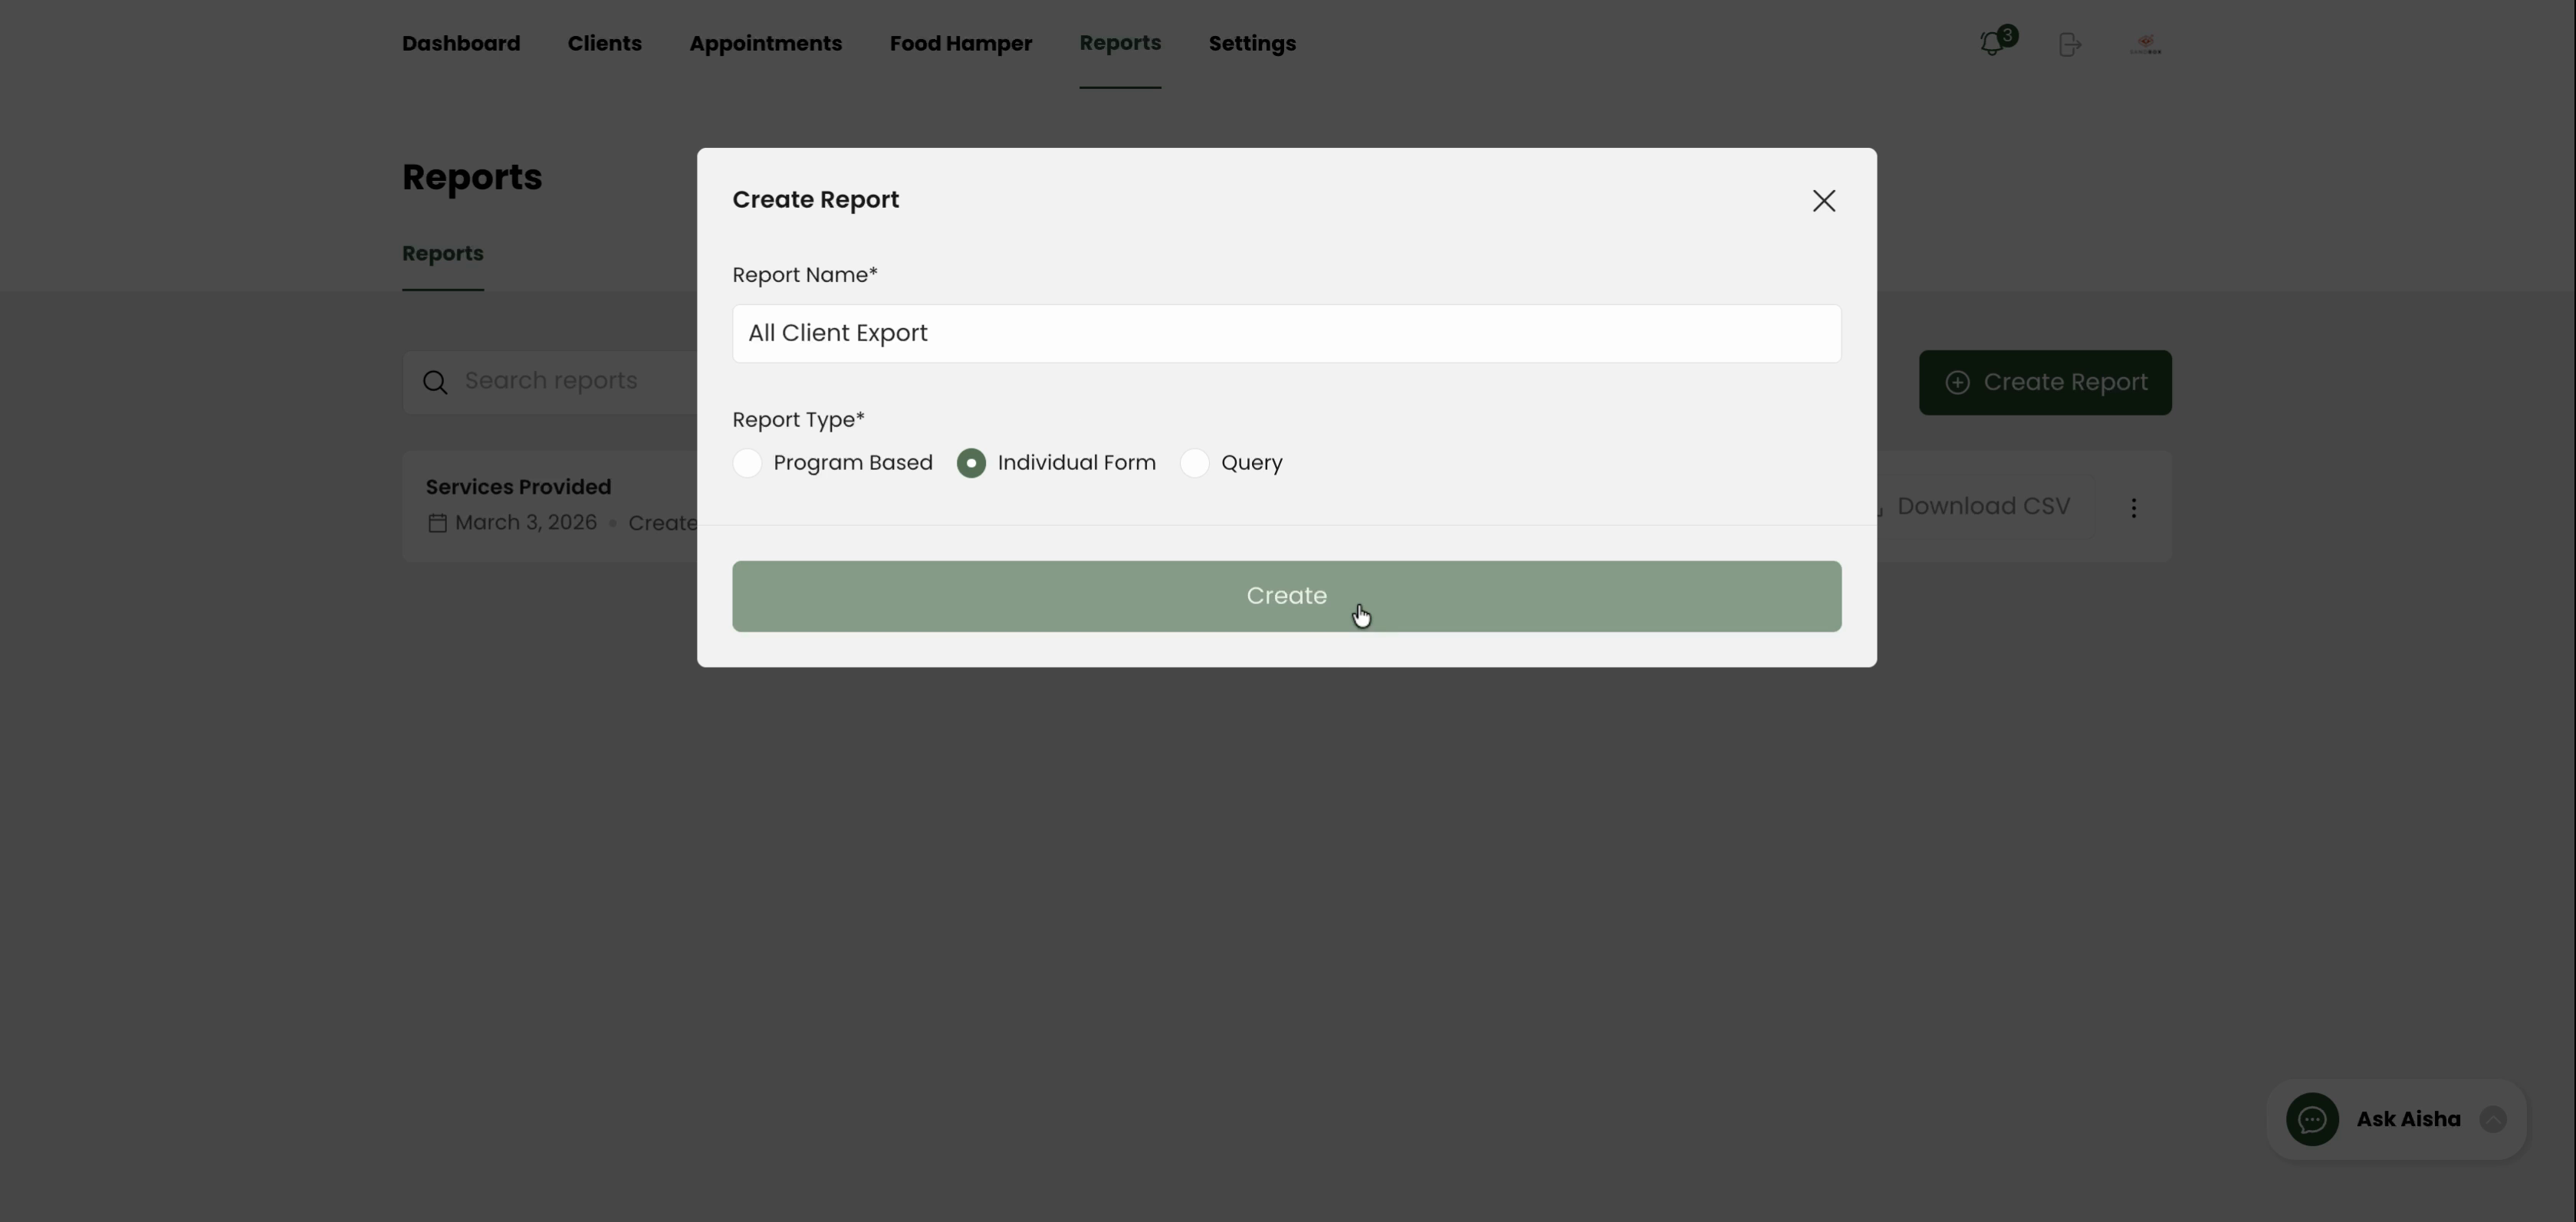
Step 2: Click Create Reports.
Step 3: Enter a name for the report, such as All Client Export.
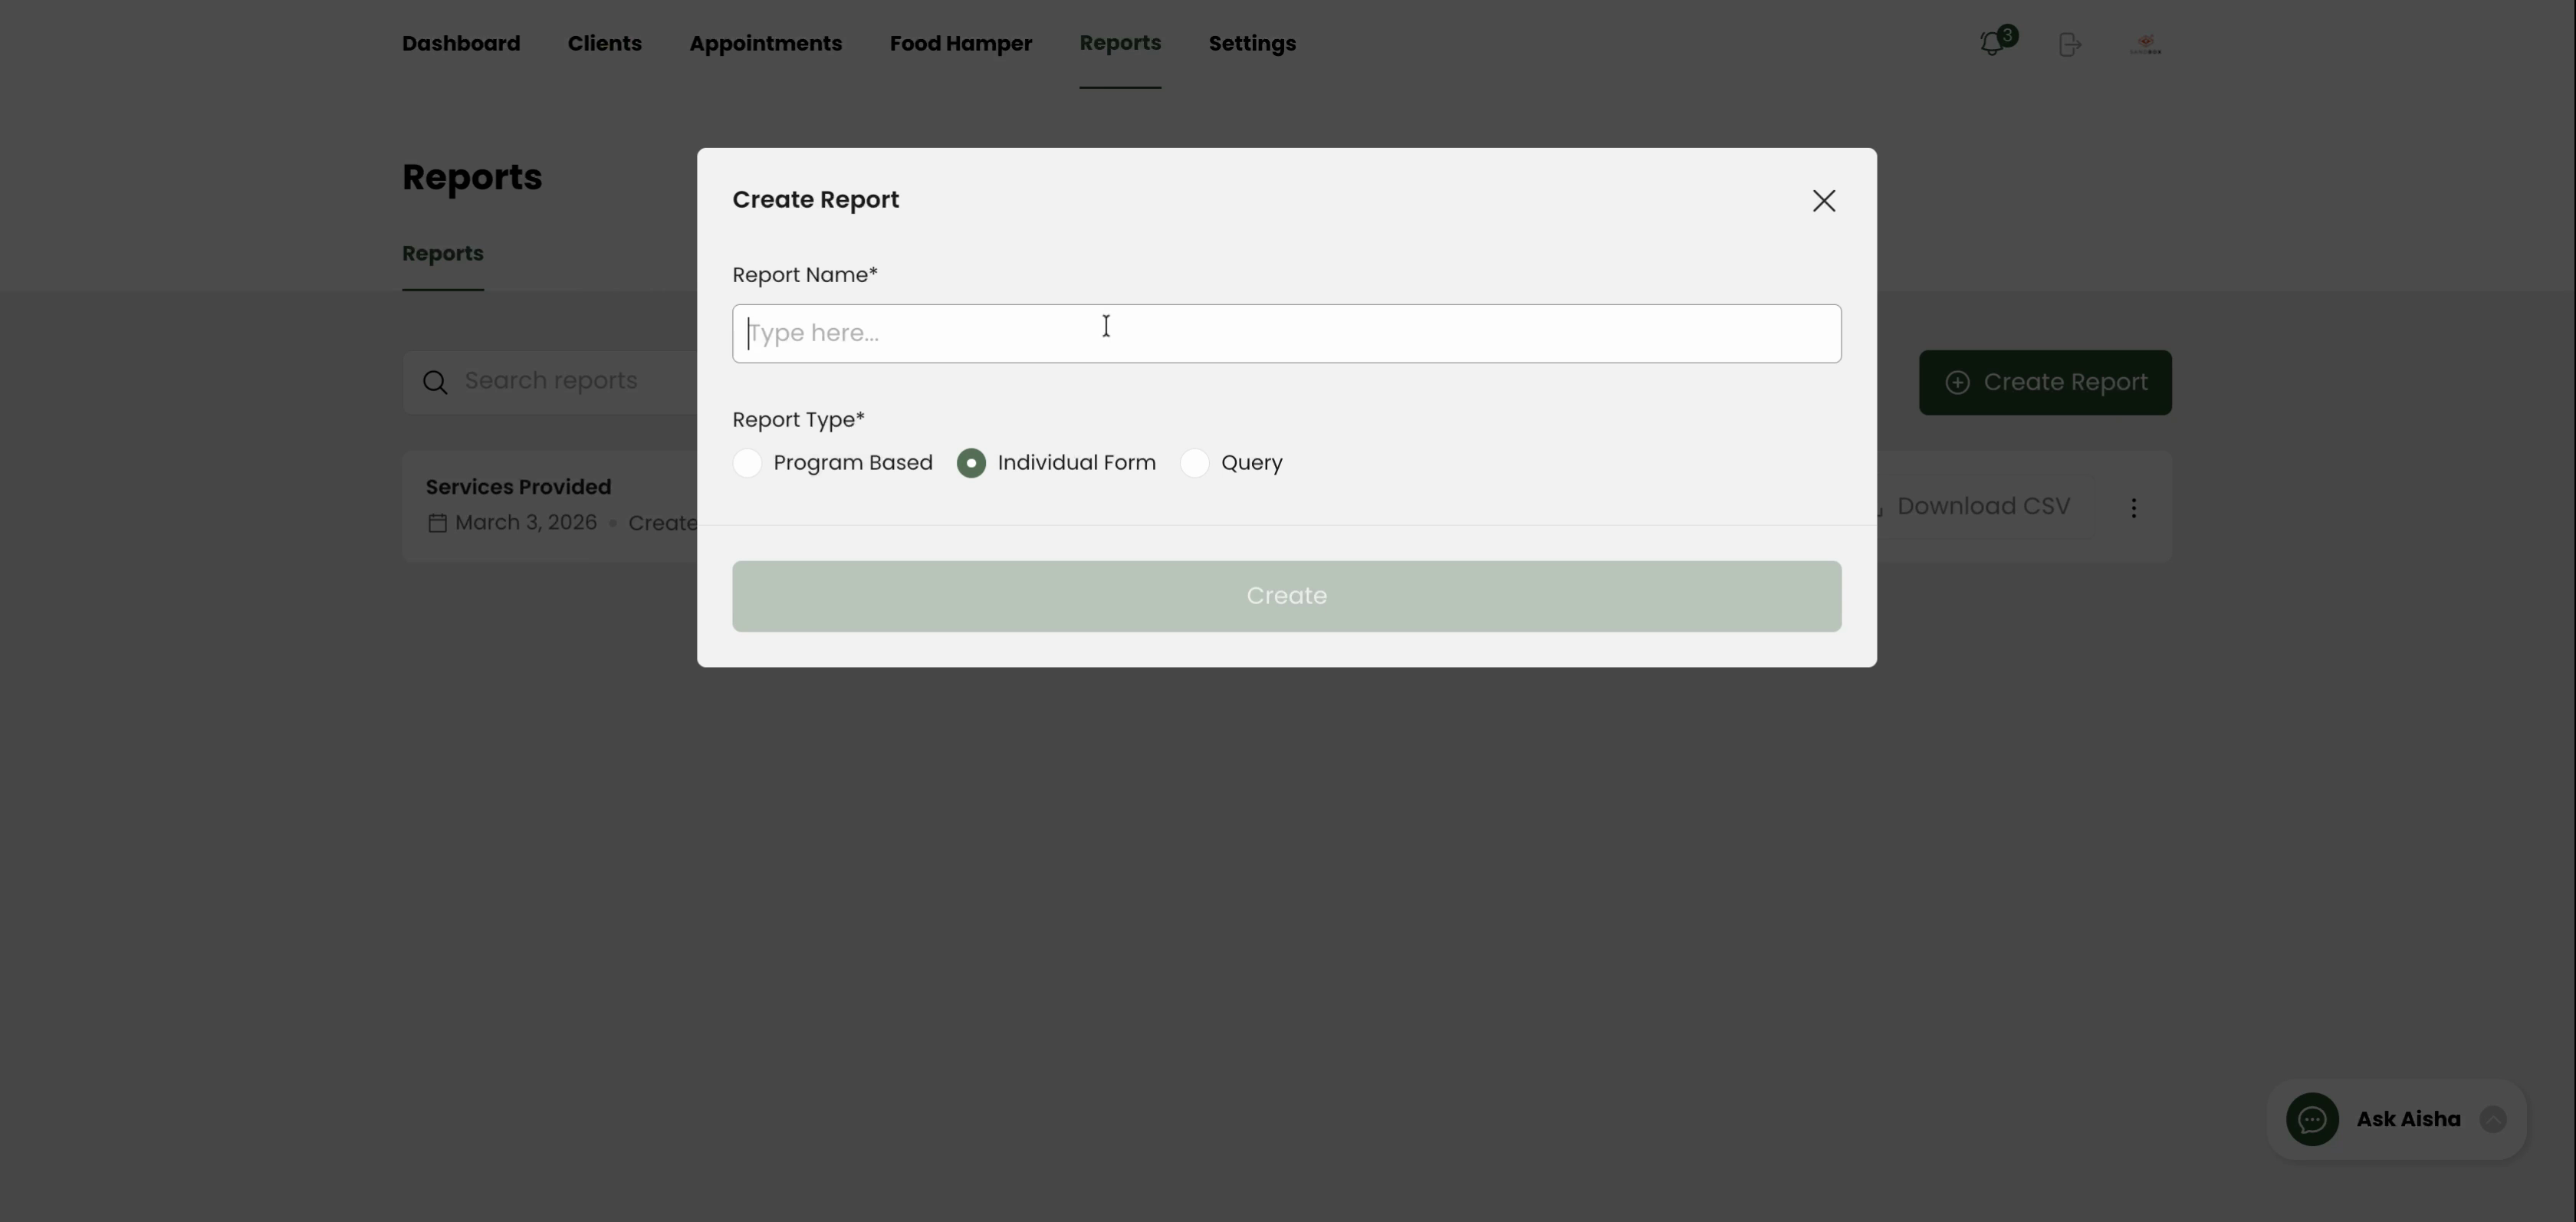
Step 4: Select Individual Form as the report type.
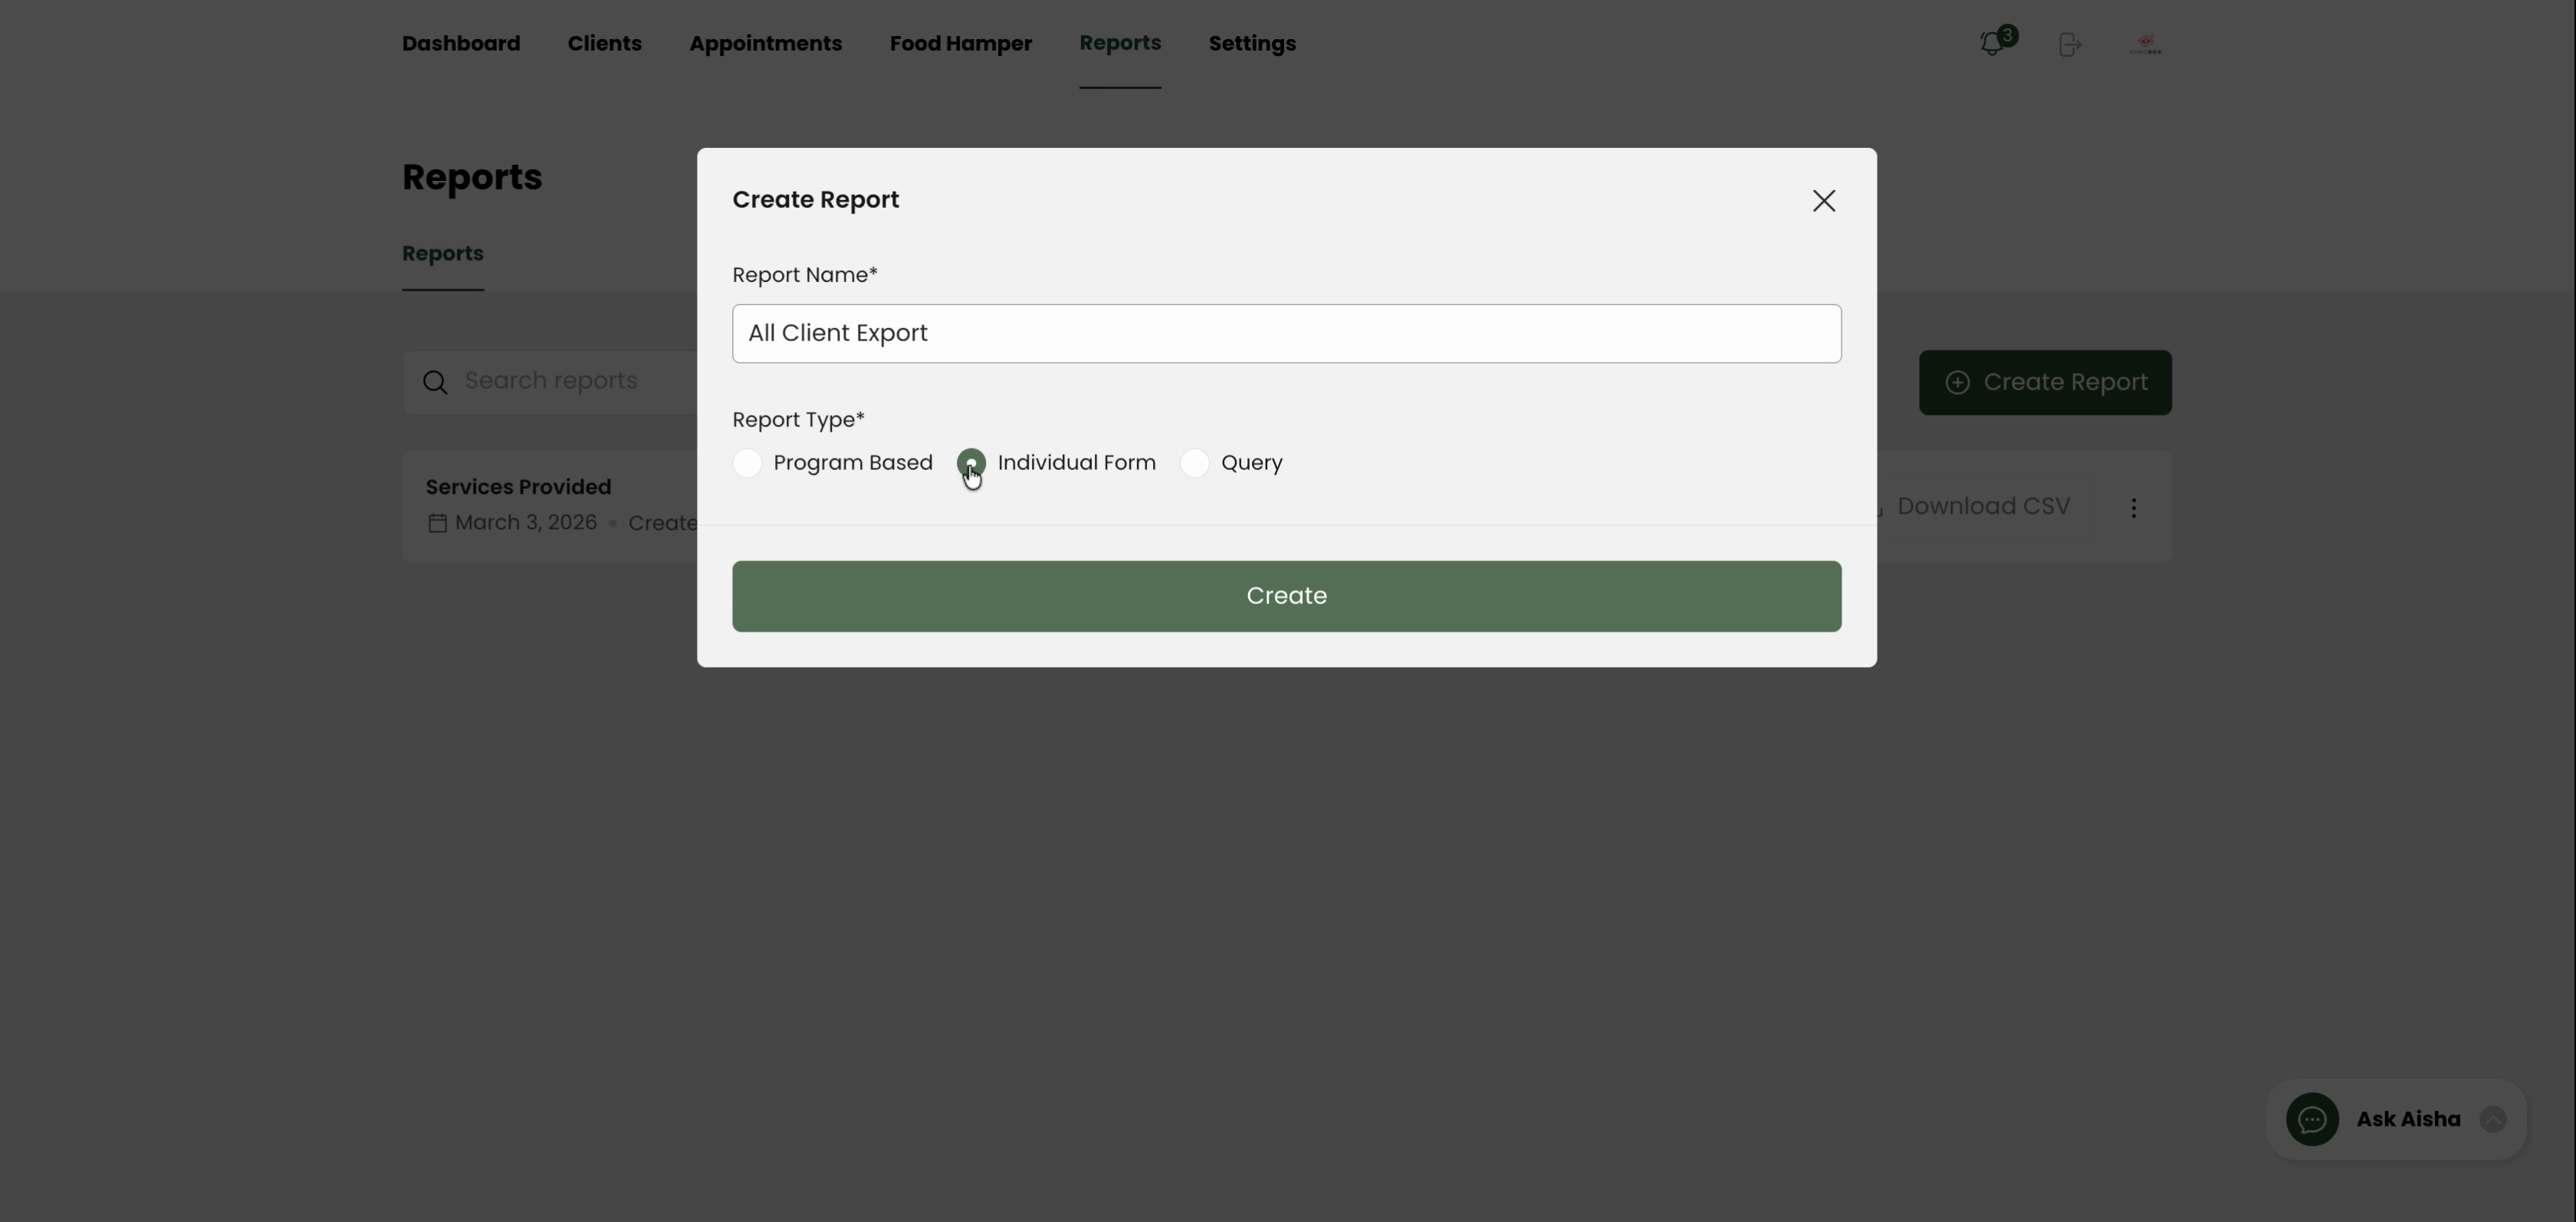
Step 5: Click Create to start customizing your report.
Step 6: Choose which columns of client information to include. Add fields like Name, Client ID, and Status—leave other fields unchecked if you don’t need them.
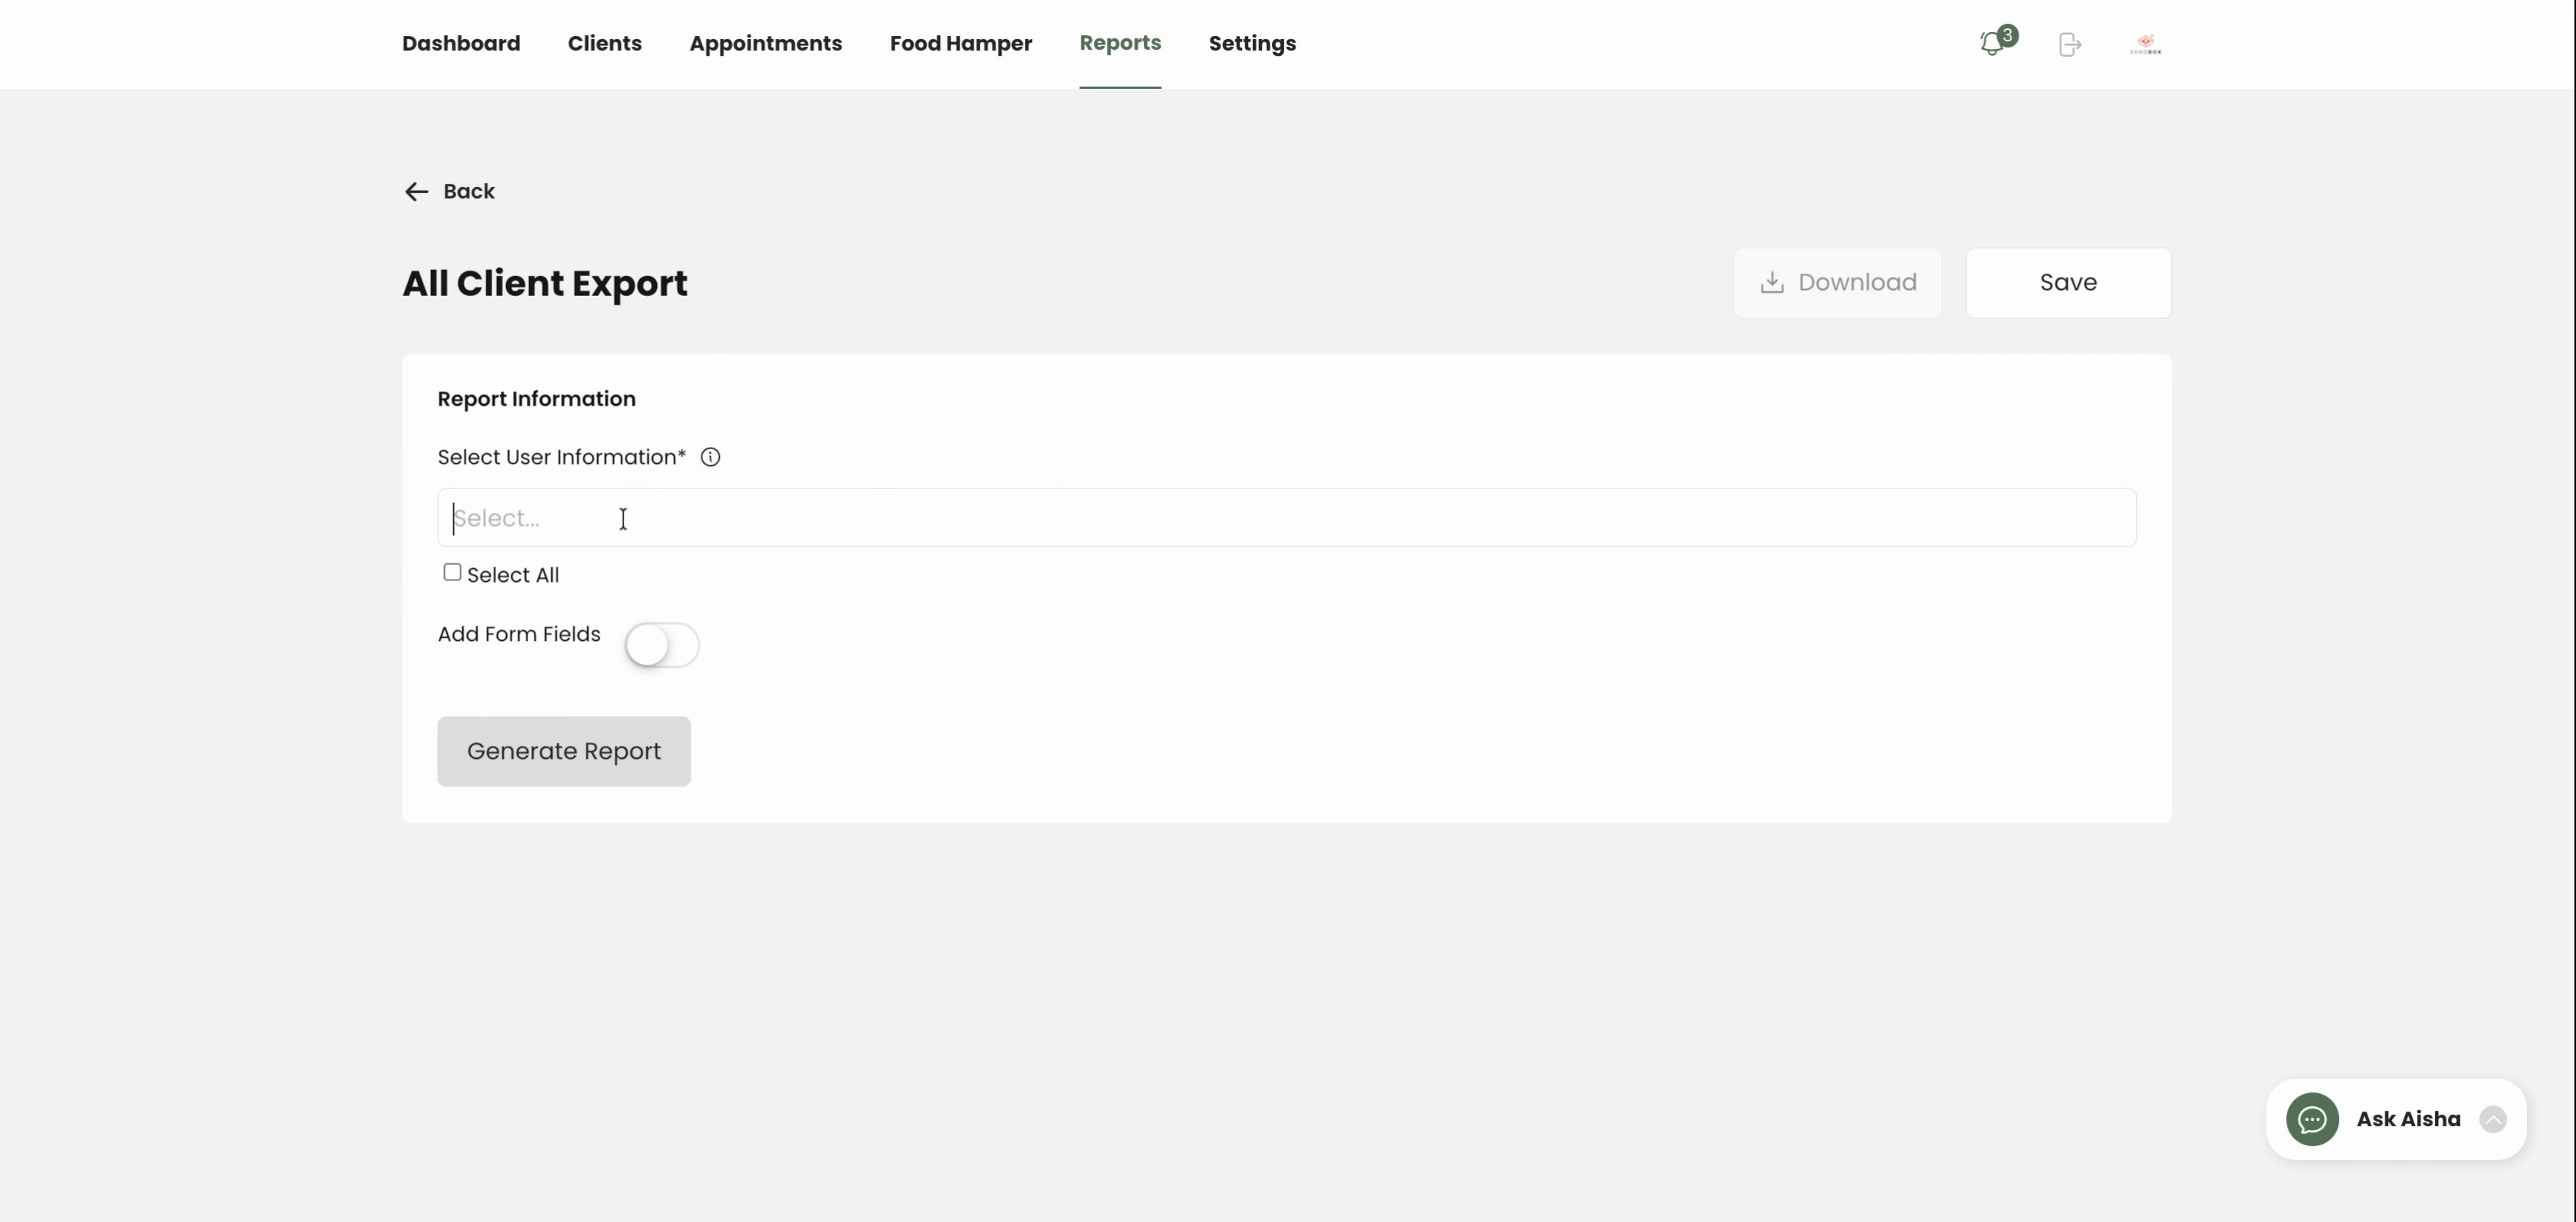

Step 7: Click Generate Reports to preview your client list.

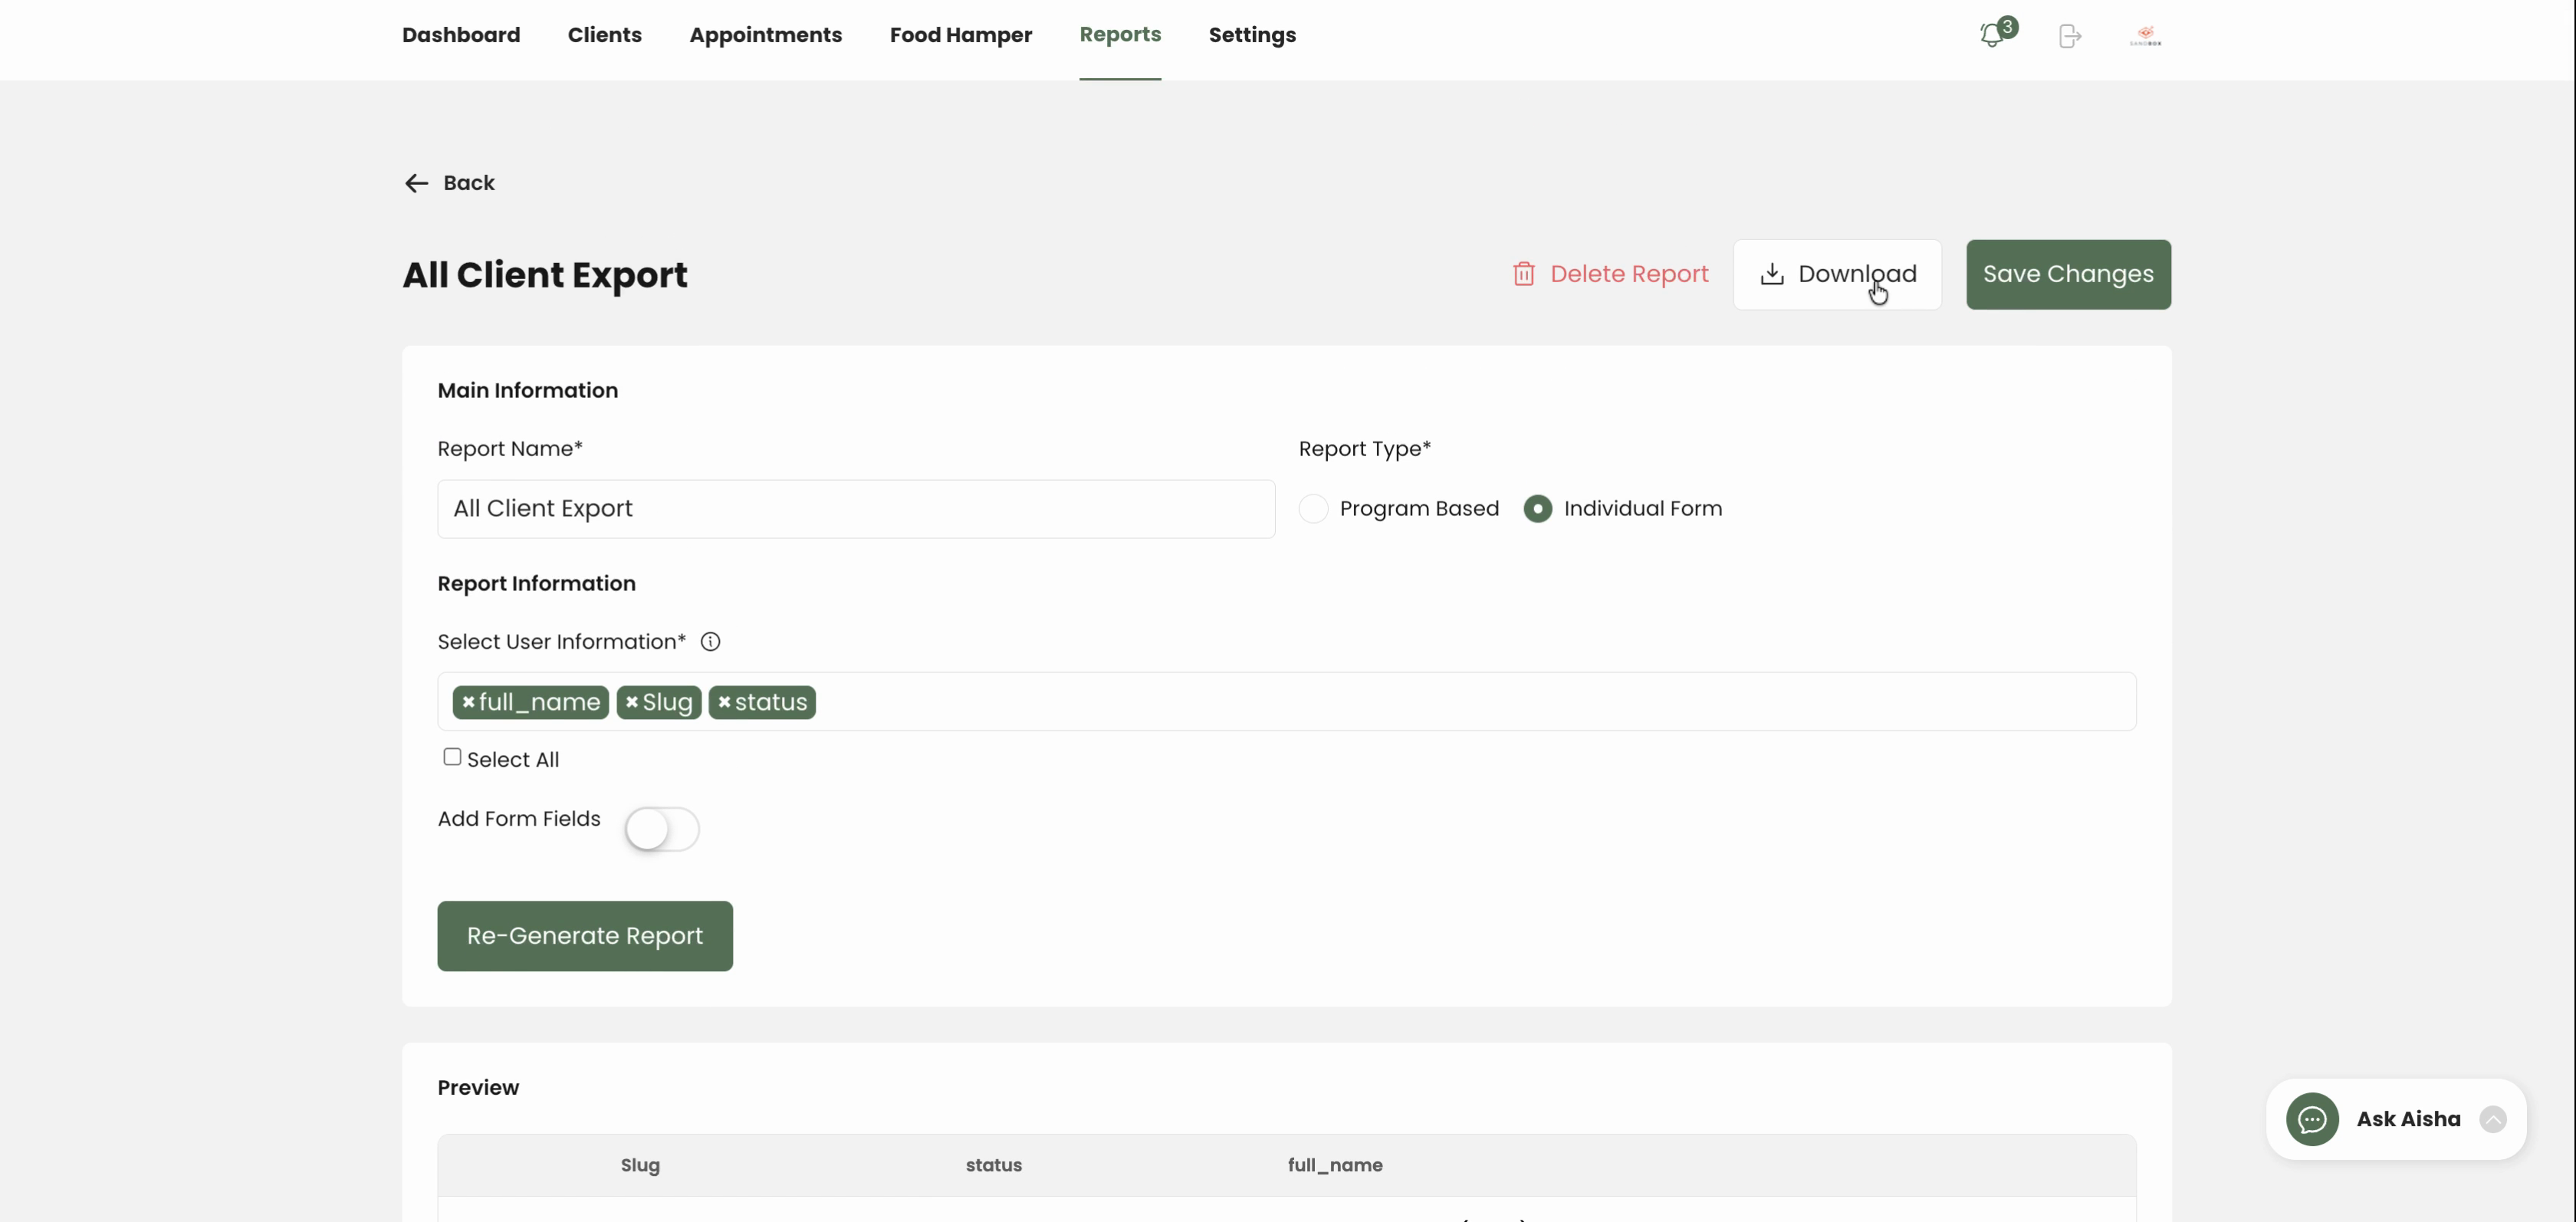
Step 8: Review the fields and previewed data. If you want to include more details, scroll up, select additional fields, and regenerate your report.
Step 9: When satisfied, click Download to save the client list file to your computer.
Now you’ve got a custom export of all clients, ready for your records or data analysis. Creating tailored reports helps keep your client management efficient and organized.